This page explains how to create and edit the banner:
Banner options
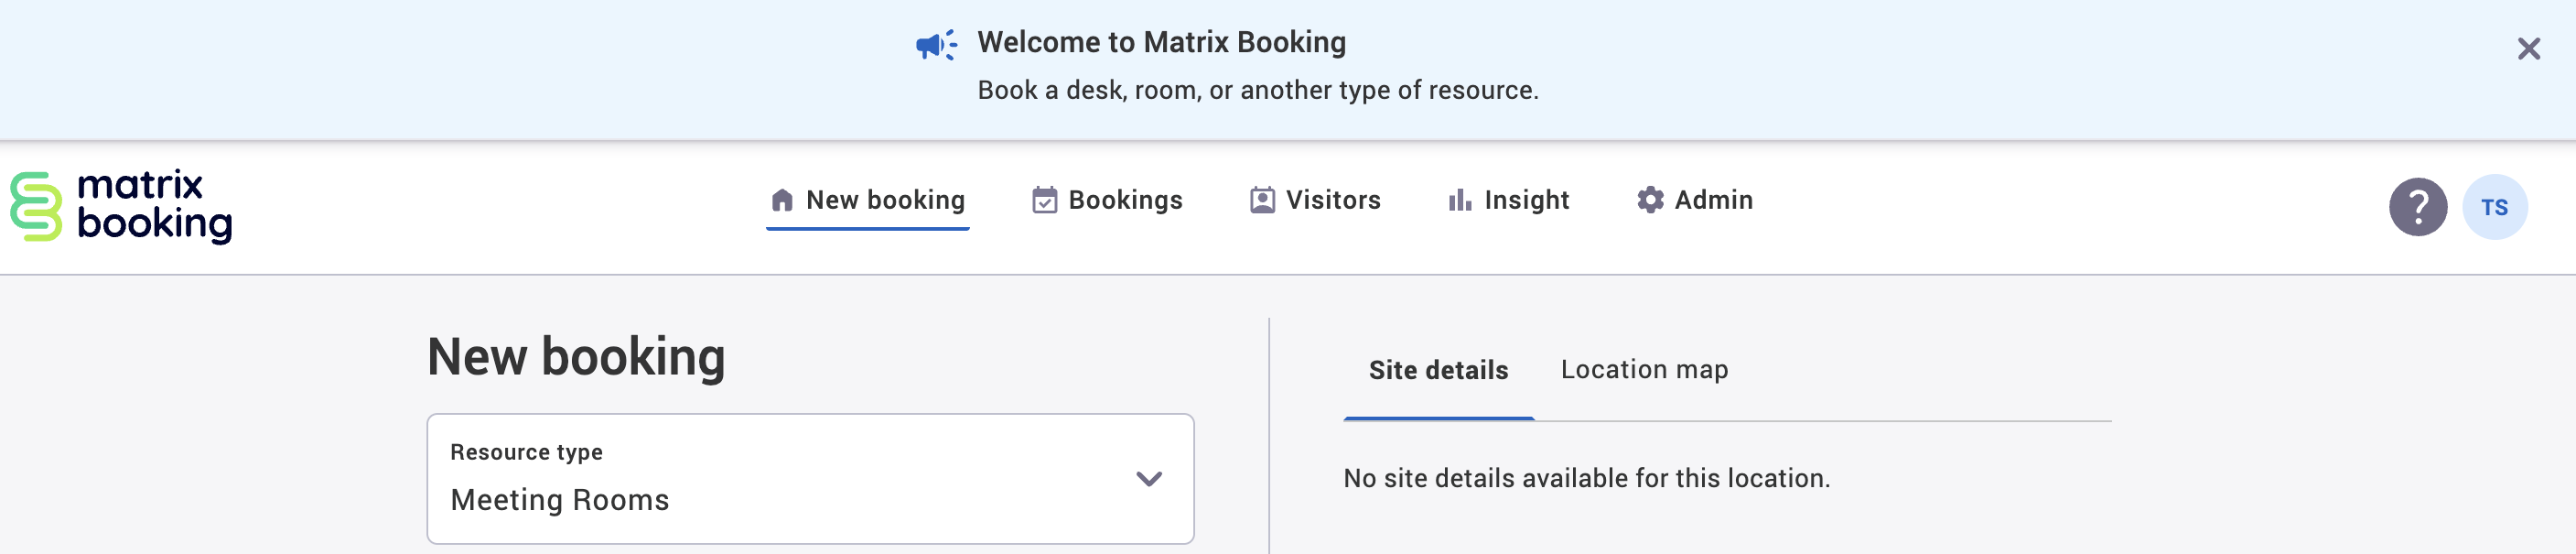
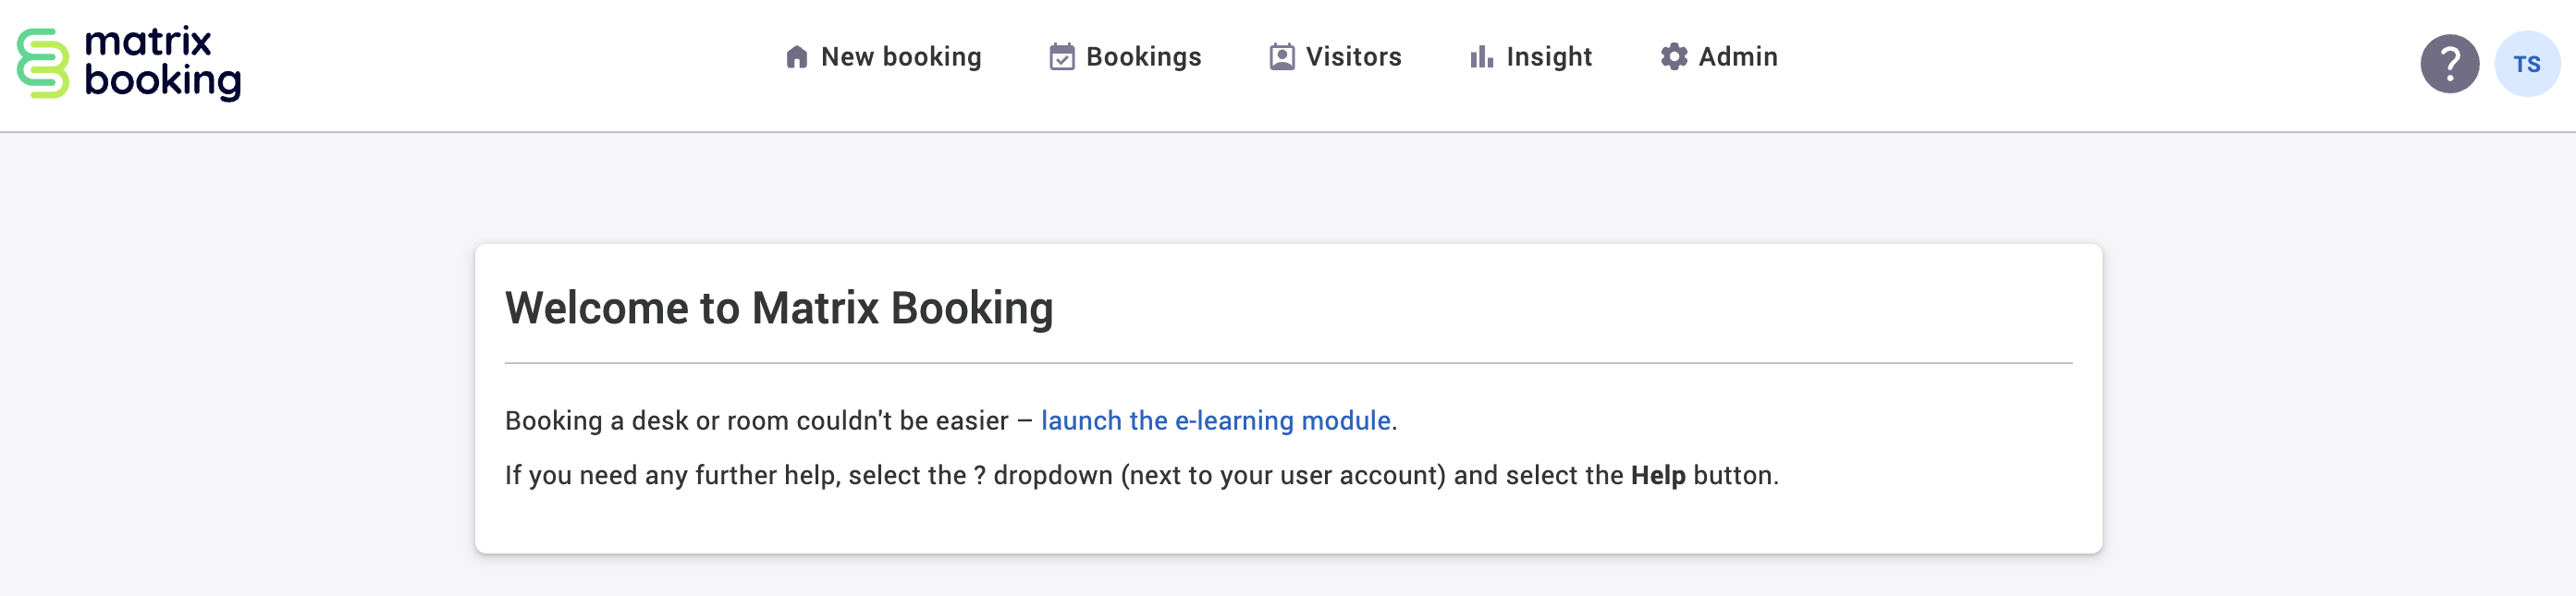
We have created the ability for an organisation to have their own banner announcement at the top of the page. Once enabled, you have 2 options:
Or:

Access the Banners screen
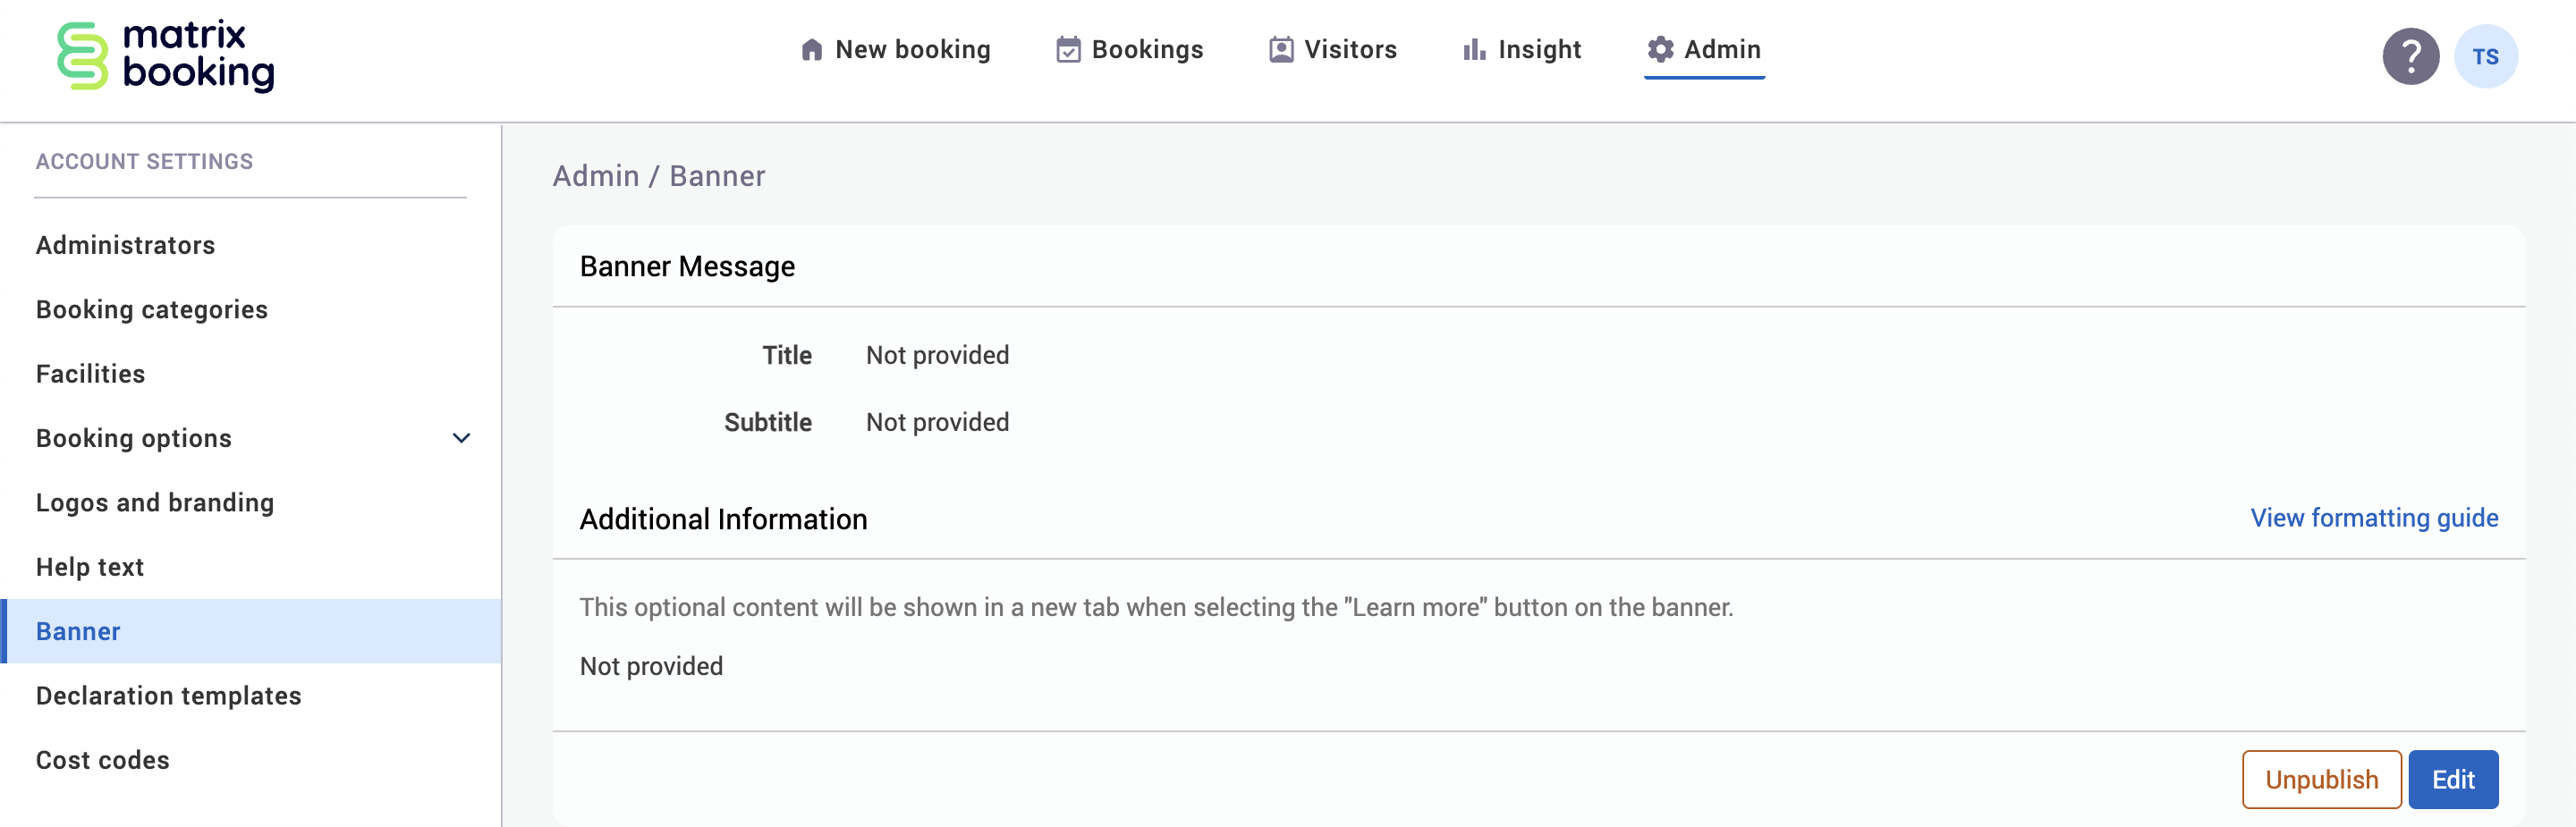
To access the Banners screen:
-
Select Admin in the navigation bar.
-
Select Banner under the Account Settings section in the side menu.
Create a banner
To create a banner:
-
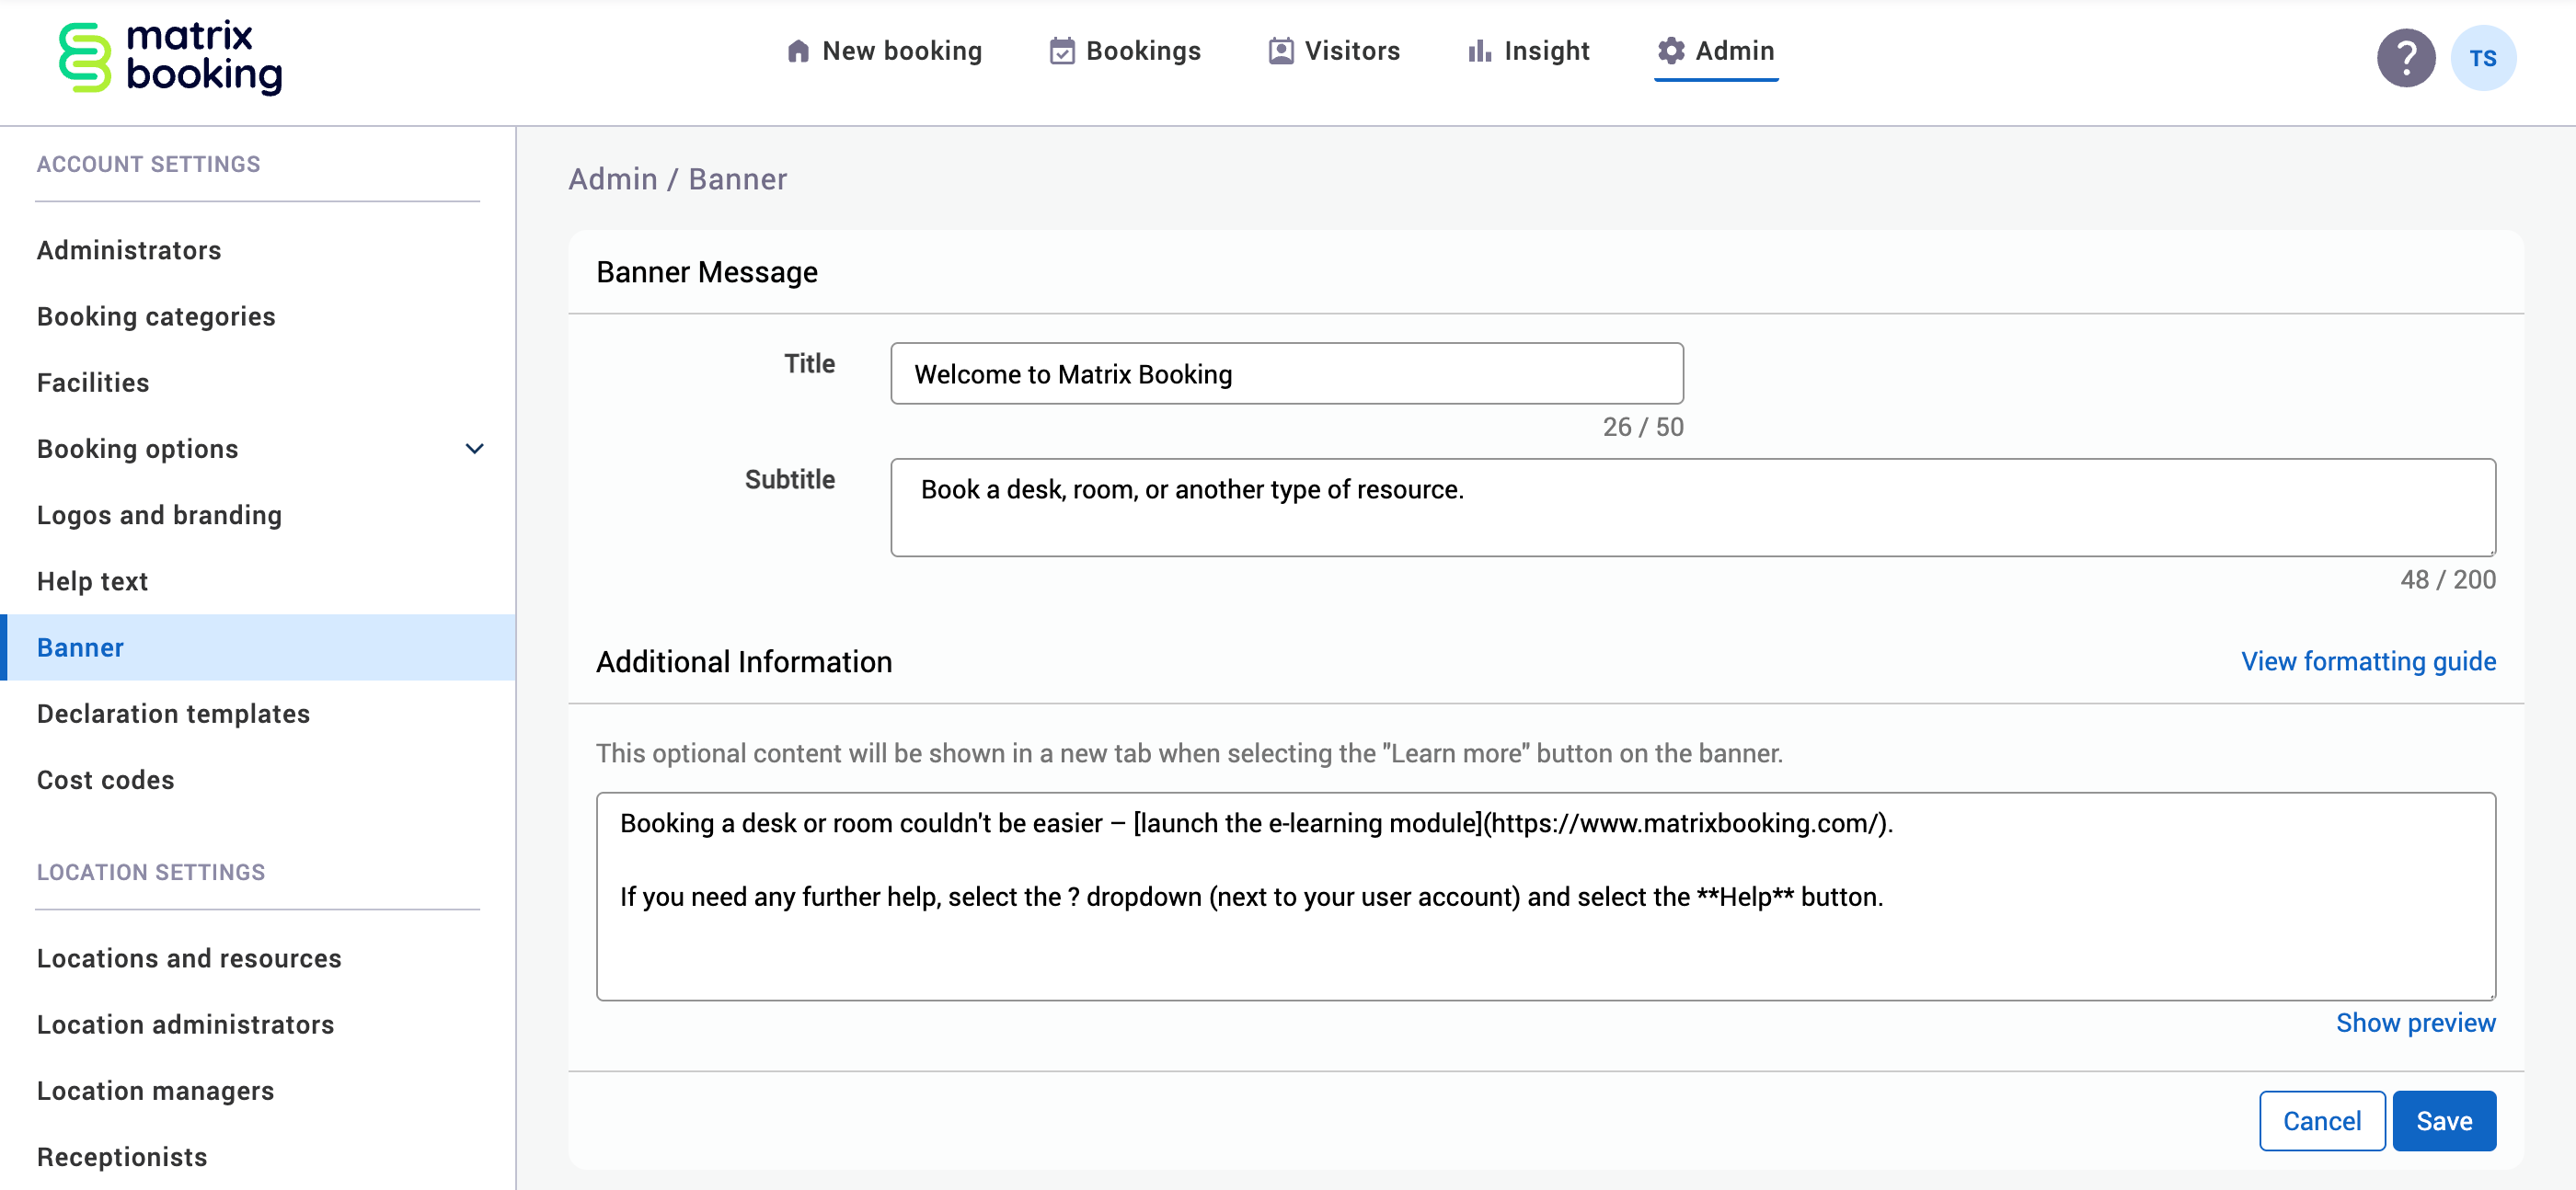
Select Edit.
-
Enter your Title and Subtitle in the text boxes.
-
Select View formatting guide to view a tutorial on more complex formatting for the Additional Information section (for example,
# Heading level 1). -
Enter your additional information in the text box (optional).
-
You can add more complex formatting here, including:
-
images
-
logos
-
links
-
and more
-
-
-
Select Save. If the Title and Subtitle details are entered and the page is saved, the details will be displayed on the Banner screen.
-
Select Publish.
-
The page will be live immediately.
Note: if you remove the text, the banner will be automatically removed.
Edit a banner
To edit your banner after its been made live:
-
Select Edit.
-
Make your changes (for example, new text).
-
Select Save.
-
Select Publish.
❮ Back
Help text and e-learning modules