This page explains how you can upload your logos and email headers:
Access the Logos and branding screen
To access the Logos and branding screen:
-
Select Admin in the navigation bar.
-
Select Logos and Branding under the Account Settings section in the side menu.
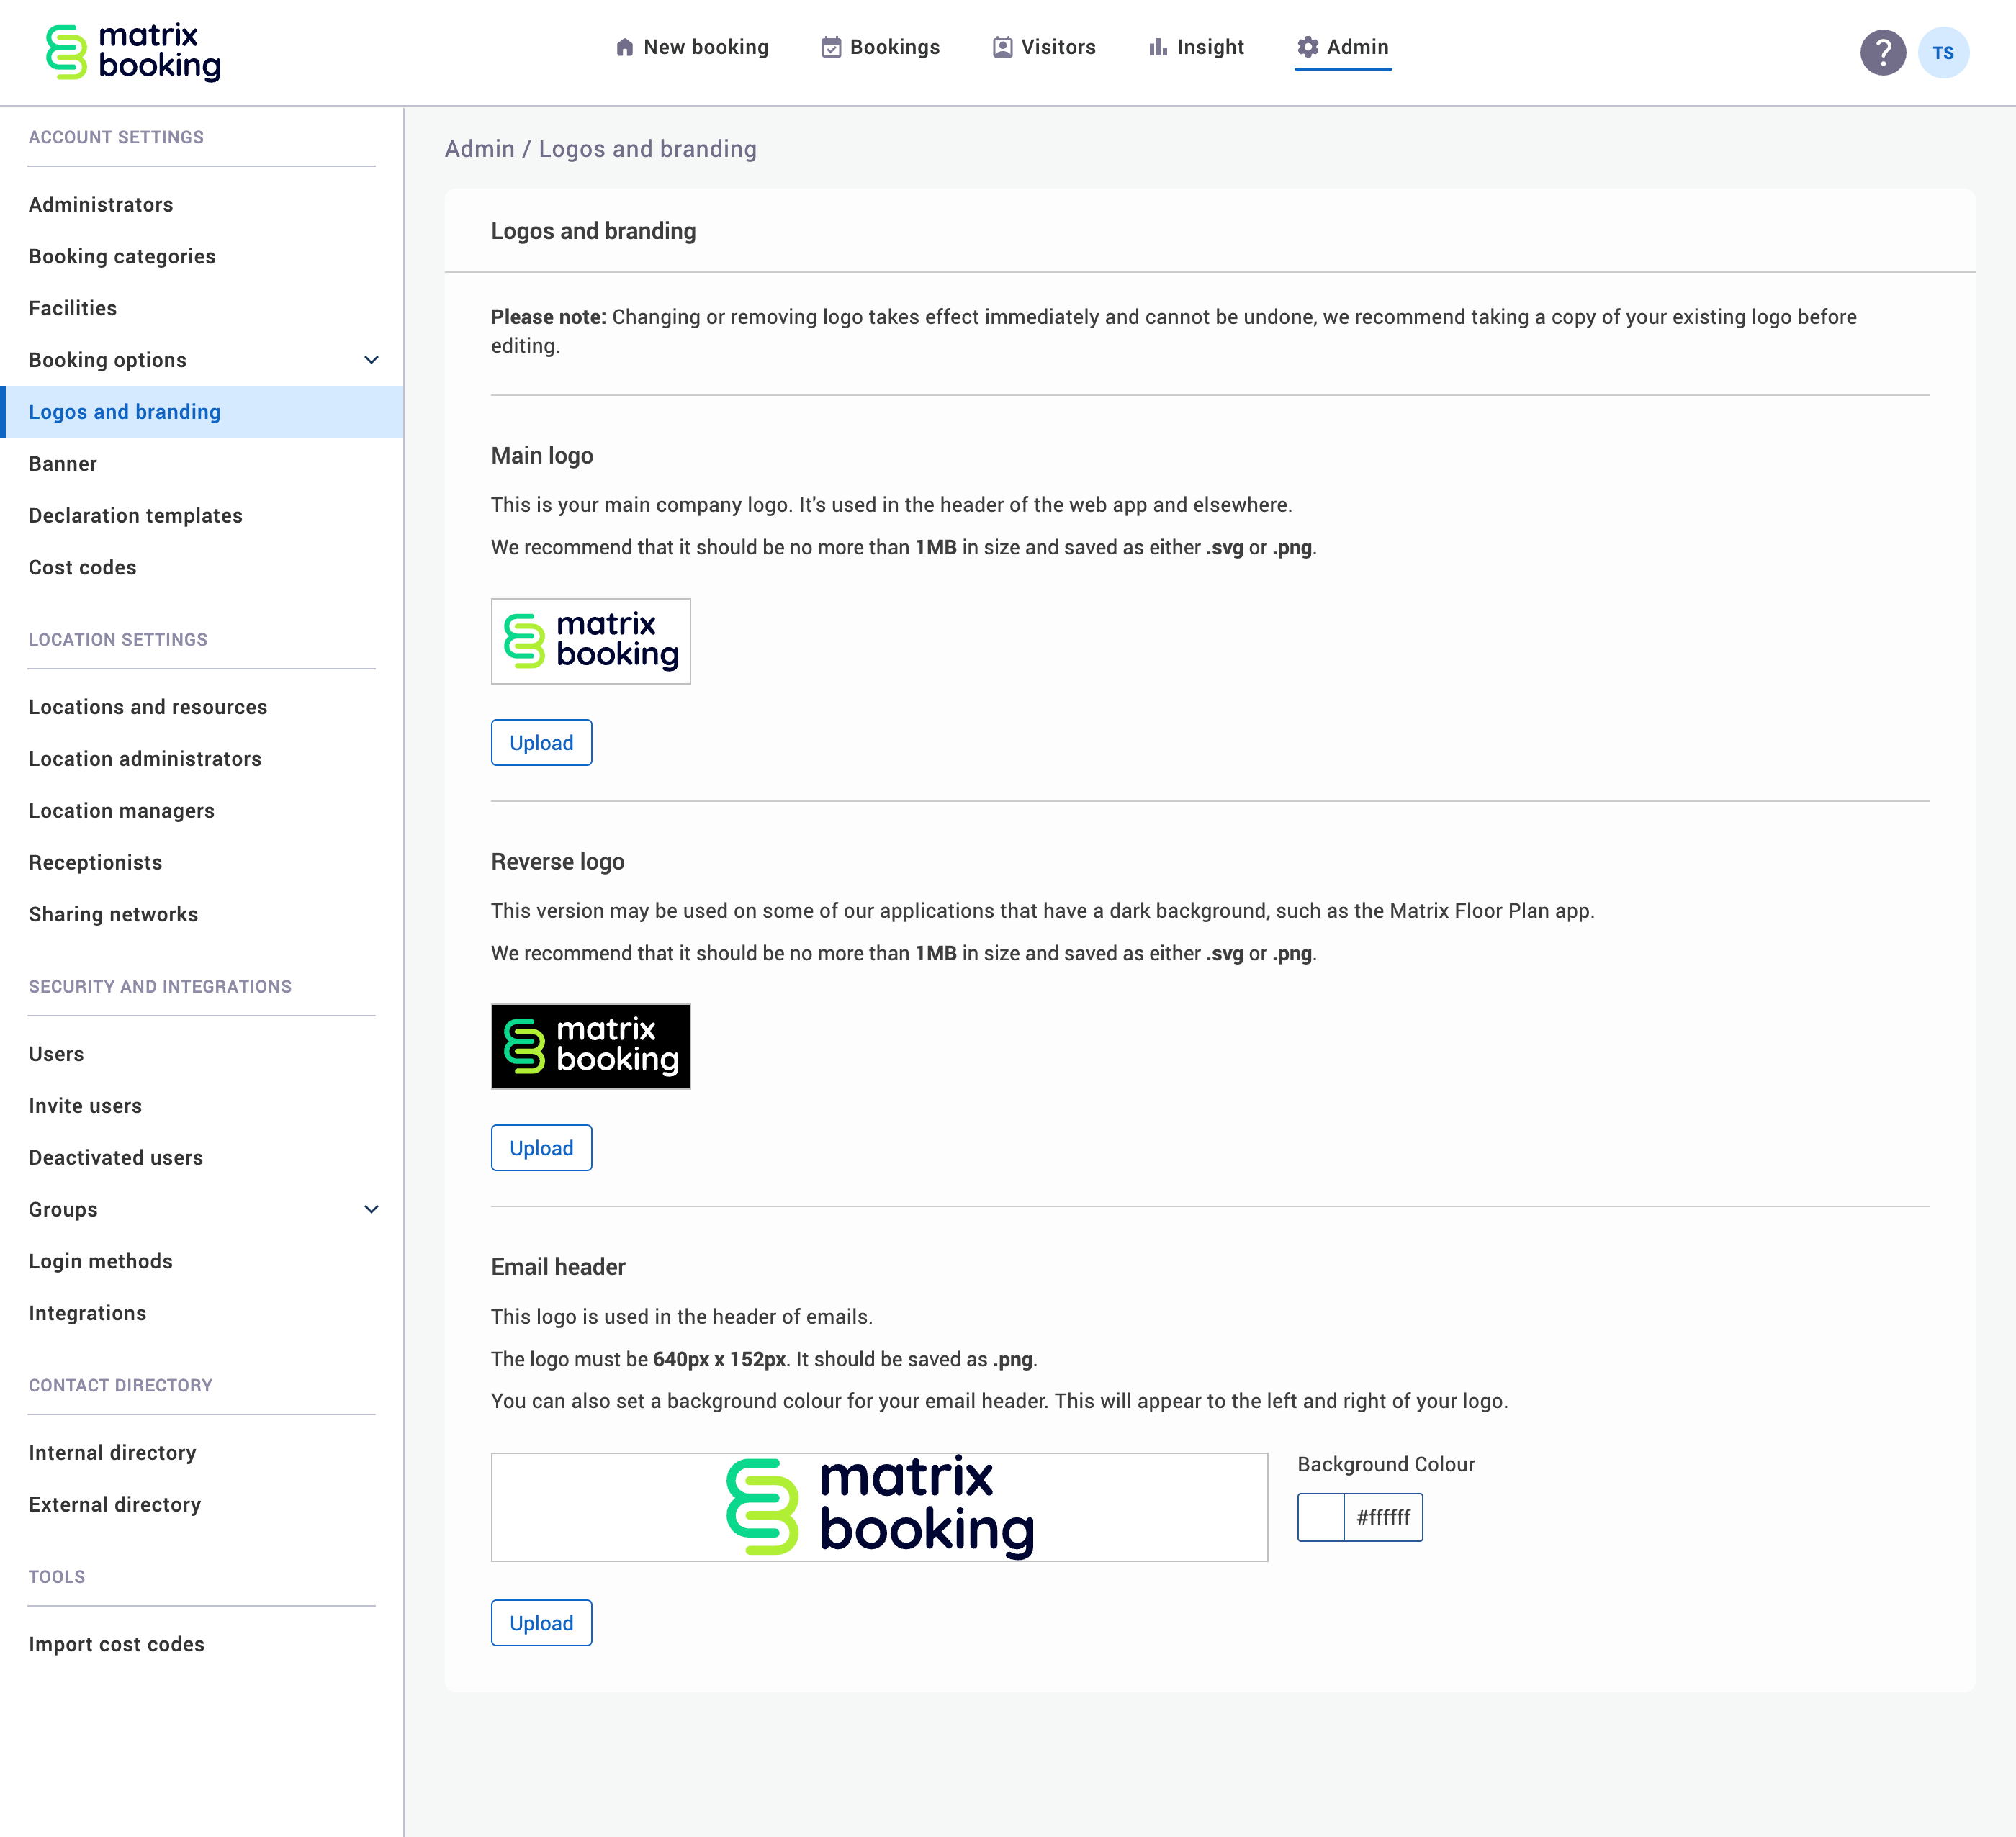
Upload your logo
There are 2 types of logos:
-
Your default logo.
-
Your reverse logo, where the colours are reversed because it clashes with the background (optional).
Uploading either type of logo is exactly the same process:
-
Select Upload under the logo section you wish to upload (for example, Reverse logo).
This will bring up the file explorer on your computer (for example, Finder on Apple Macs). -
Go to where the file or image is stored on your computer.
-
Select Open (or equivalent depending on the type of computer you’re using).
Warning: your logo must be:
-
An image with a transparent background.
-
A file size under 1 MB.
-
Any of the following file types:
-
.svg -
.png -
.jpg -
.gif
-
Change your logo
To change your logo, follow the Upload your logo steps and pick a different image or file to replace your current logo.
Warning: this will overwrite your existing logo.
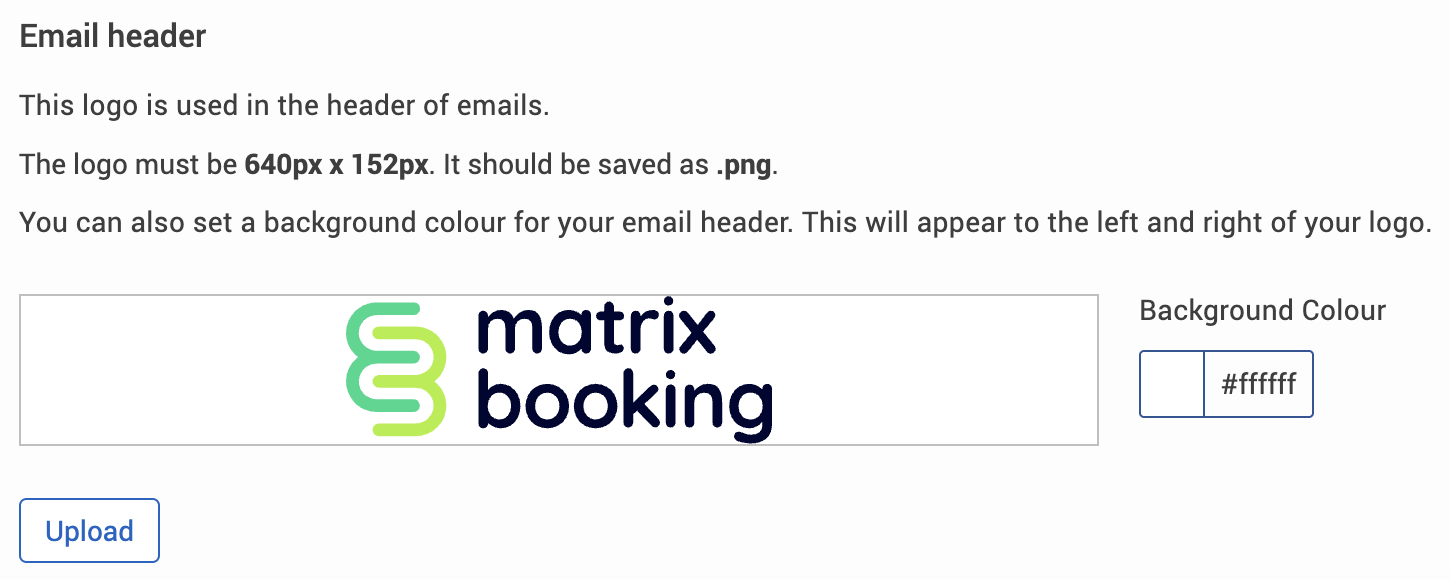
Upload your email header
To upload your email header:
-
Select Upload under the Email header section.
This will bring up the file explorer on your computer (for example, Finder on Apple Macs). -
Go to where the file or image is stored on your computer.
-
Select Open (or equivalent depending on the type of computer you’re using).
-
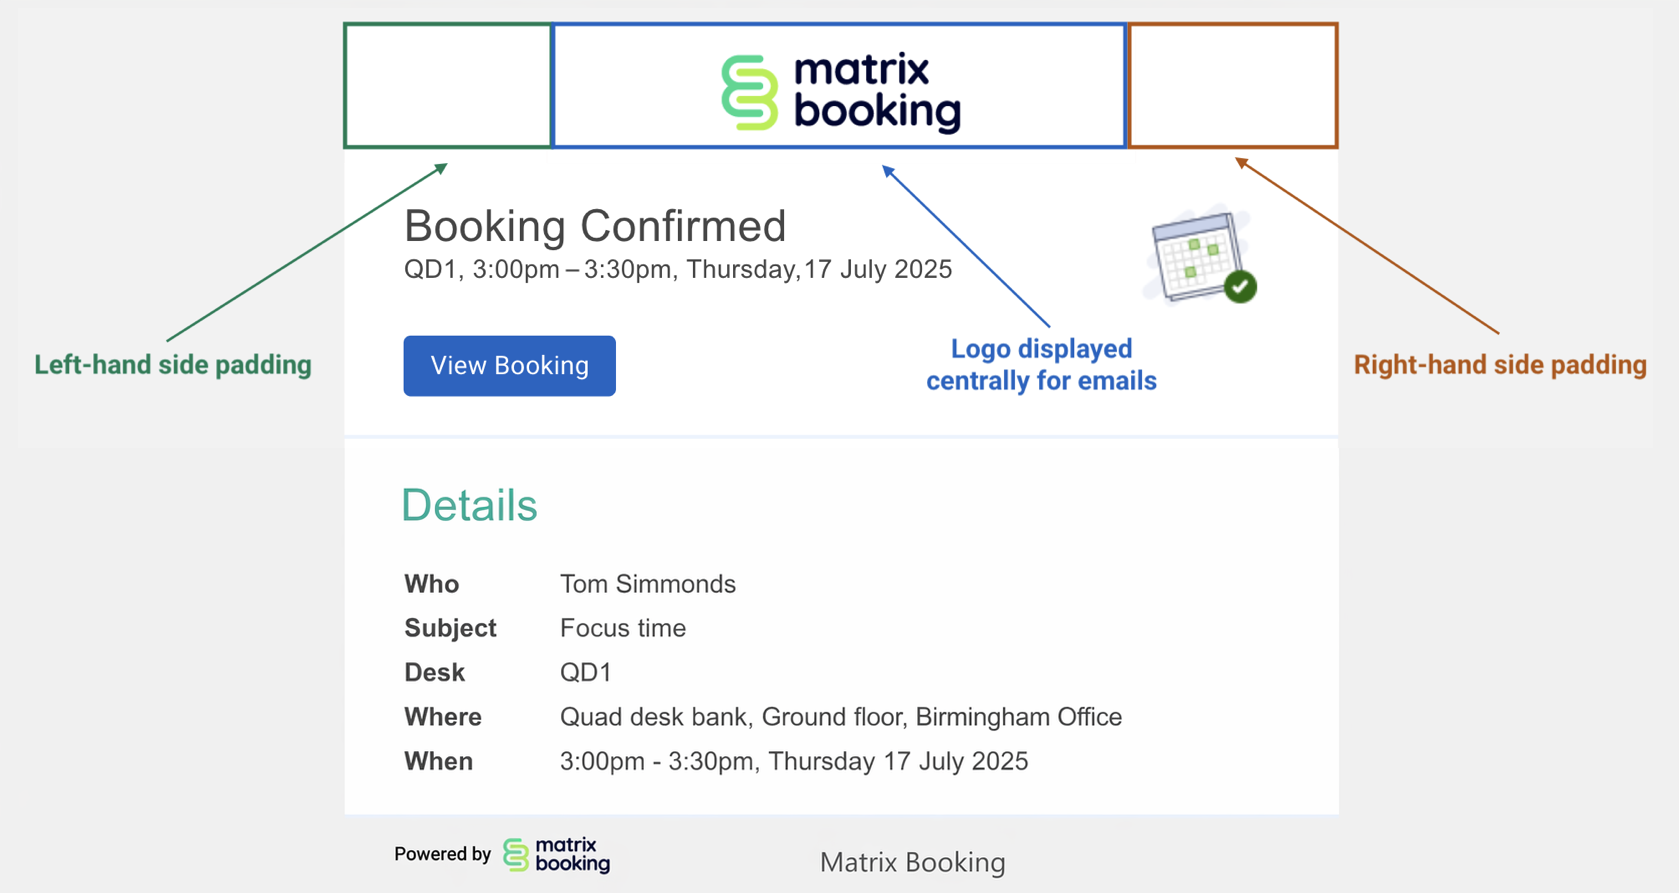
Your email header will be display the logo you uploaded:
Warning: the image must be:
-
640 x 152 pixels
-
Either of the following file types:
-
.png -
.jpg
-
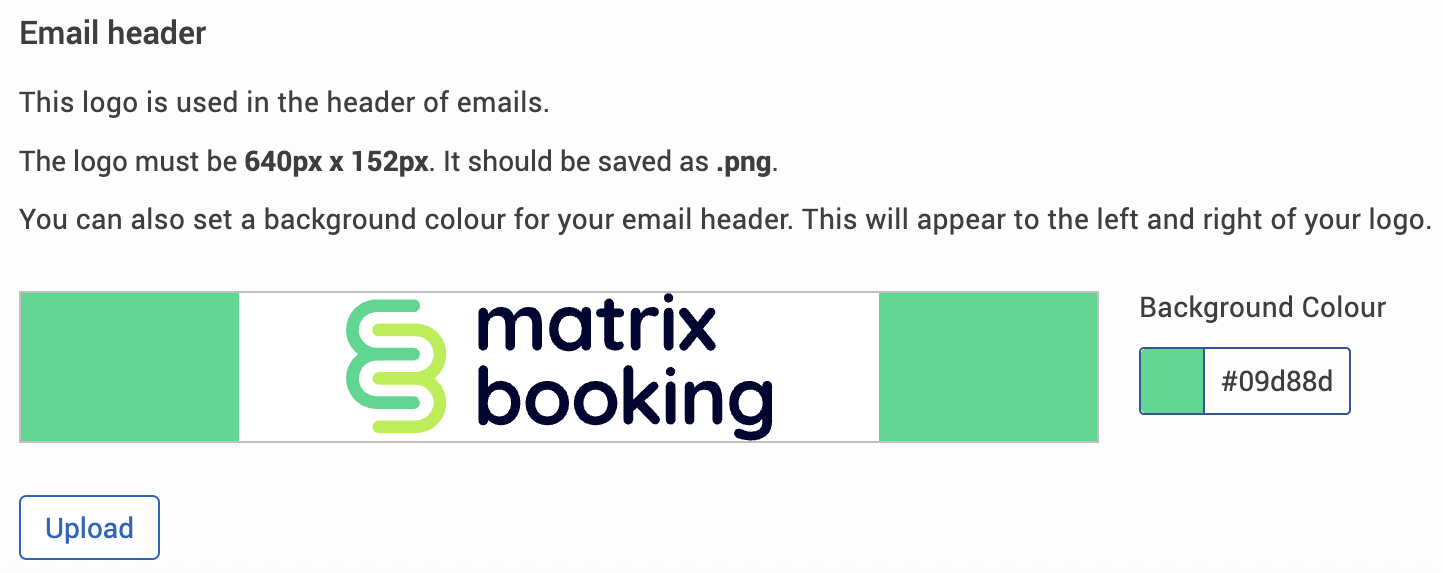
Background colour
You can change the background of your email header. To the side of where your email header image is, there’s a section called Background Colour.
Note: each colour has its own unique hex code.
There are multiple ways to change the background colour:
-
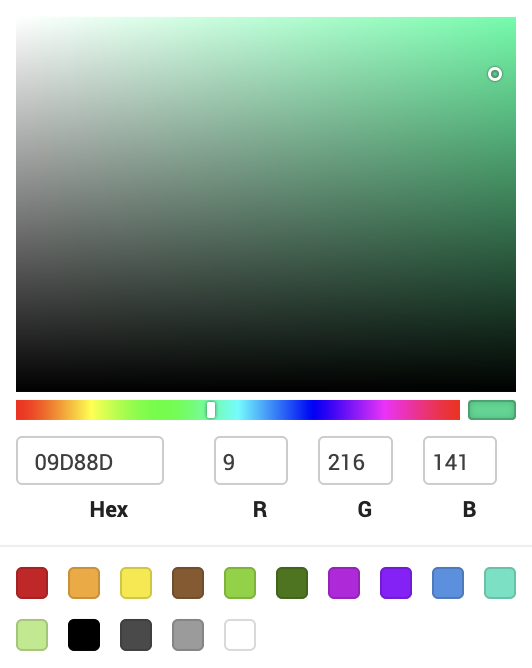
Select either box under the Background Colour section. The colour mixer will open.
-
You can either:
-
Enter the hex code of the colour that you want in the text box available (where FFFFFF is).
-
Enter the RGB values you want in the related text boxes.
-
Manually select a colour from the colour slider and colour pane.
-
Select a preset colour
-
-
For a manually-selected colour, select the colour on the colour slider you want.
-
Select the colour and shade you want in colour pane.
-
Select 1 of the preset colours at the bottom of the dialog.
-
You can exit the mixer by selecting anywhere else on the screen.
-
In this example, the colour has changed from white (#ffffff) to blue (#09d88d) on both sides of your email header.
Change your email header
To change your logo, follow the Upload your email header steps and pick a different image or file to replace your current logo.
Warning: this will overwrite your existing email header.