This page describes the different settings you can apply in the Attendee count section of the Settings tab when you edit a location or resource:
Booking category selector
-
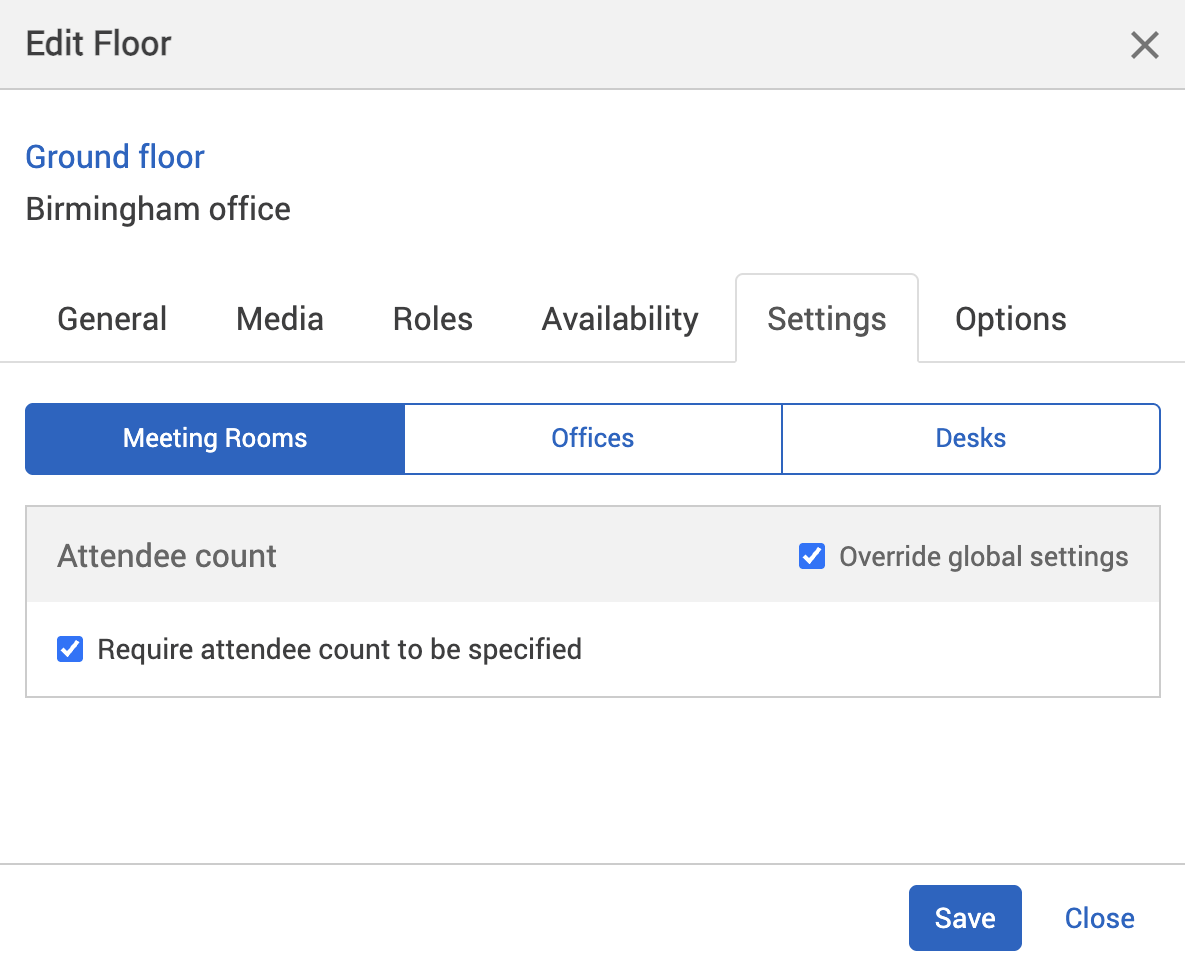
Underneath the Time zone section, your booking categories can be selected. For example, Meeting Rooms.

-
As the Time zone section is above the booking category selector, it’s not affected by the booking category selector.
-
All settings below the booking category selector are specific to the booking category that you select (for example, Meeting Rooms).
-
Make sure that you’ve selected the right booking category before making any changes to your settings.
Attendee count
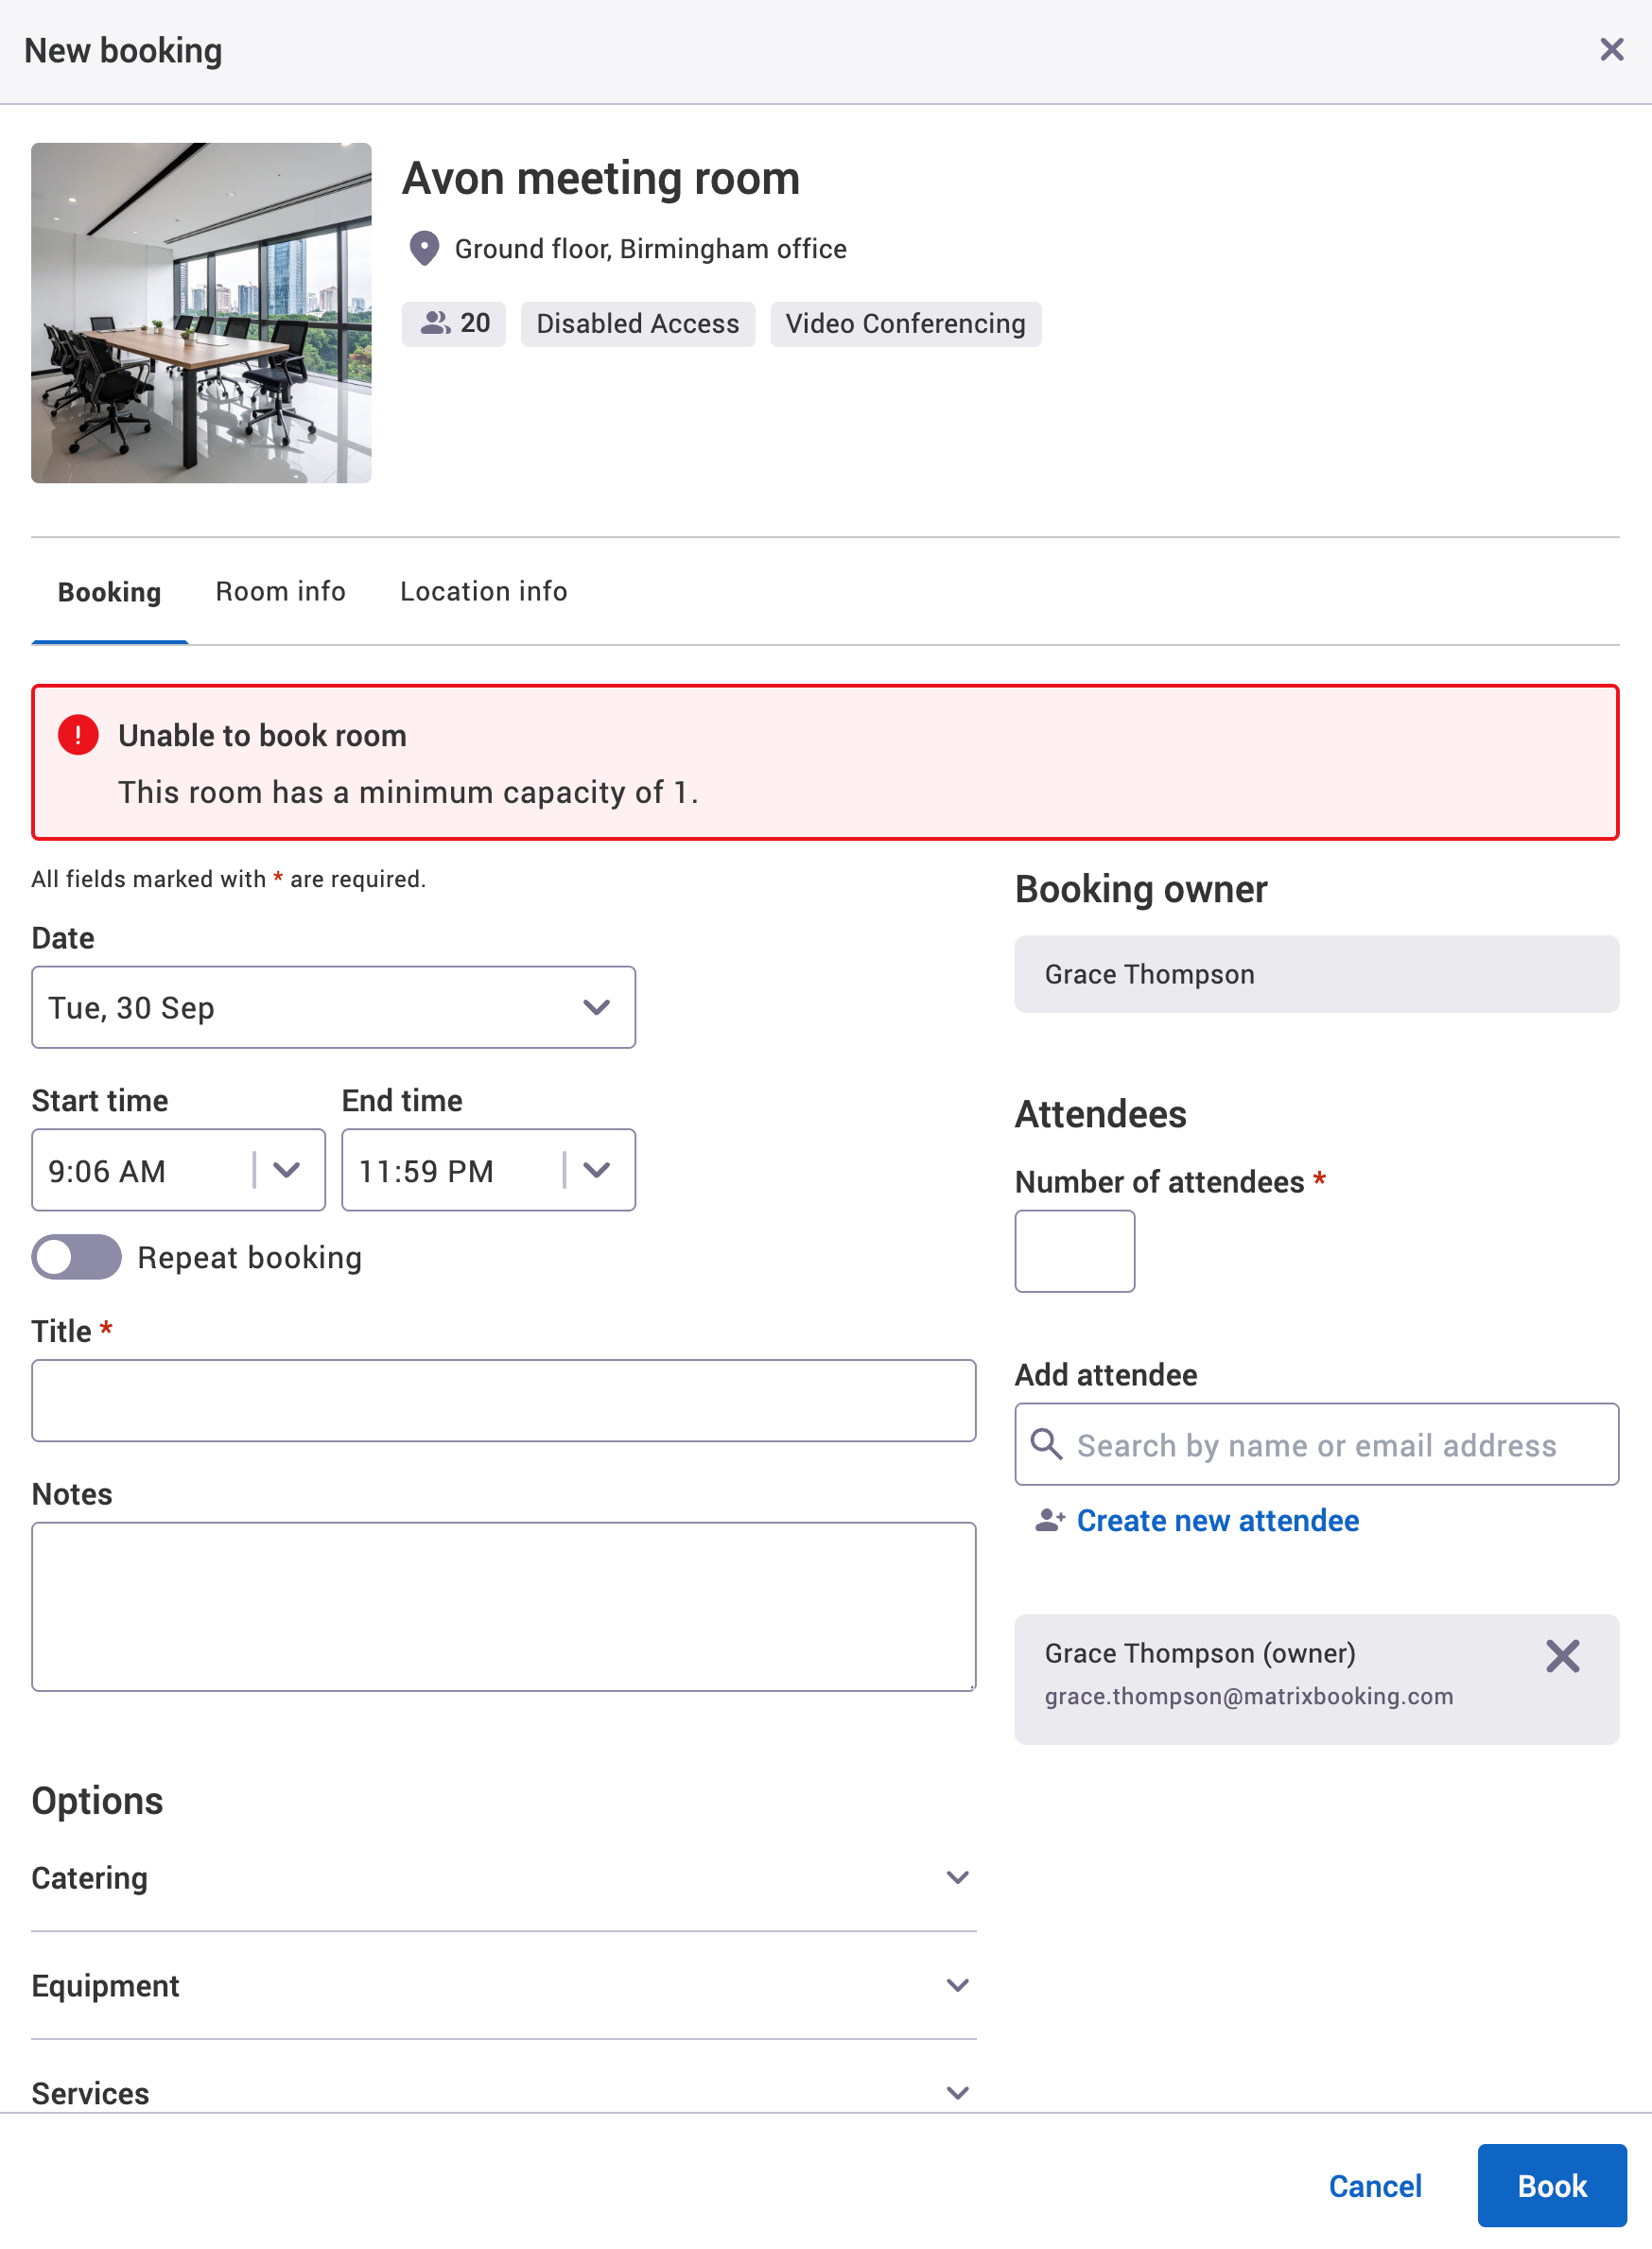
The Attendee count section gives you the option to ask users making a booking to add how many people will be attending the booking.

This helps for resource utilisation dashboards in Matrix Booking Insight to show because you’ll have a more accurate picture of who physically attended the booking and who joined the booking online.

This doesn’t stop the booking being made if the number of people exceeds the resource’s capacity, but you’ll be warned about it.
Set up Attendee count settings
To set up the Attendee count settings of a location or resource:
-
Select Admin in the navigation bar.
-
Select Location and resources under the Location Settings section in the side menu.
-
Select Edit hierarchy. Your Locations and resources hierarchy will appear.
-
Select Edit next to the location or resource. The Edit [Location or Resource] pop-up will appear with the General tab selected by default.
-
Select the Settings tab.
-
Select the correct resource using the booking category selector.
-
Select the Override global settings or Override [location or resource] tick box under the Attendee count section.
-
Check if the Require attendee count to be specified tick box are greyed out. If it is, this means that this settings is inherited from a higher level in your resource hierarchy. You may have it switched on at that level for a reason.
-
Select the Require attendee count to be specified tick box.
-
Select either of the following and the pop-up will close to return you to the Locations and resources hierarchy:
-
Save to keep you changes.
-
Close to discard your changes.

-
-
Select Save changes.
Notes:
-
Settings from a location or resource that’s higher in your hierarchy will be inherited by locations and resources below it. These settings will appear greyed out in the locations or resources lower in the hierarchy. If they are, this means that these settings are inherited from a higher level in your resource hierarchy. You may have them switched on at that level for a reason.
-
Changing the settings described above may affect other features you have for your organisation.