This page describes the different settings you can apply in the Visitors section of the Settings tab when you edit a location or resource:
Booking category selector
-
Underneath the Time zone section, your booking categories can be selected. For example, Meeting Rooms.

-
As the Time zone section is above the booking category selector, it’s not affected by the booking category selector.
-
All settings below the booking category selector are specific to the booking category that you select (for example, Meeting Rooms).
-
Make sure that you’ve selected the right booking category before making any changes to your settings.
Visitors
The Visitors section gives you the option to set up:
-
Where your reception is for visitors.
-
Whether your staff are part of the Visitors list.
-
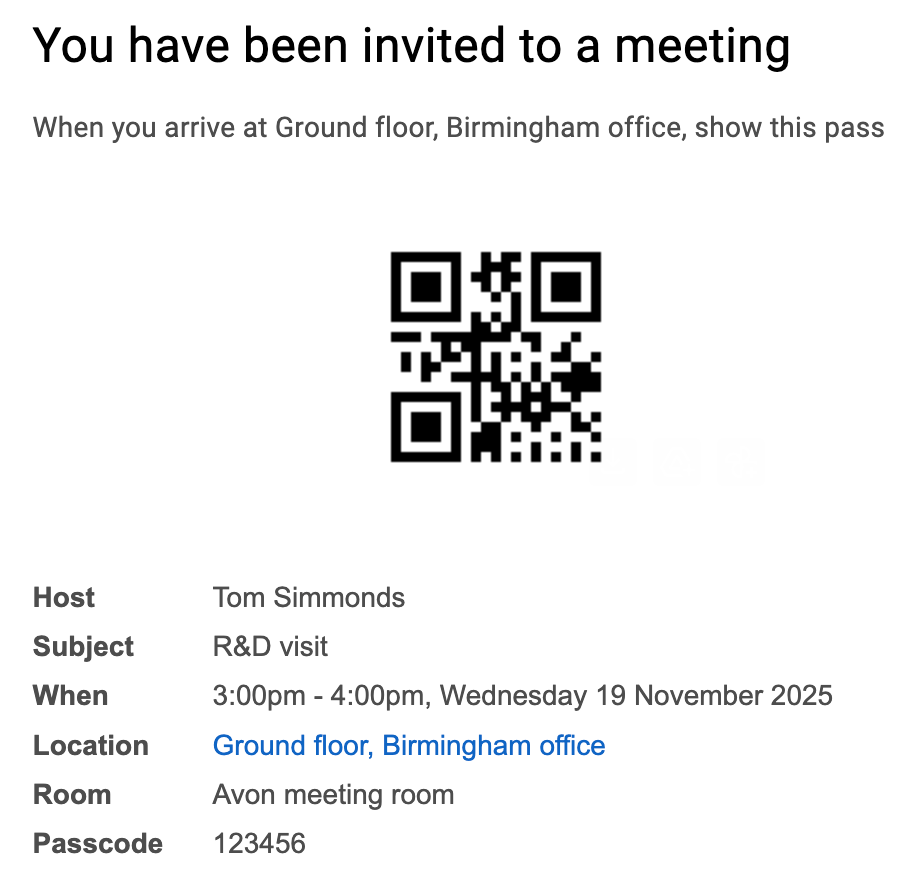
Whether staff and visitors receive passcodes or QR codes.
-
Whether they have to sign a declaration.
Receptions
We recommend that you set your reception up at the building level and have 1 reception per building. You should see the building name appear below that as a dedicated reception. This will allow you to specify this building as a location for your visitors to arrive at.
Note: Matrix Booking has a feature switch that prevents standard users from seeing each other’s external visitors. This feature will therefore keep external visitor information confidential between standard users. Only administrators will have access to external visitor information in the External directory screen. This feature is switched off by default. To switch this feature on, raise a change setup support ticket.
Set up Visitors settings
To setting up Visitor settings:
-
Select Admin in the navigation bar.
-
Select Locations and resources under the Location Settings section in the side menu.
-
Select Edit hierarchy. The Locations and resources hierarchy will appear.
-
Select Edit next to the location or resource you want to change. The Edit [Location or Resource] dialog will appear with the General tab selected by default.
-
Select the Settings tab.
-
Select the correct resource using the booking category selector.
-
Select the Override global settings or Override [location or resource] checkbox under the Visitors section.
-
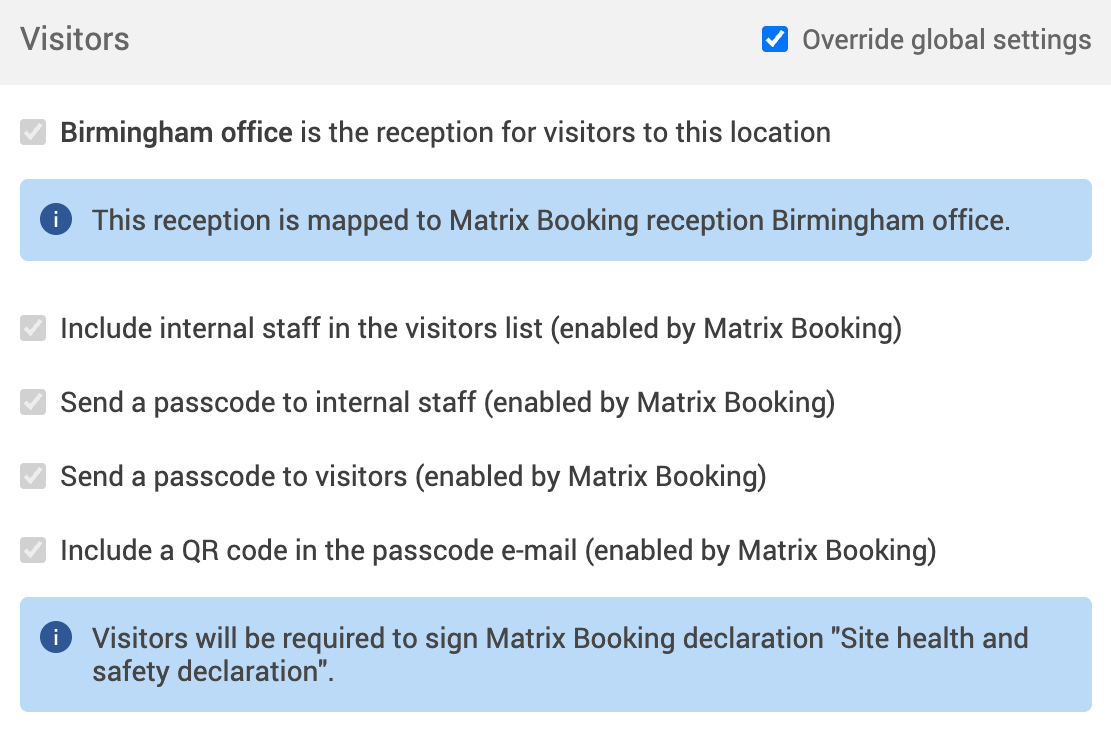
Check if any of the checkboxes are greyed out. If they are, this means that these settings are inherited from a higher level in your resource hierarchy. You may have them switched on at that level for a reason.
-
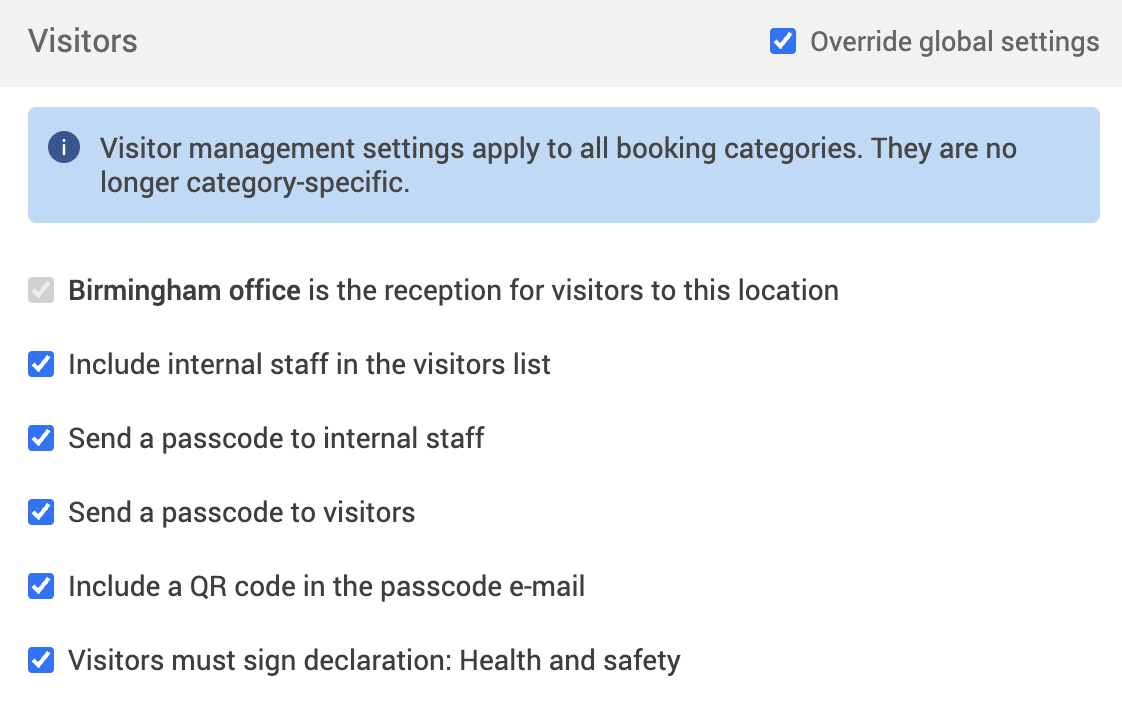
The [Building] is the reception for visitors to this location checkbox will be automatically selected for you.
-
Optional – select any of the following that you want to set up:
-
The Include internal staff in the visitors list checkbox.
-
The Send a passcode to internal staff checkbox.
-
The Send a passcode to visitors checkbox.
-
The Include a QR code in the passcode email checkbox.
-
-
Select either of the following and the dialog will close to return you to the Locations and resources hierarchy:
-
Save to keep your changes.
-
Close to discard your changes.
-
-
Select Save changes.
Notes for Visitors settings
-
Settings from a location or resource that’s higher in your hierarchy will be inherited by locations and resources below it. These settings will appear greyed out in the locations or resources lower in the hierarchy. If they are, this means that these settings are inherited from a higher level in your resource hierarchy. You may have them switched on at that level for a reason.
-
Changing the settings described above may affect other features you have for your organisation.
-
These settings aren’t booking category-specific. They apply to all booking categories. This means that the Visitors settings don’t need to be switched on for each category using the booking category selector.
-
If reception sharing is switched on, the Visitors section will show what reception is mapped by which organisation.
-
If reception sharing is switched on, the sharer organisation’s Visitors settings will override the sharee organisation’s Visitors settings. Any Visitors settings that the sharer organisation switches on will be switched on and greyed out for the sharee organisation. If those settings aren’t switched on by the sharer organisation, the sharee organisation can choose to switch them for their visitors.
-
If the sharer organisation has declarations switched on, visitors will receive its declaration email as well as one from the sharee organisation they are visiting (if switched on).