Booking options can be set at any level in the resource hierarchy. For example, you can edit the building or site, and make tea and coffee available. It will be available for all rooms in that building or site, and it can be set at a local level. The Options tab will show you what options are inherited from higher locations, such as the organisation or the building.
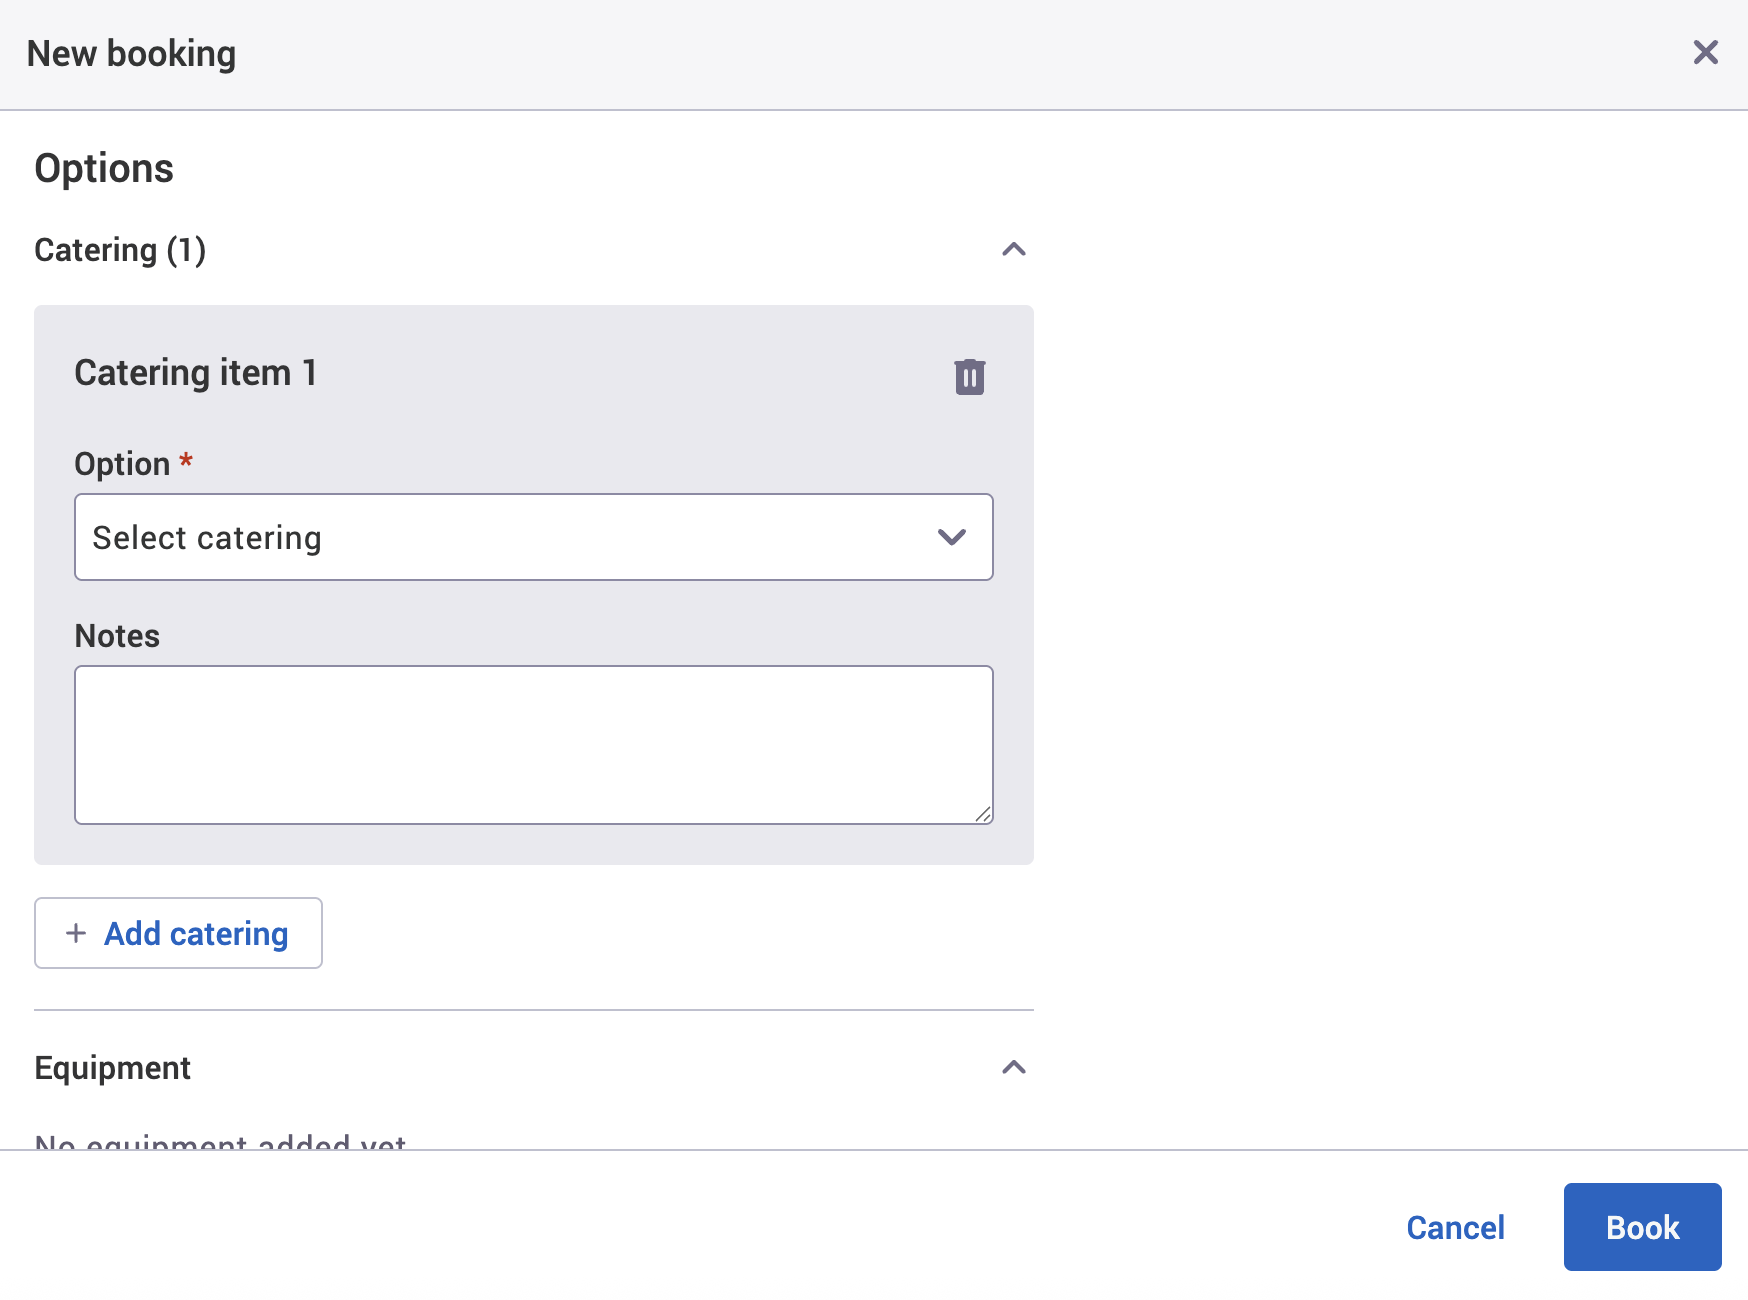
This page shows the Booking options (sometimes referred to as extras) that are available to that resource (for example, catering or flip chart):
Booking category selector
-
Underneath the Time zone section, your booking categories can be selected. For example, Meeting Rooms.

-
As the Time zone section is above the booking category selector, it’s not affected by the booking category selector.
-
All settings below the booking category selector are specific to the booking category that you select (for example, Meeting Rooms).
-
Make sure that you’ve selected the right booking category before making any changes to your settings.
Assign booking options to locations or resources
To select a booking option when you’re making a booking, you need to first assign the booking option to your resource or the location above it. To add a booking option to a resource or location:
-
Select Admin in the navigation bar.
-
Select Locations and resources under the Location Settings section in the side menu.
-
Select Edit hierarchy. The Locations and resources hierarchy will appear.
-
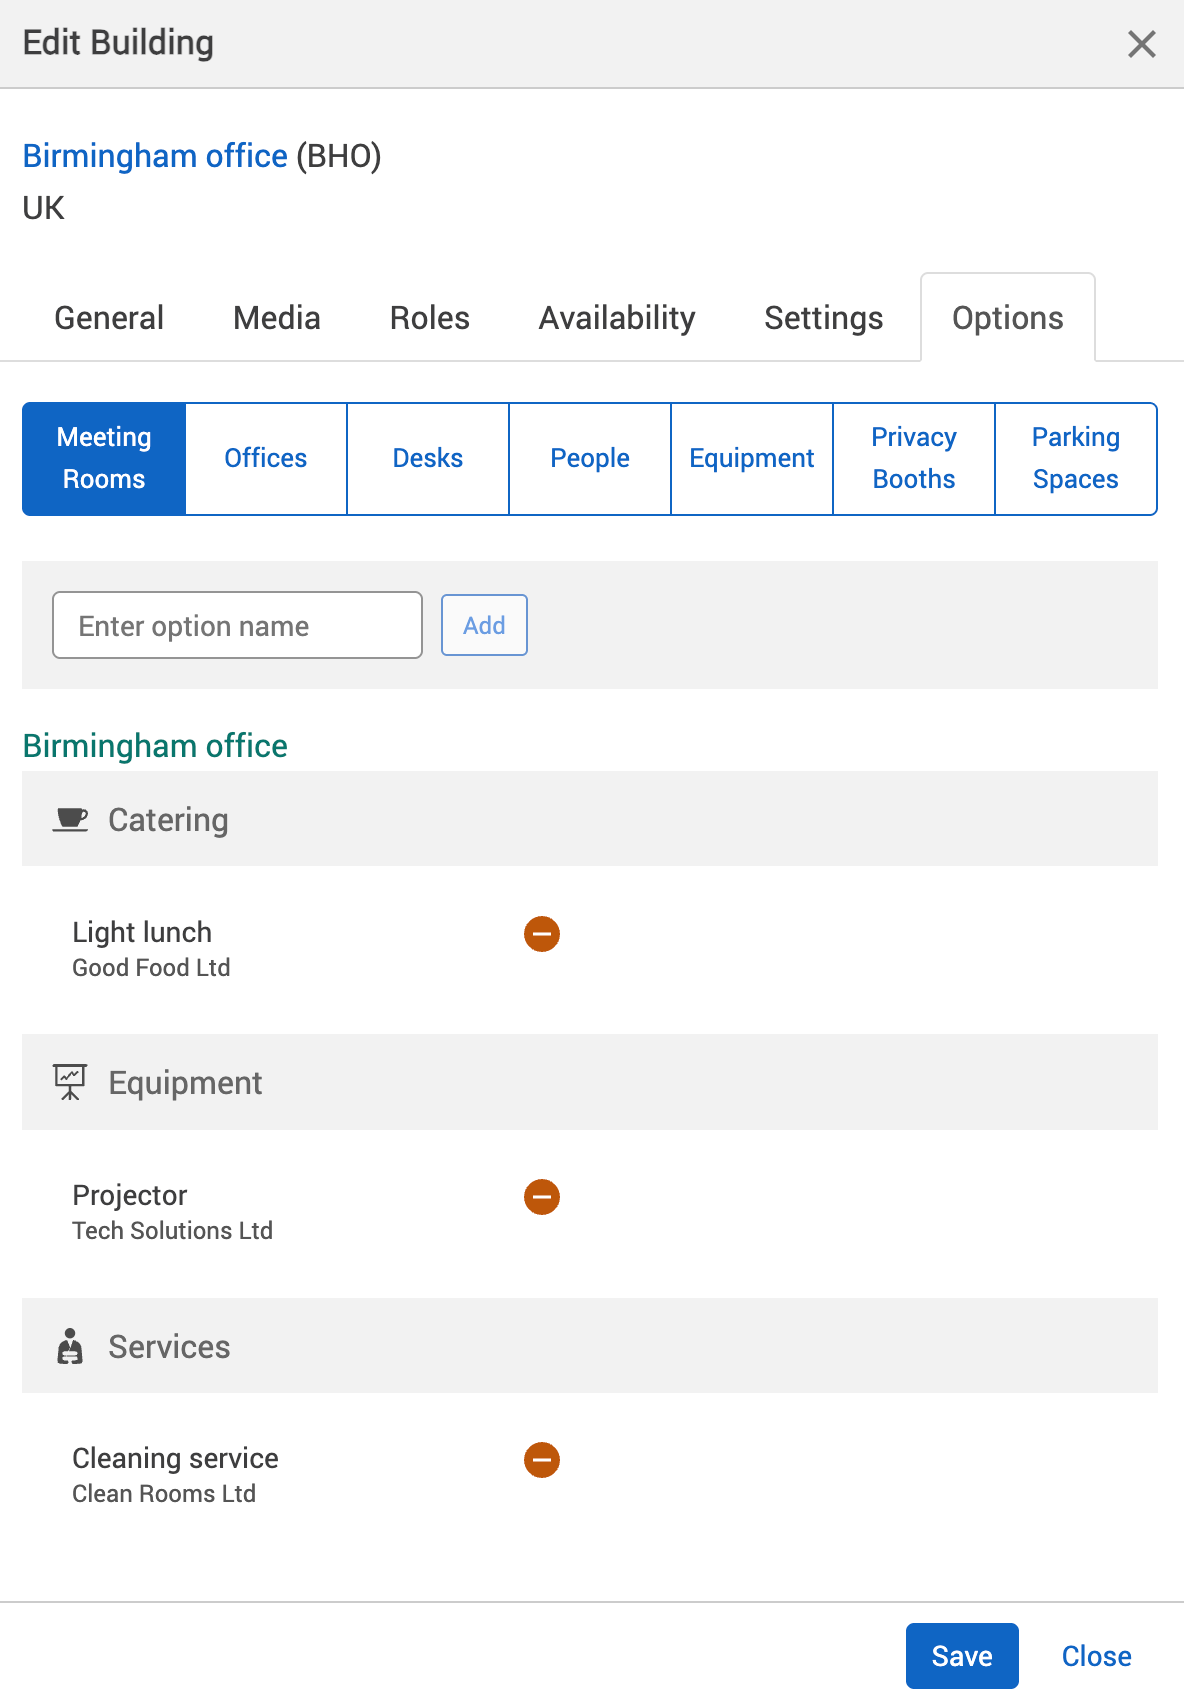
Select Edit next to the location or resource you want to change. The Edit [Location or Resource] dialog will appear with the General tab selected by default.
-
Select the Options tab.
-
Select the correct resource type using the .
-
Begin to enter the option name into the Enter option name text box. A dropdown will appear.
-
Select the option you want from the dropdown. This will auto-populate the text box with your booking option.
-
Select Add.
-
To add more booking options,
-
To remove a booking option, select the – Remove button next to that booking option.
-
Select either of the following and the dialog will close to return you to the Locations and resources hierarchy:
-
Save to keep your changes.
-
Close to discard your changes.
-
-
Select Save changes.
Notes:
-
You need to have created booking options in the Booking options screen before adding an option this way. To create new options (for example, a new type of catering), see Booking options.
-
We recommend that you assign a booking option to a higher level in the hierarchy (for example, at the building level) so that the lower levels in the hierarchy (for example, meeting rooms) inherit the booking option.
Remove booking options from locations and resources
Once a booking option has been used in a previous booking, it becomes a part of the booking’s history. When that happens, you won’t be able to delete it from the Booking options screen.
We don’t recommend editing a booking option as this will affect historical booking data. Instead, we recommend that you remove the booking option from the location or resource that it’s been assigned to. That way, the booking histories are accurately maintained, it reduces the number of booking options to a manageable list, and stops users from selecting a booking option that’s no longer available in your organisation.
To remove a booking option from a location or resource, .