This page explains how to set up our frictionless check-in feature using our web and mobile apps:
Frictionless check-ins
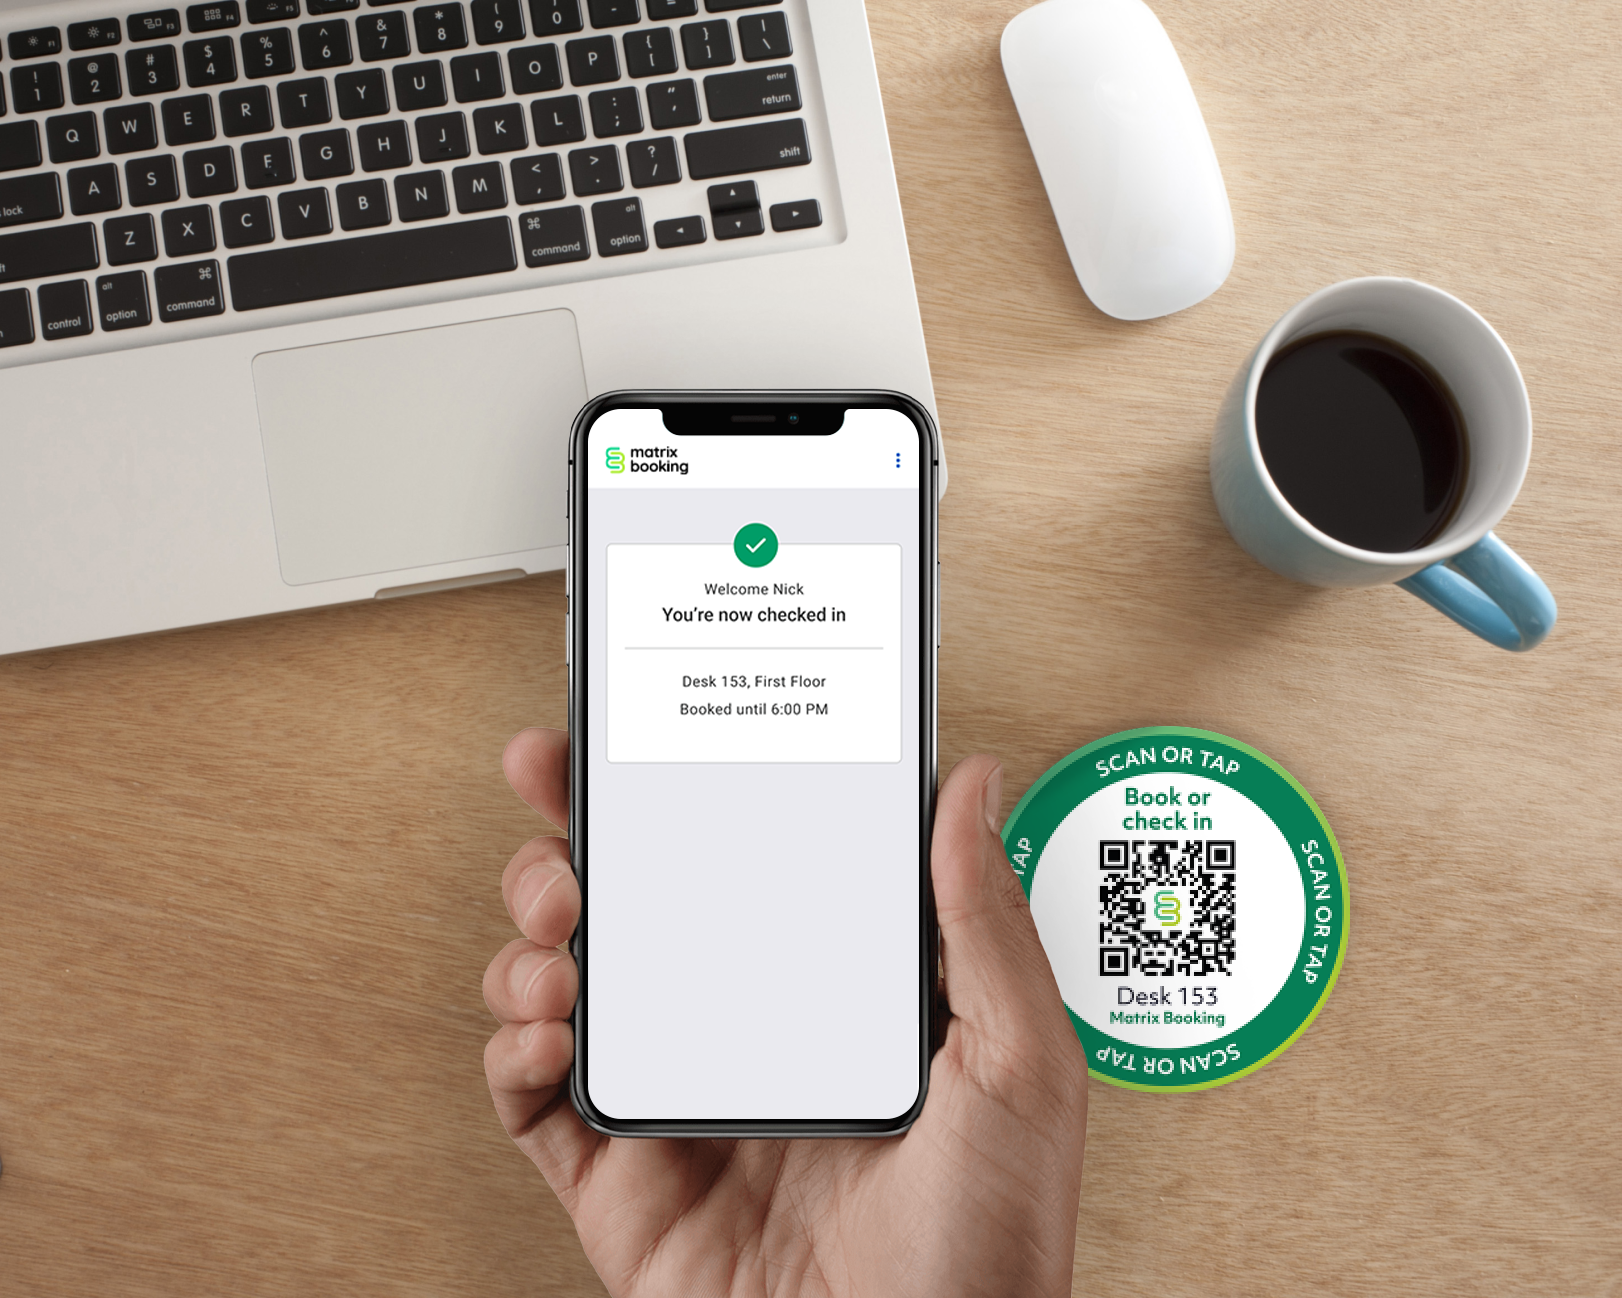
Checking in means that you’ve confirmed that you’re using or going to use that resource. Your booking will be started at the start time of your booking and won’t be auto-cancelled.
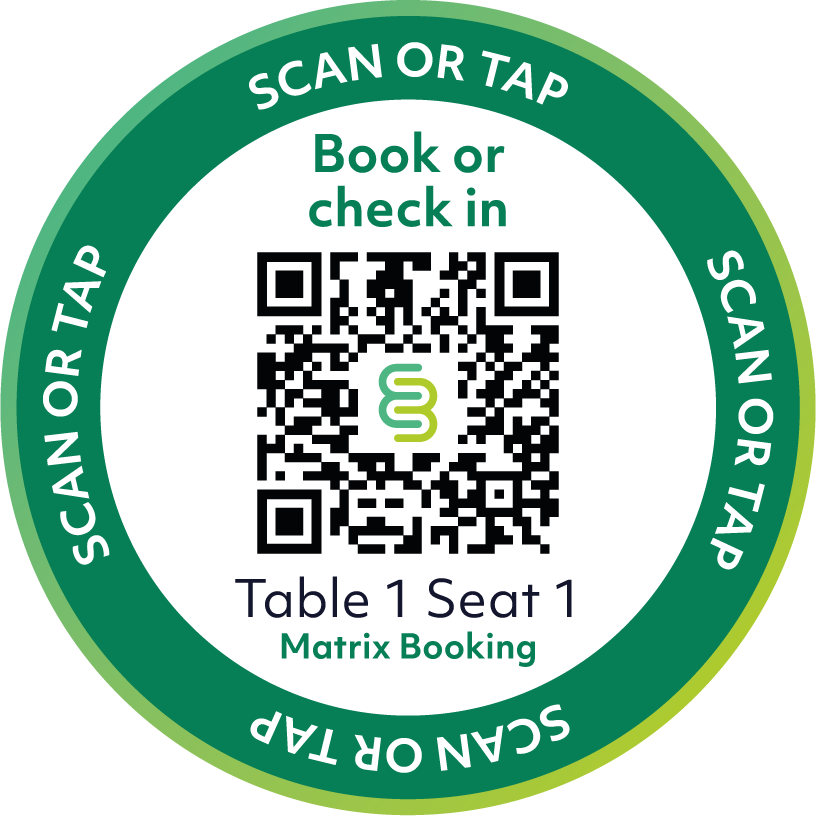
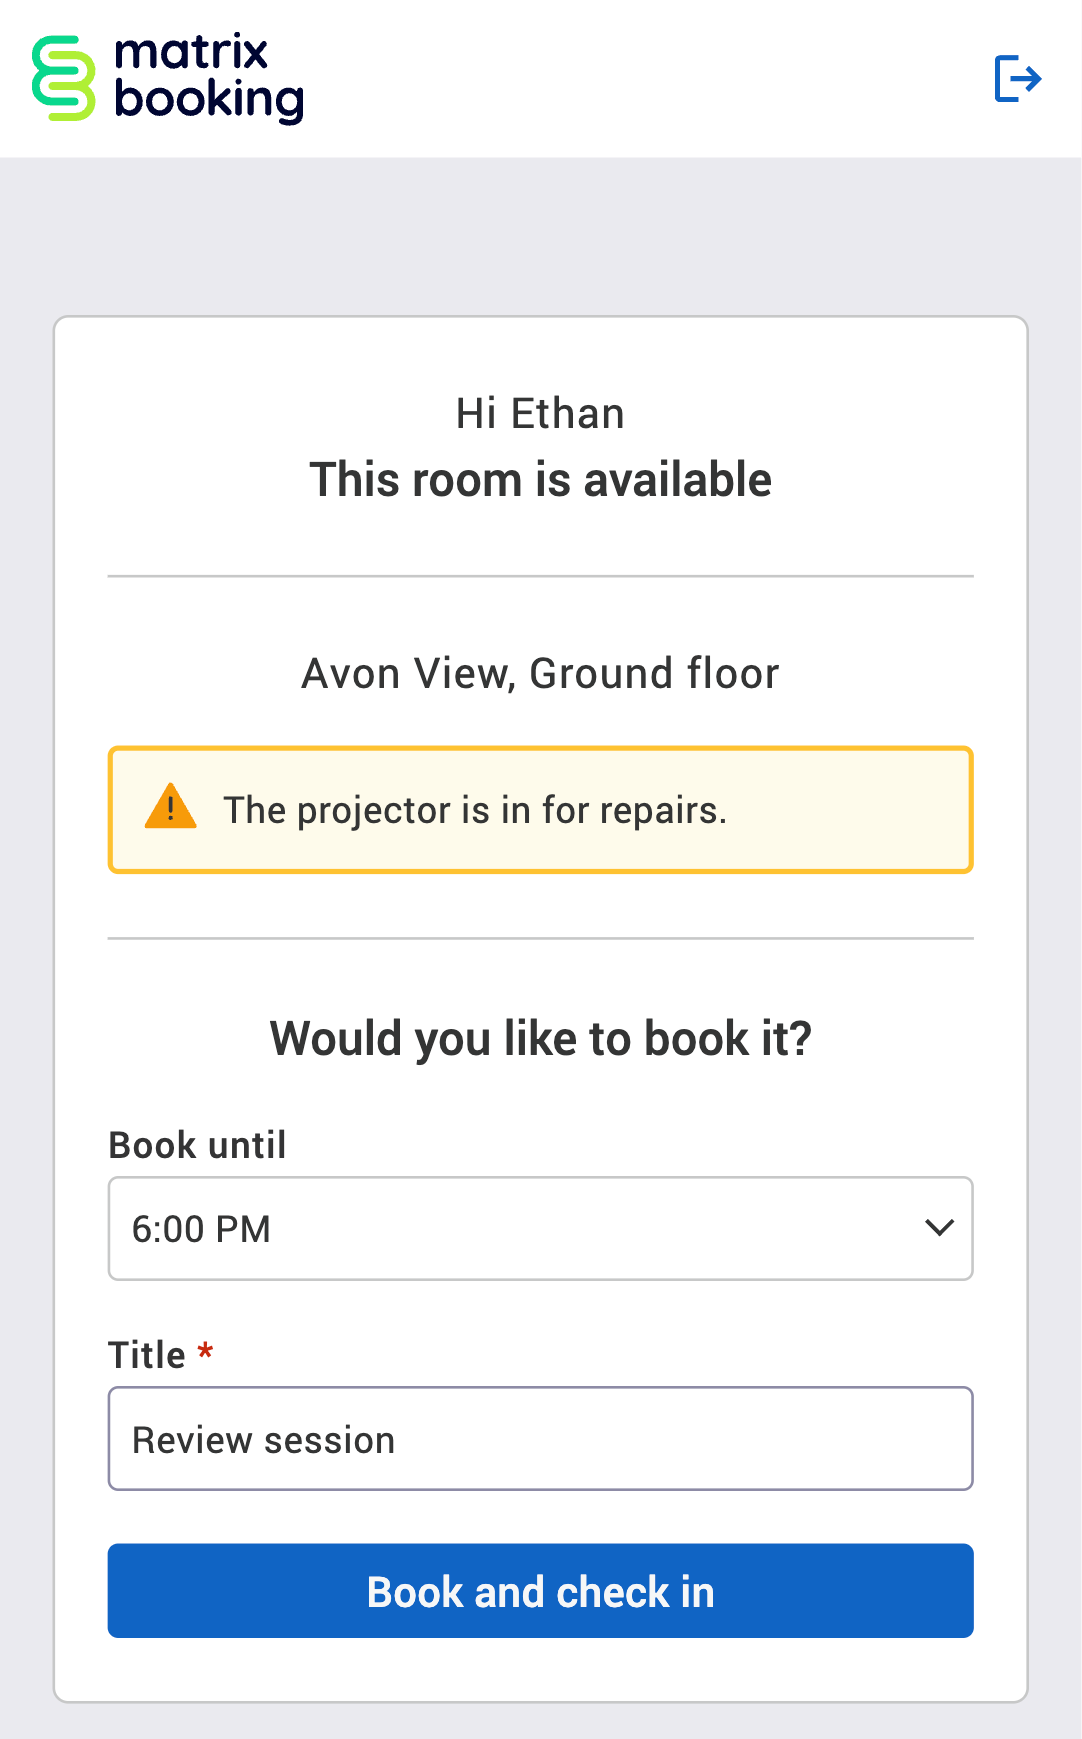
Frictionless check-in allows you to book a resource and check in to a booking that has a scannable sticker (both QR code and NFC tag) next to the resource. You can do this by:
For more information on tracking your resource usage, log in to Matrix Booking Insight for the resource utilisation dashboard.
Requirements
There are setups in Matrix Booking that are and aren’t support. For our frictionless check-in feature to work:
-
Booking organisers must have a Matrix Booking login and user account.
-
The check-in feature must be switched on (see Switch the feature on).
-
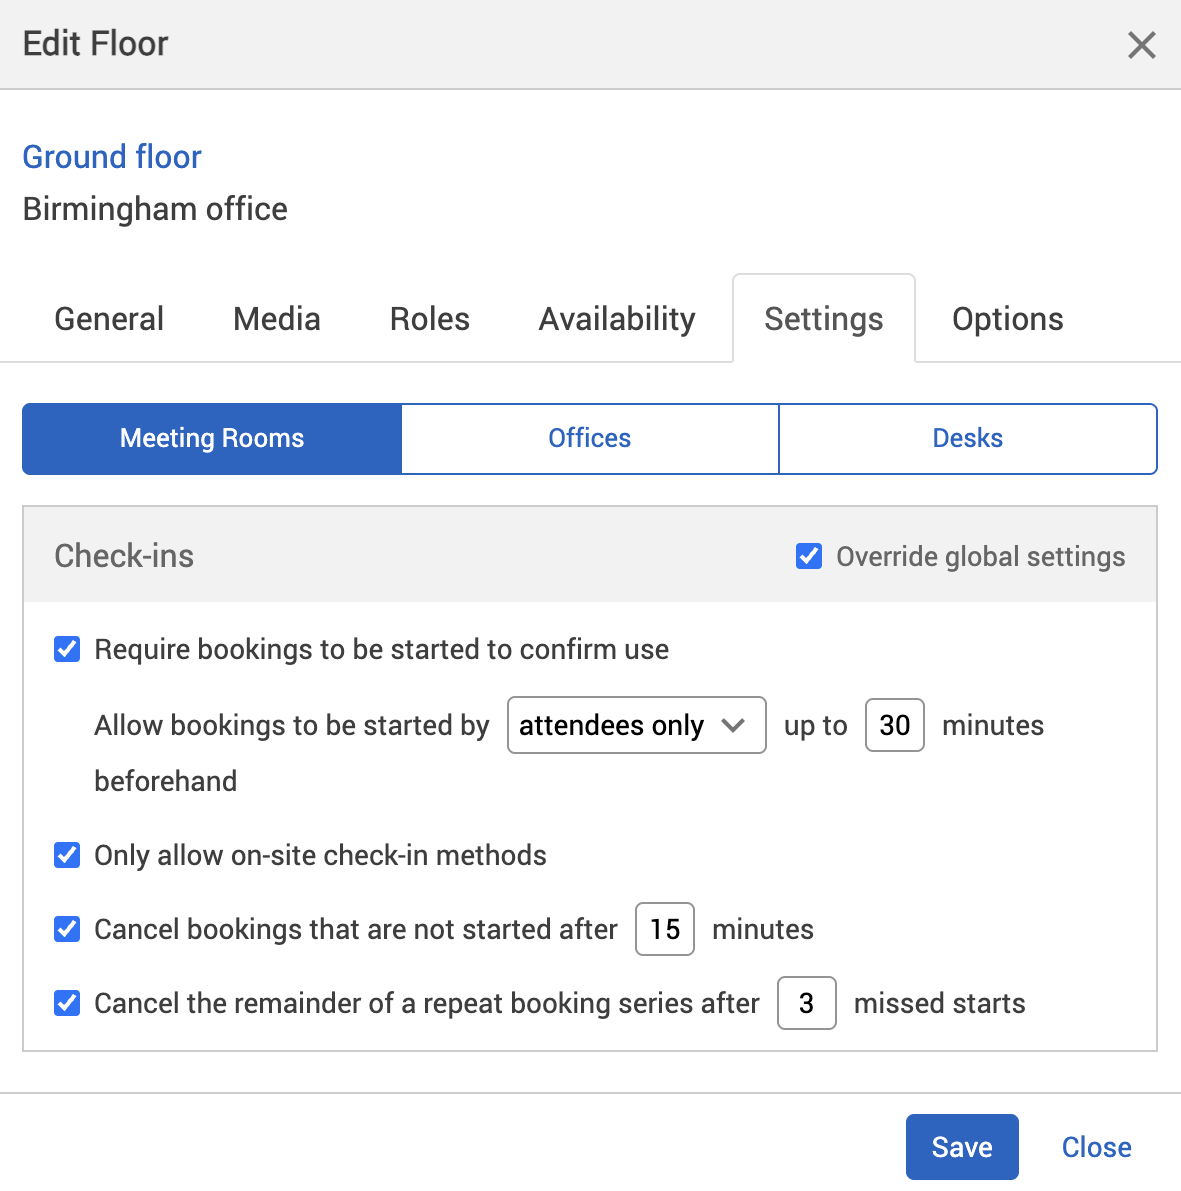
You must have Require bookings to be started to confirm use switched on in the Check-in section of the Settings tab of the resource you want booking organisers to check in to (see Set up check-ins).
-
You need your scannable stickers next to each resource (see Get your stickers).
-
Booking organisers need phones that can scan the stickers you have:
-
minimum iOS: 8 or later
-
minimum Android OS: 6 or later
-
Switch the feature on
You need to have the feature switched on before you can use our frictionless check-in feature on your mobile app. To switch on the frictionless check-in feature, contact your customer success manager to discuss implementation and costs of the scannable stickers.
Booking category selector
-
Underneath the Time zone section, your booking categories can be selected. For example, Meeting Rooms.

-
As the Time zone section is above the booking category selector, it’s not affected by the booking category selector.
-
All settings below the booking category selector are specific to the booking category that you select (for example, Meeting Rooms).
-
Make sure that you’ve selected the right booking category before making any changes to your settings.
Set up Check-ins
You need to have check-ins switched on in the Settings tab of your resources. You can find this in the Admin section of Matrix Booking. We recommend that you select the location above your resources in your hierarchy so that this setting is inherited by all your resources.
To set up the Check-ins settings of a location or resource:
-
Select Admin in the navigation bar.
-
Select Locations and resources under the Location Settings section in the side menu.
-
Select Edit hierarchy. The Locations and resources hierarchy will appear.
-
Select Edit next to the location or resource you want to change. The Edit [Location or Resource] pop-up will appear with the General tab selected by default.
-
Select the Settings tab.
-
Select the correct resource using the booking category selector.
-
Select the Override global settings or Override [location or resource] tick box under the Check-ins section.
-
Check if any of the tick boxes are greyed out. If they are, this means that these settings are inherited from a higher level in your resource hierarchy. You may have them switched on at that level for a reason.
-
Select the Require booking to be started to confirm use tick box.
-
Select if you want the bookings to be started by 1 of the following:
-
attendees only – only people who have been invited to the booking, including the booking organiser (administrators, location administrators, and location managers can always check-in a booking).
-
any user – any Matrix Booking user in your organisation or an organisation your sharing resources with.
-
anyone – anyone who can access your resources (for example, external visitors using your signage devices).
-
-
Enter the time you want for a booking to be started beforehand (for example, 10 minutes before the start time).
-
If you want bookings to be checked in to by people who are physically present and prevent remote check-ins, select the Only allow on-site check-in methods tick box. This setting should be used for frictionless check-ins.
-
If you want bookings to be auto-cancelled if they haven’t been started, select the Cancel booking that are not started after X minutes tick box.
-
Enter the time you want a booking to be auto-cancelled if it’s not been started (for example, 10 minutes).
-
If you want a repeat booking series to be auto-cancelled if they are continually missed, select the Cancel the remainder of a repeat booking series after X missed starts tick box.
-
Enter the number of bookings in a booking series that’ll be auto-cancelled if that number of bookings is missed consecutively.
-
Select either of the following and the pop-up will close to return you to the Locations and resources hierarchy:
-
Save to keep you changes.
-
Close to discard your changes.

-
-
Select Save changes.
Notes:
-
For more information, see Notes for Check-in settings.
-
Changing the settings described below may affect other features you have for your organisation (for example, signage). For more information, see Caveats and limitations.
Get your stickers
To get your scannable stickers, contact your customer success manager to discuss implementation and costs.
We offer a standard design that can incorporate your resources’ names. Stickers feature both an NFC tag and a QR code. Stickers are standardised at a 69mm diameter.

If you have any questions about the pricing of our frictionless check-in feature and scannable stickers, contact your customer success manager. Currently, we offer sticker creation with your resources’ names on them and delivery to your chosen location. However, we don’t offer:
-
Custom sticker designs.
-
Custom sticker sizes.
-
Installation services for stickers in your buildings.
Caveats and limitations for our frictionless check-in feature
What we support
-
When you scan a sticker and you’re redirect to our login page, both manual Matrix Booking and SSO login methods are supported.
-
You can reset your password when you’re redirected to our login page.
-
Alert text (General tab).
-
Require a title for each booking (Settings tab: Texts).

What we support with caveats
-
Only booking organisers can book, check in to a booking, and end a booking early using the scannable stickers.
-
On-demand bookings can only be made with a start time of “now” until the end of the current availability period. For example, when you check in until the start of the next booking, the end of office hours, or the end of the day – whichever is soonest.
What we don’t support
-
Resources with the following settings enabled:
-
Require bookings to be made at least X hours or days in advance (Settings tab: Advanced booking rules).
-
Require bookings to be approved by a location manager (Settings tab: Approvals).
-
Require attendee count to be specified (Settings tab: Attendee count).
-
Automatically add X minutes setup time to the start bookings (Settings tab: Buffer times).
-
Require notes for each booking (Settings tab: Texts).
-
Depending on the scenario, there are other settings that may cause a booking failure:
-
Maximum number of bookings per person if the number is reached by that booking organiser.
-
Require new booking start times to align with office hours.
-
Require new booking end times to align with office hours.
-
Do not allow a person to have overlapping bookings for this category.
-
Require a cost code to be provided when a booking is made (Settings tab: Cost codes). If a booking organiser doesn’t have a default cost code set under Preferences in their user account, the check-in will fail.
There are certain scenarios that could cause a failure:
-
Resources can’t be booked by scanning the sticker next to it if the resource has a booking against it on that day if the Availability setting in the is set to Whole Day. Select either:
-
Hourly
-
Half Day
-
Note: for more information, see Error messages, caveats, and limitations.
