This page explains how to set up the Matrix Booking Welcome app when you’re using a Matrix Booking supplied device or your own.
Contents
Introduction
Welcome helps to streamline the reception process and provides an excellent experience for people visiting an office, whether they are external visitors or staff members. The app is integrated with the core Matrix Booking system, allowing visitors to easily enter their details, find their meeting host, accept the terms of visiting, check in, and later check out. The system automatically notifies the meeting host that their visitor has arrived.
The app can also be set up to be used by staff members visiting an office, whether it’s a staff member who regularly works at the office or a staff member visiting from another site. Welcome supports a wide range of tablet and kiosk devices in both portrait and landscape orientations.
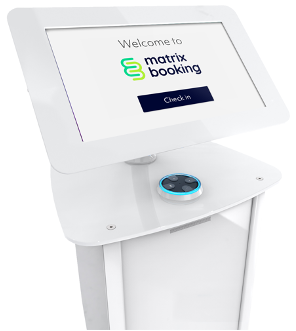
Warning: Welcome isn’t designed to be run on narrower screens, such as phones.
Technical requirements
Welcome is an app for iPads and Android tablets. Devices must support:
-
Internet access
-
either:
-
an external keyboard
-
an on-screen software keyboard (provided by the OS).
-
Android tablets
-
Android tablets with a front-facing camera require Android 8 or higher
-
Android tablets without a front-facing camera require Android 6 or higher
-
we expect a 9” or 10” screen with a 16:9 or 16:10 aspect ratio noting that whilst the app will run on larger screens, it hasn’t been explicitly designed for larger sizes
iPads
-
iOS 11 or higher, including iPadOS 13.1 or higher
-
We expect an iPad with a screen size between 9 and 11 inches (iPad and iPad Air)
Scanning a QR code requires that the device has an internal front-facing camera, which is currently true for supported iPads but not necessarily true for Android tablets. Android tablets without an internal front-facing camera will prompt the user to enter their passcode manually rather than scan their QR code.
For the best user experience, choose a device that has a crisp, high-definition display and low-latency response to touch gestures. Whilst the app will run on iPad Mini and iPad Pro devices, it hasn’t been explicitly designed for those sizes.
Notes:
-
Rear and external cameras aren’t supported. Only ProDVX Pogo camera modules are supported with ProDVX devices.
-
The sleep timer setting is only available on Android device. iOS don’t support the sleep timer setting.
-
If you’re mounting them on walls or glass, you need to ensure the devices you choose are capable of being mounted.
If your devices have been set up by our team, you won’t need to complete the steps outlined in this guide. If you have your own devices or are in the process of getting them without having been set up, you’ll need to follow the steps outlined below to allow the devices to function correctly.
Install the app
Google accounts and Google Play
Within a corporate environment, it’s better to avoid adding a Google account to the device. This will prevent updates from being downloaded and installed automatically.
Many commercial devices are supplied with a “locked-down” version of the Android OS that prevents the use of Google accounts, Google Play and mobile services. On such devices, the Welcome app must be loaded directly onto the device. This is the same as the Matrix Booking standard supplied devices.
Android tablets – Google Play
The app can be installed on Android devices either:
-
via the Google Play Store
-
by using the device’s web browser app to download the latest version of the app.
This is distributed as an .apk file:
https://media.matrixbooking.com/software/welcome/matrix-welcome-latest.apk
Open the downloaded file to install the Welcome app on your device. You may be required to “Allow files of this type to be installed.”
Note: the browser on some Android devices is called “Lightning”.
iPads – Apple App Store
The Welcome app is installed on iPad devices via the Apple App Store.
Set up a kiosk user
You also need to , set their user type to System/API, and make them a of the location that the device will used for. This is so that you can log in to the app as that user on your device and so the account can be used to book on behalf.
Add a System/API user
To add a System/API user:
-
Select Admin in the navigation bar.
-
Select Users under the Security & Integrations section in the side menu.
-
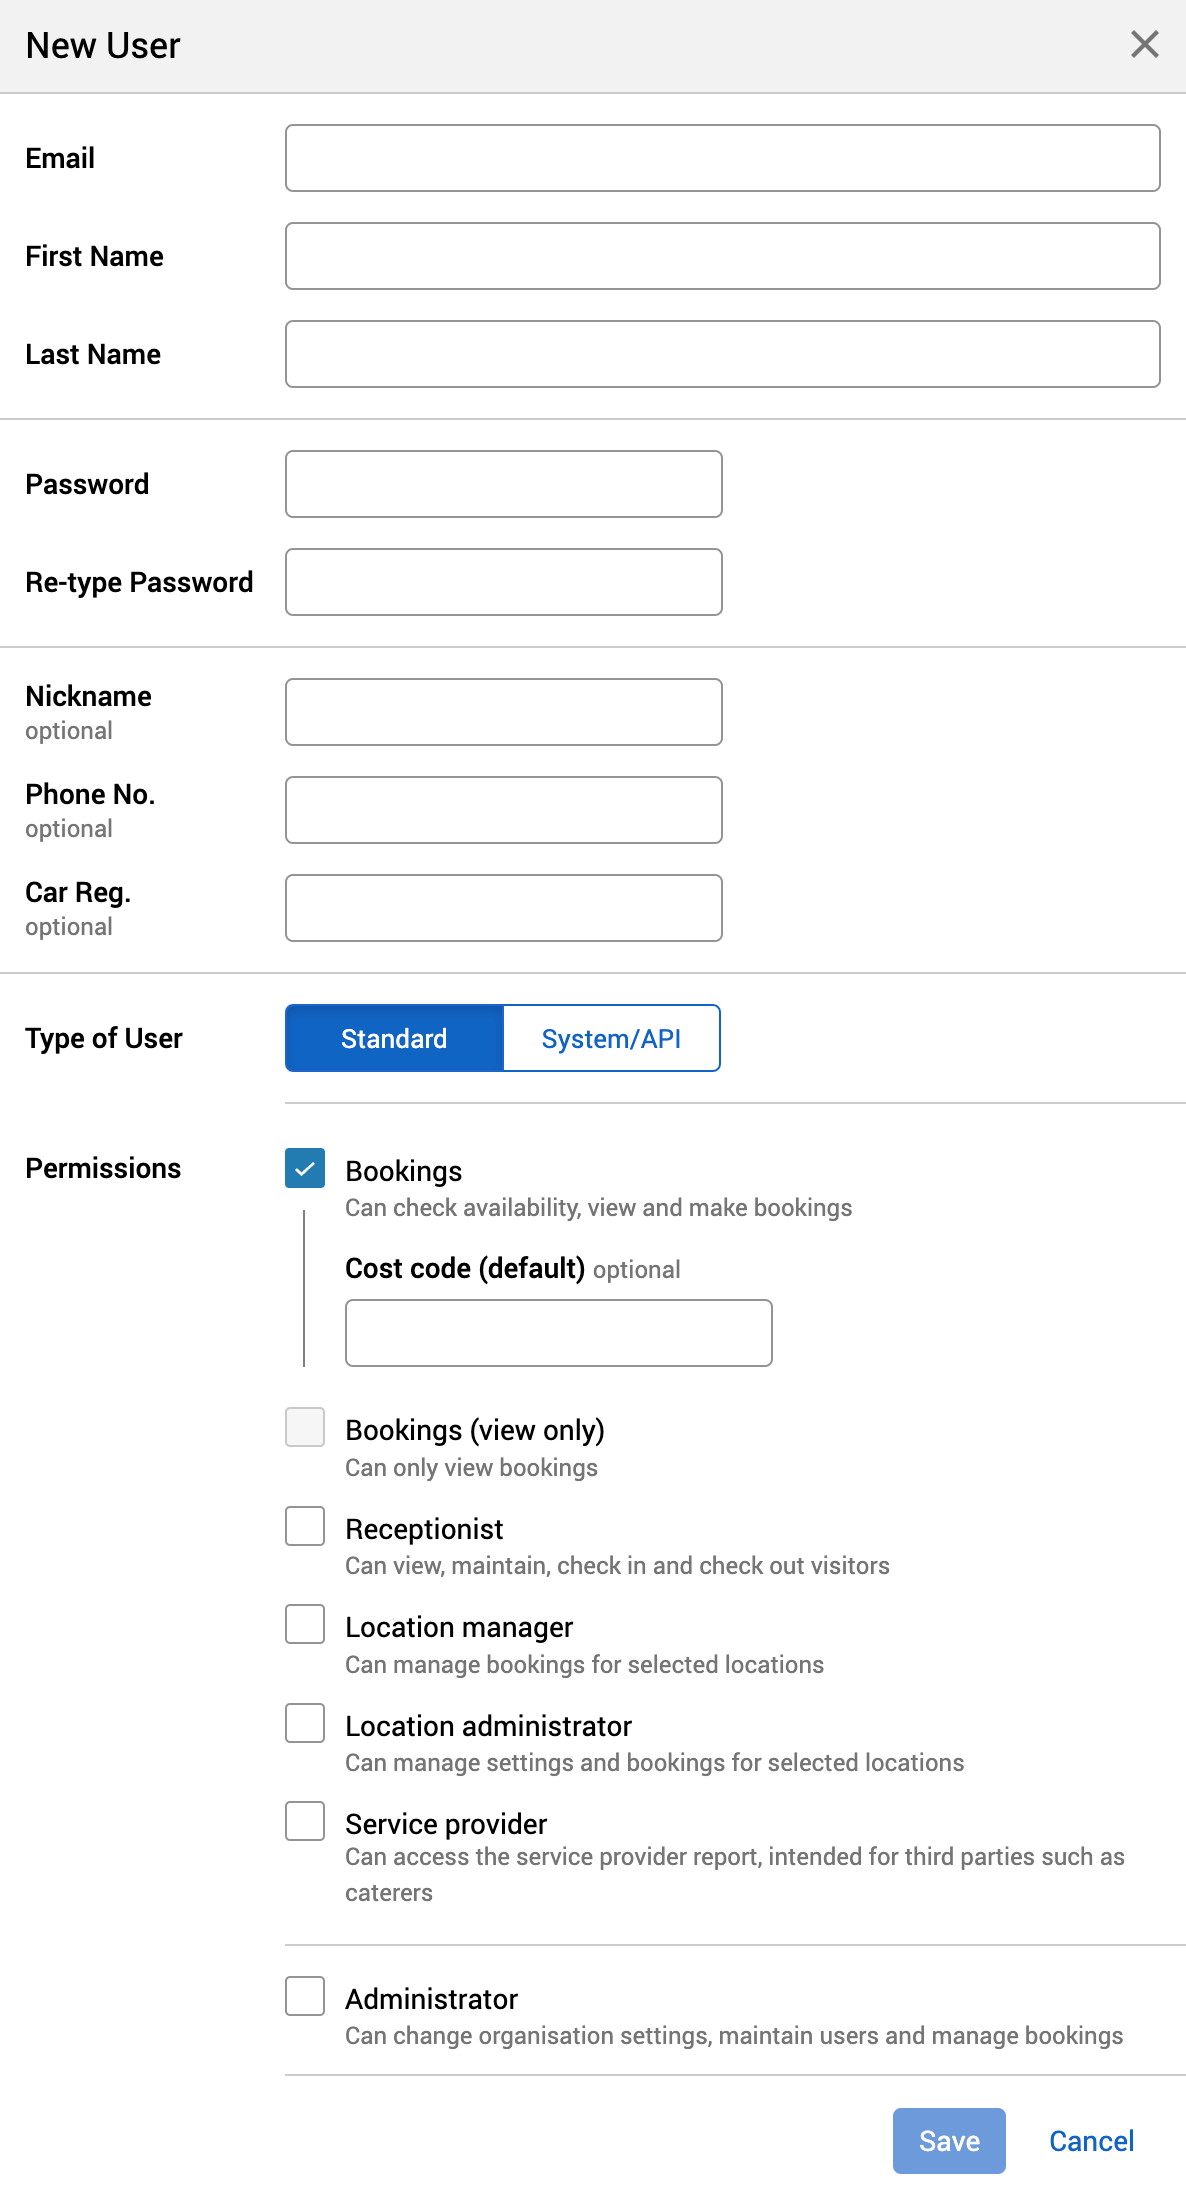
Select New User in the filters ribbon. The New User pop-up will appear.
-
Enter their email address.
-
If the first and last names can be extracted from the email address, they will be auto populated.
-
Enter their first and last names if the auto populated results are incorrect.
-
-
Enter and re-enter a password for them.
-
Enter their other details you have available (for example, phone number).
-
Select System/API.
-
Select Save.
Add a location manager
To assign a location manager to a location:
-
If you haven’t already:
-
Select Admin in the navigation bar.
-
Select Location managers under the Location Settings section in the side menu.
-
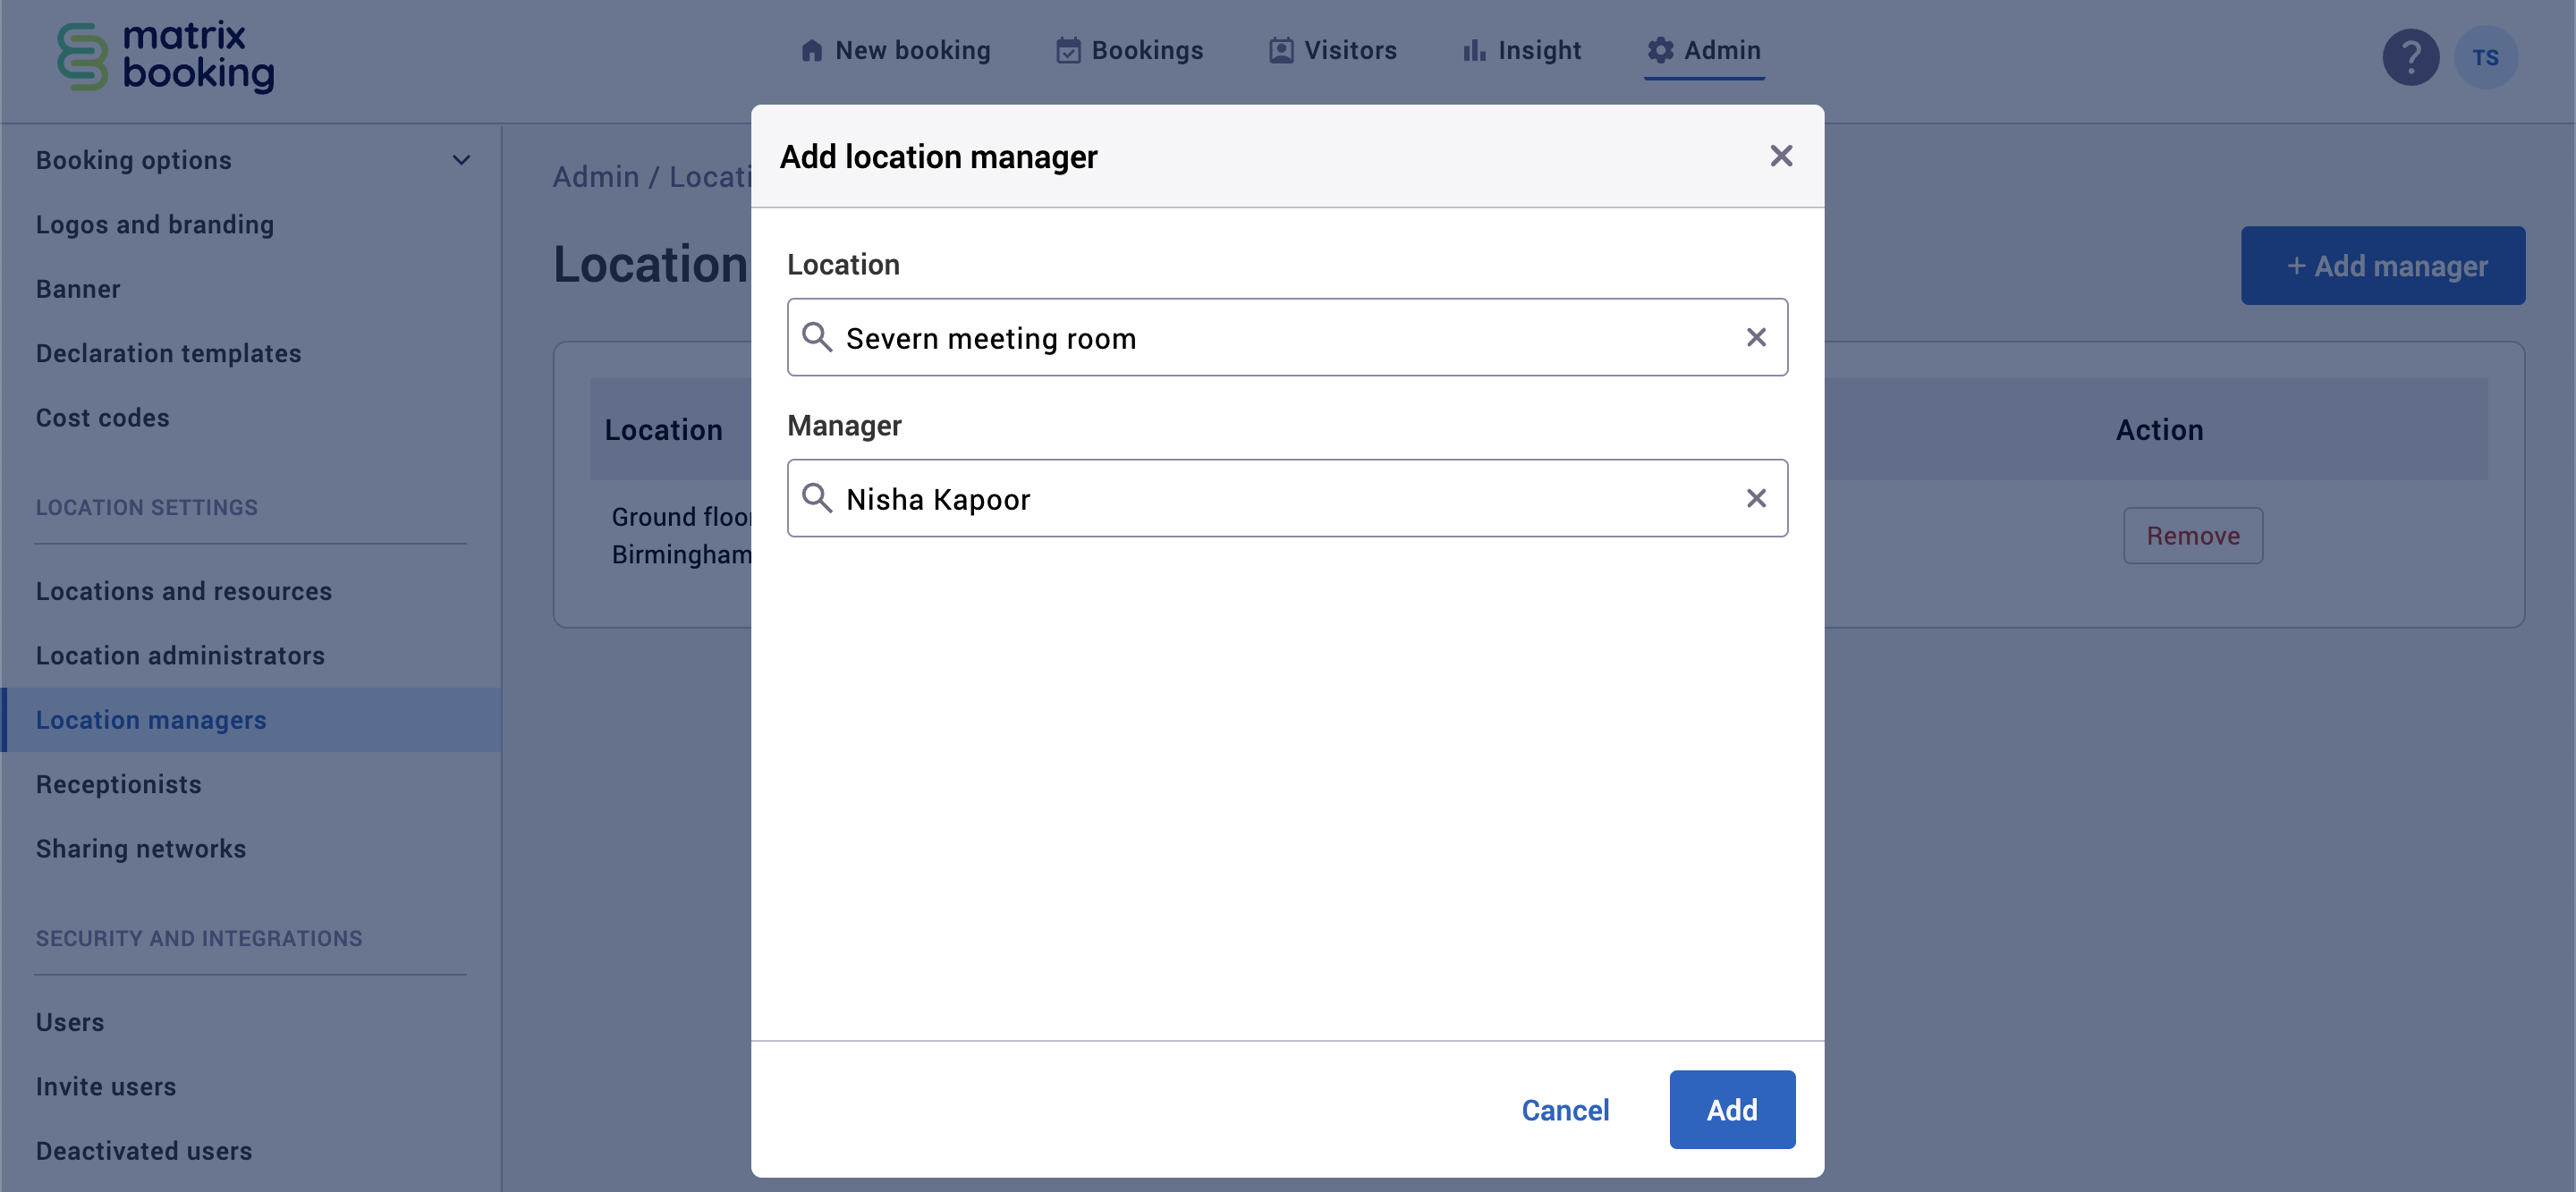
Select + Add manager. The Add location manager dialog will appear
-
Begin to enter the specific location they are going to be a manager of into the Location text box. A dropdown will appear.
-
Select the location.
-
Begin to enter the name of the person in the Who text box. A dropdown will appear.
-
Select the manager’s name.
-
Select Add.
-
Select Remove to remove a location manager.
Notes:
-
Your Welcome app’s user account must have the email domain @matrixbooking.com.
-
There’s a trade-off between the convenience of setting up a single kiosk user and the risk of all Welcome kiosks becoming unusable if someone:
-
accidentally deactivates the kiosk user account.
-
locks the kiosk user account.
-
changes its password.
-
Other visitor management settings
The following steps focus on setting up the Welcome app only. Other visitor management settings, such as defining receptions, choosing whether passcodes are sent and signing declarations, must have already been configured using the Admin screen within the Matrix Booking web app. For more information, .
Set up the app
The Welcome app can be set up in a variety of ways, depending on whether you want to allow:
-
only external visitors to check in and out
-
only staff members to check in and out
-
or both
You can also choose whether you want to allow people to check in and out by entering their details manually, by scanning or entering a passcode, or both. These choices are for your organisation to decide.
Note: once the app is set up, it will automatically show the home screen. It will bypass the set up screens as the settings have been saved.
Launch the app
Once you have installed the Welcome app on your device and created a kiosk user, you can:
-
Launch the app. This will automatically display the login screen.
-
Enter the the kiosk user’s email address into the Email text box.
-
Enter the kiosk user’s password into Password text box.
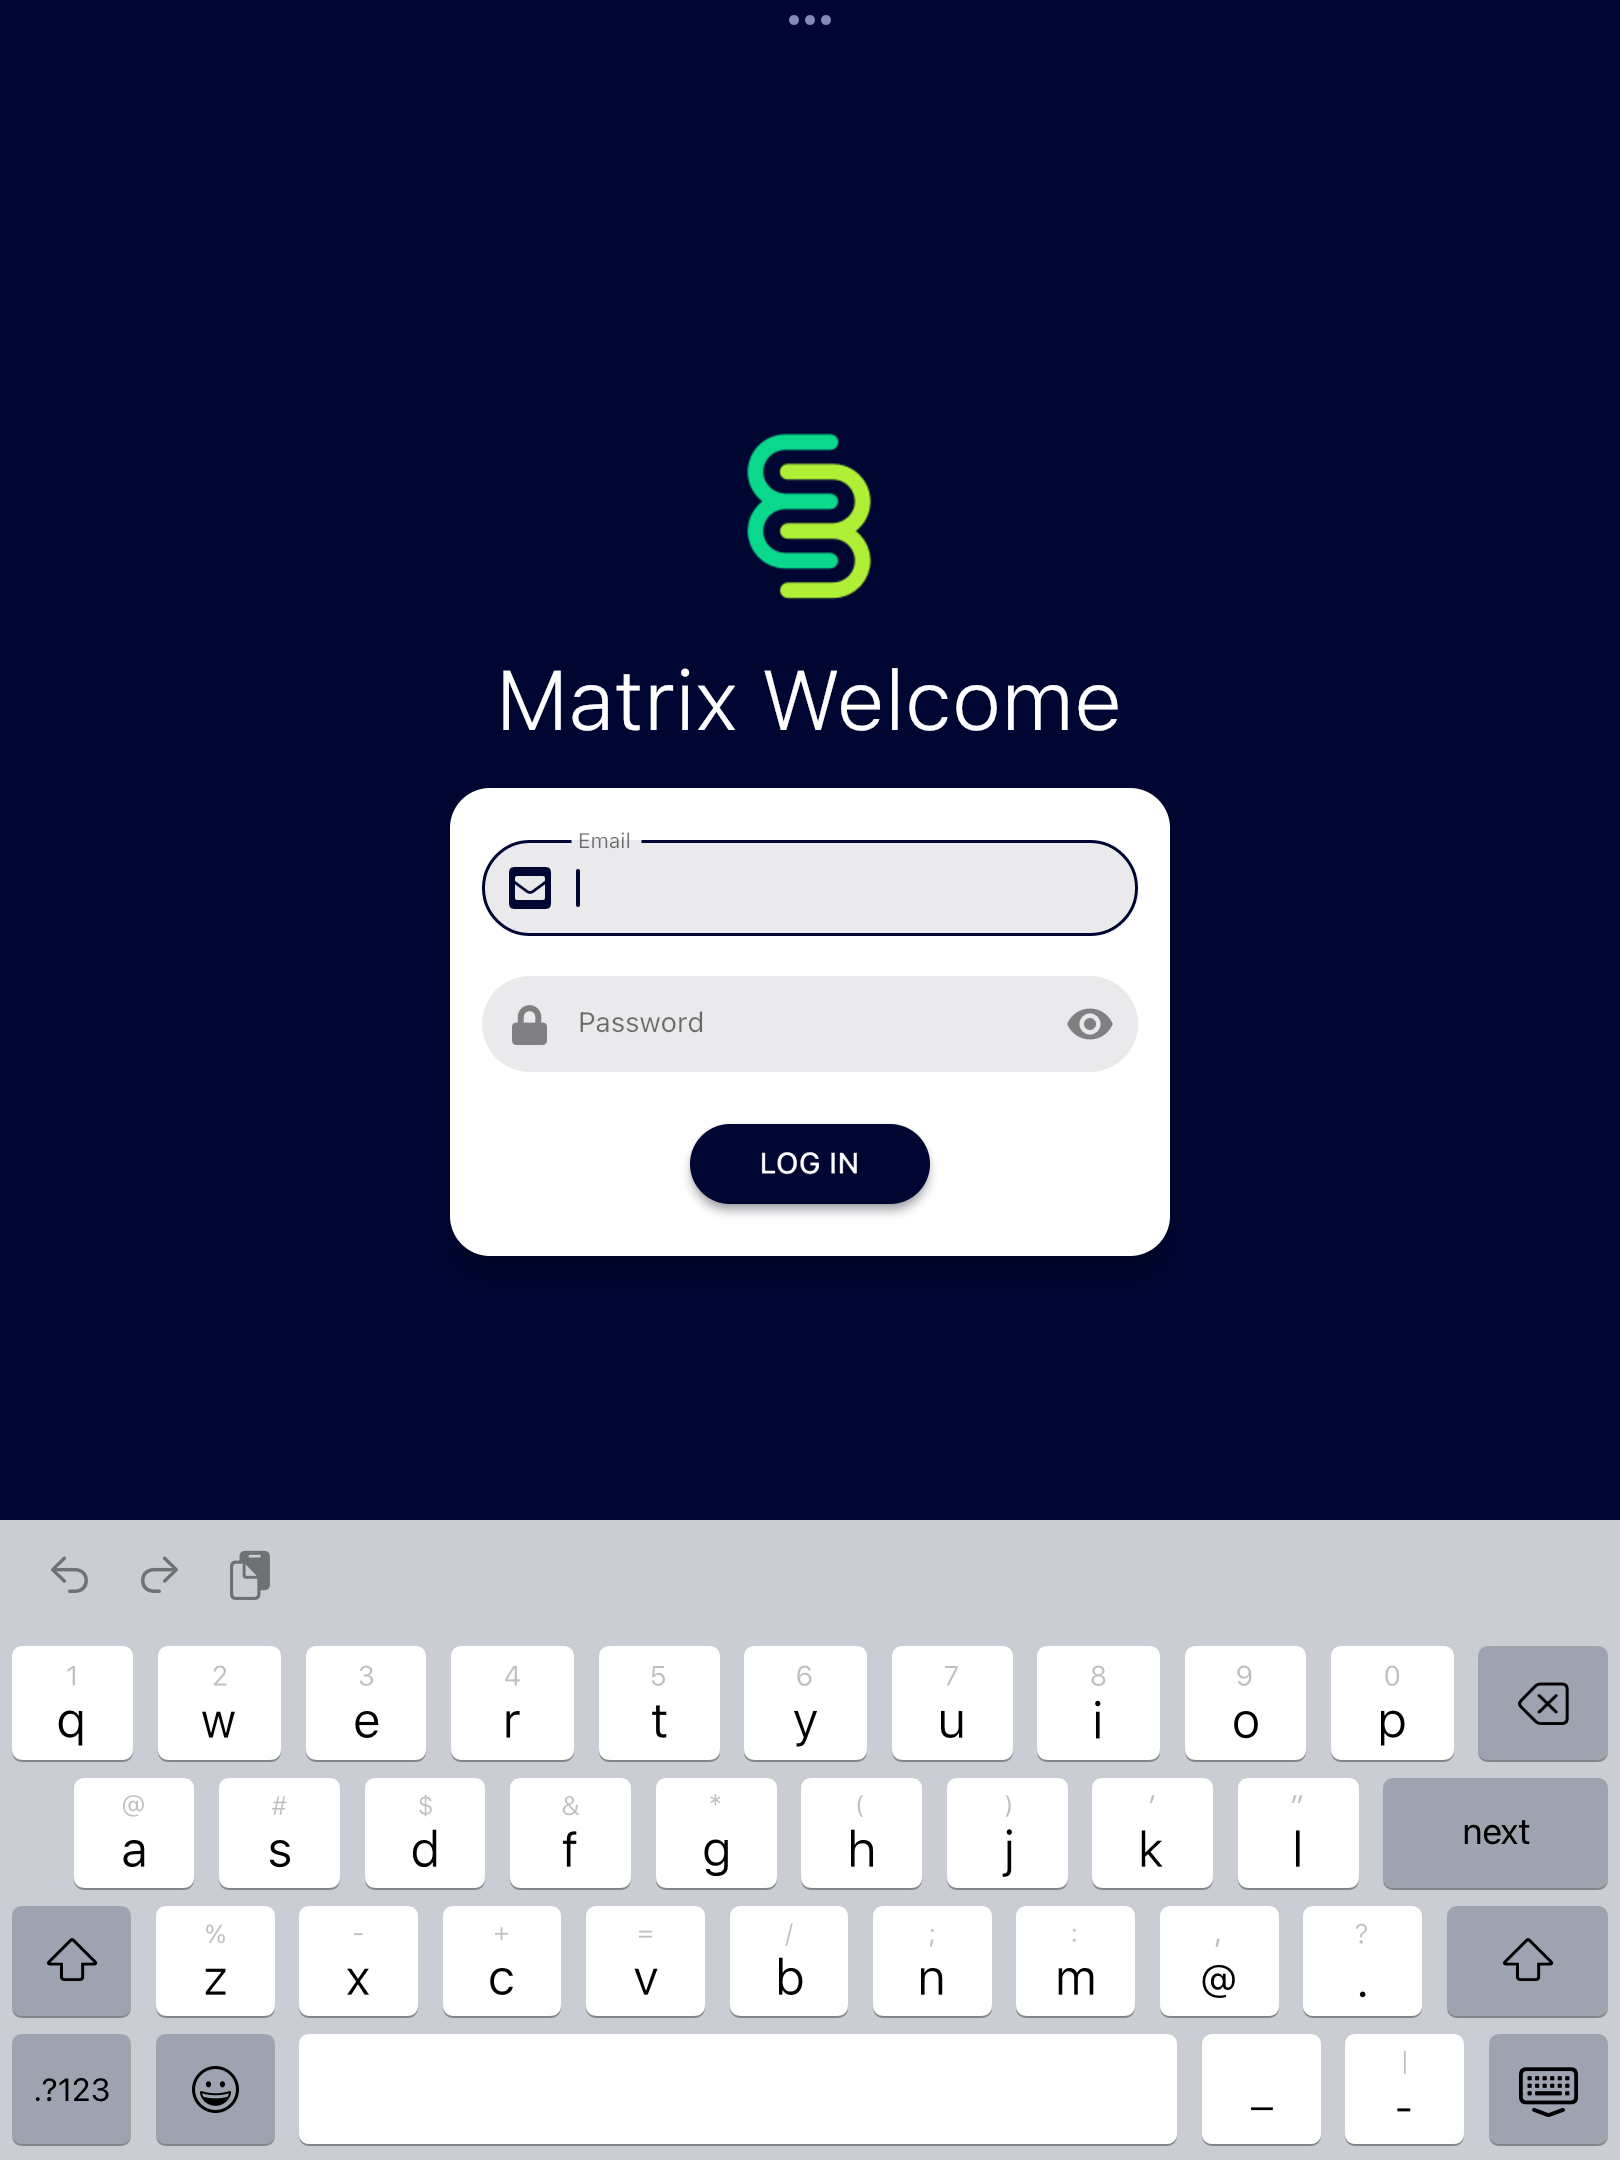
Warning: the app won’t let you use your own personal login credentials.
Select a reception
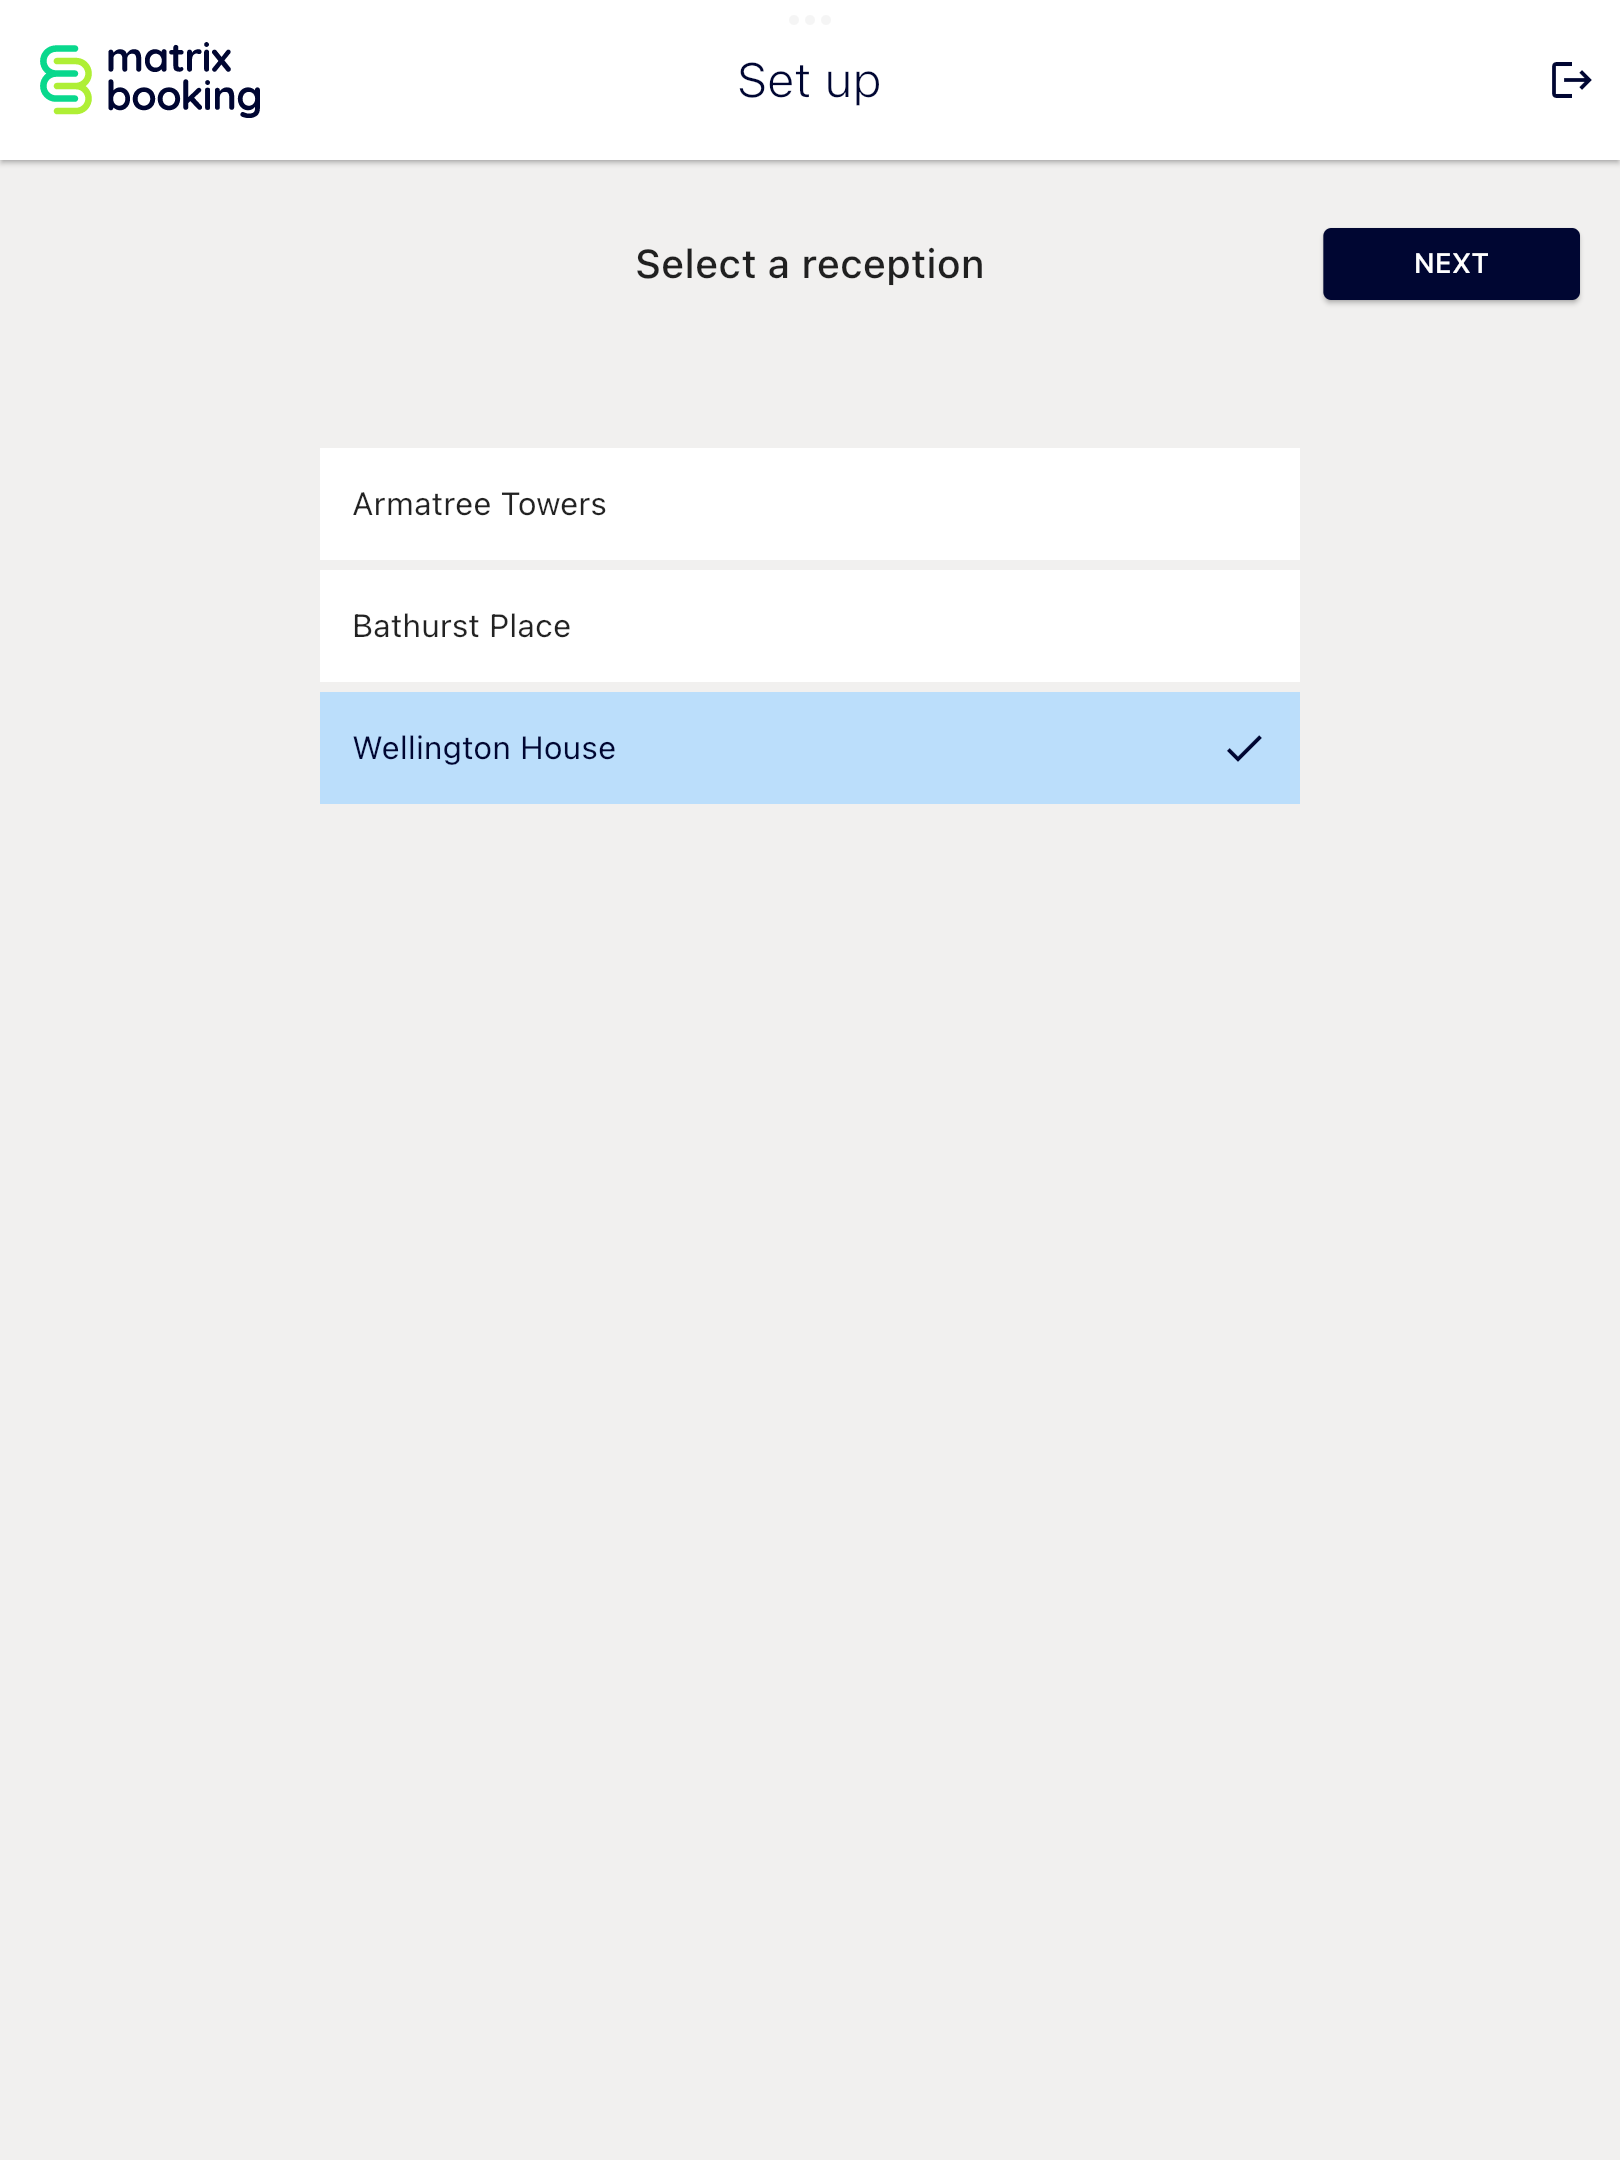
After logging in, the Select a reception screen will appear:
-
Find the chosen building with the reception that the device will be placed in (for example, Wellington House).
-
Select the chosen building. The selected building will appear highlighted with a tick on the right-hand side.
-
Select NEXT.
Notes:
-
The building or reception can be the same or different for each device.
-
If you don’t see any buildings or reception locations listed, your kiosk user needs to be given Location Manager access.
Choose who should be able to check in and out
After choosing your building and reception, the Who should be able to check in and out? screen will appear. To select the correct options for visitors or staff:
-
The Allow external visitors to check in and out toggle button will be turned on by default.
-
Select either:
-
By entering their details manually.
-
By scanning or manually entering a passcode.
-
Both.
-
-
Your selected option will be highlighted and a tick will appear next to it.
-
The Allow staff members to check in and out toggle button will be turned off by default.
-
Select the toggle button if you want staff members to check in and out.
-
Select either:
-
By selecting their name from a list.
-
By scanning or manually entering a passcode.
-
Both.
-
-
Your selected option will be highlighted and a tick will appear next to it.
-
Select NEXT.
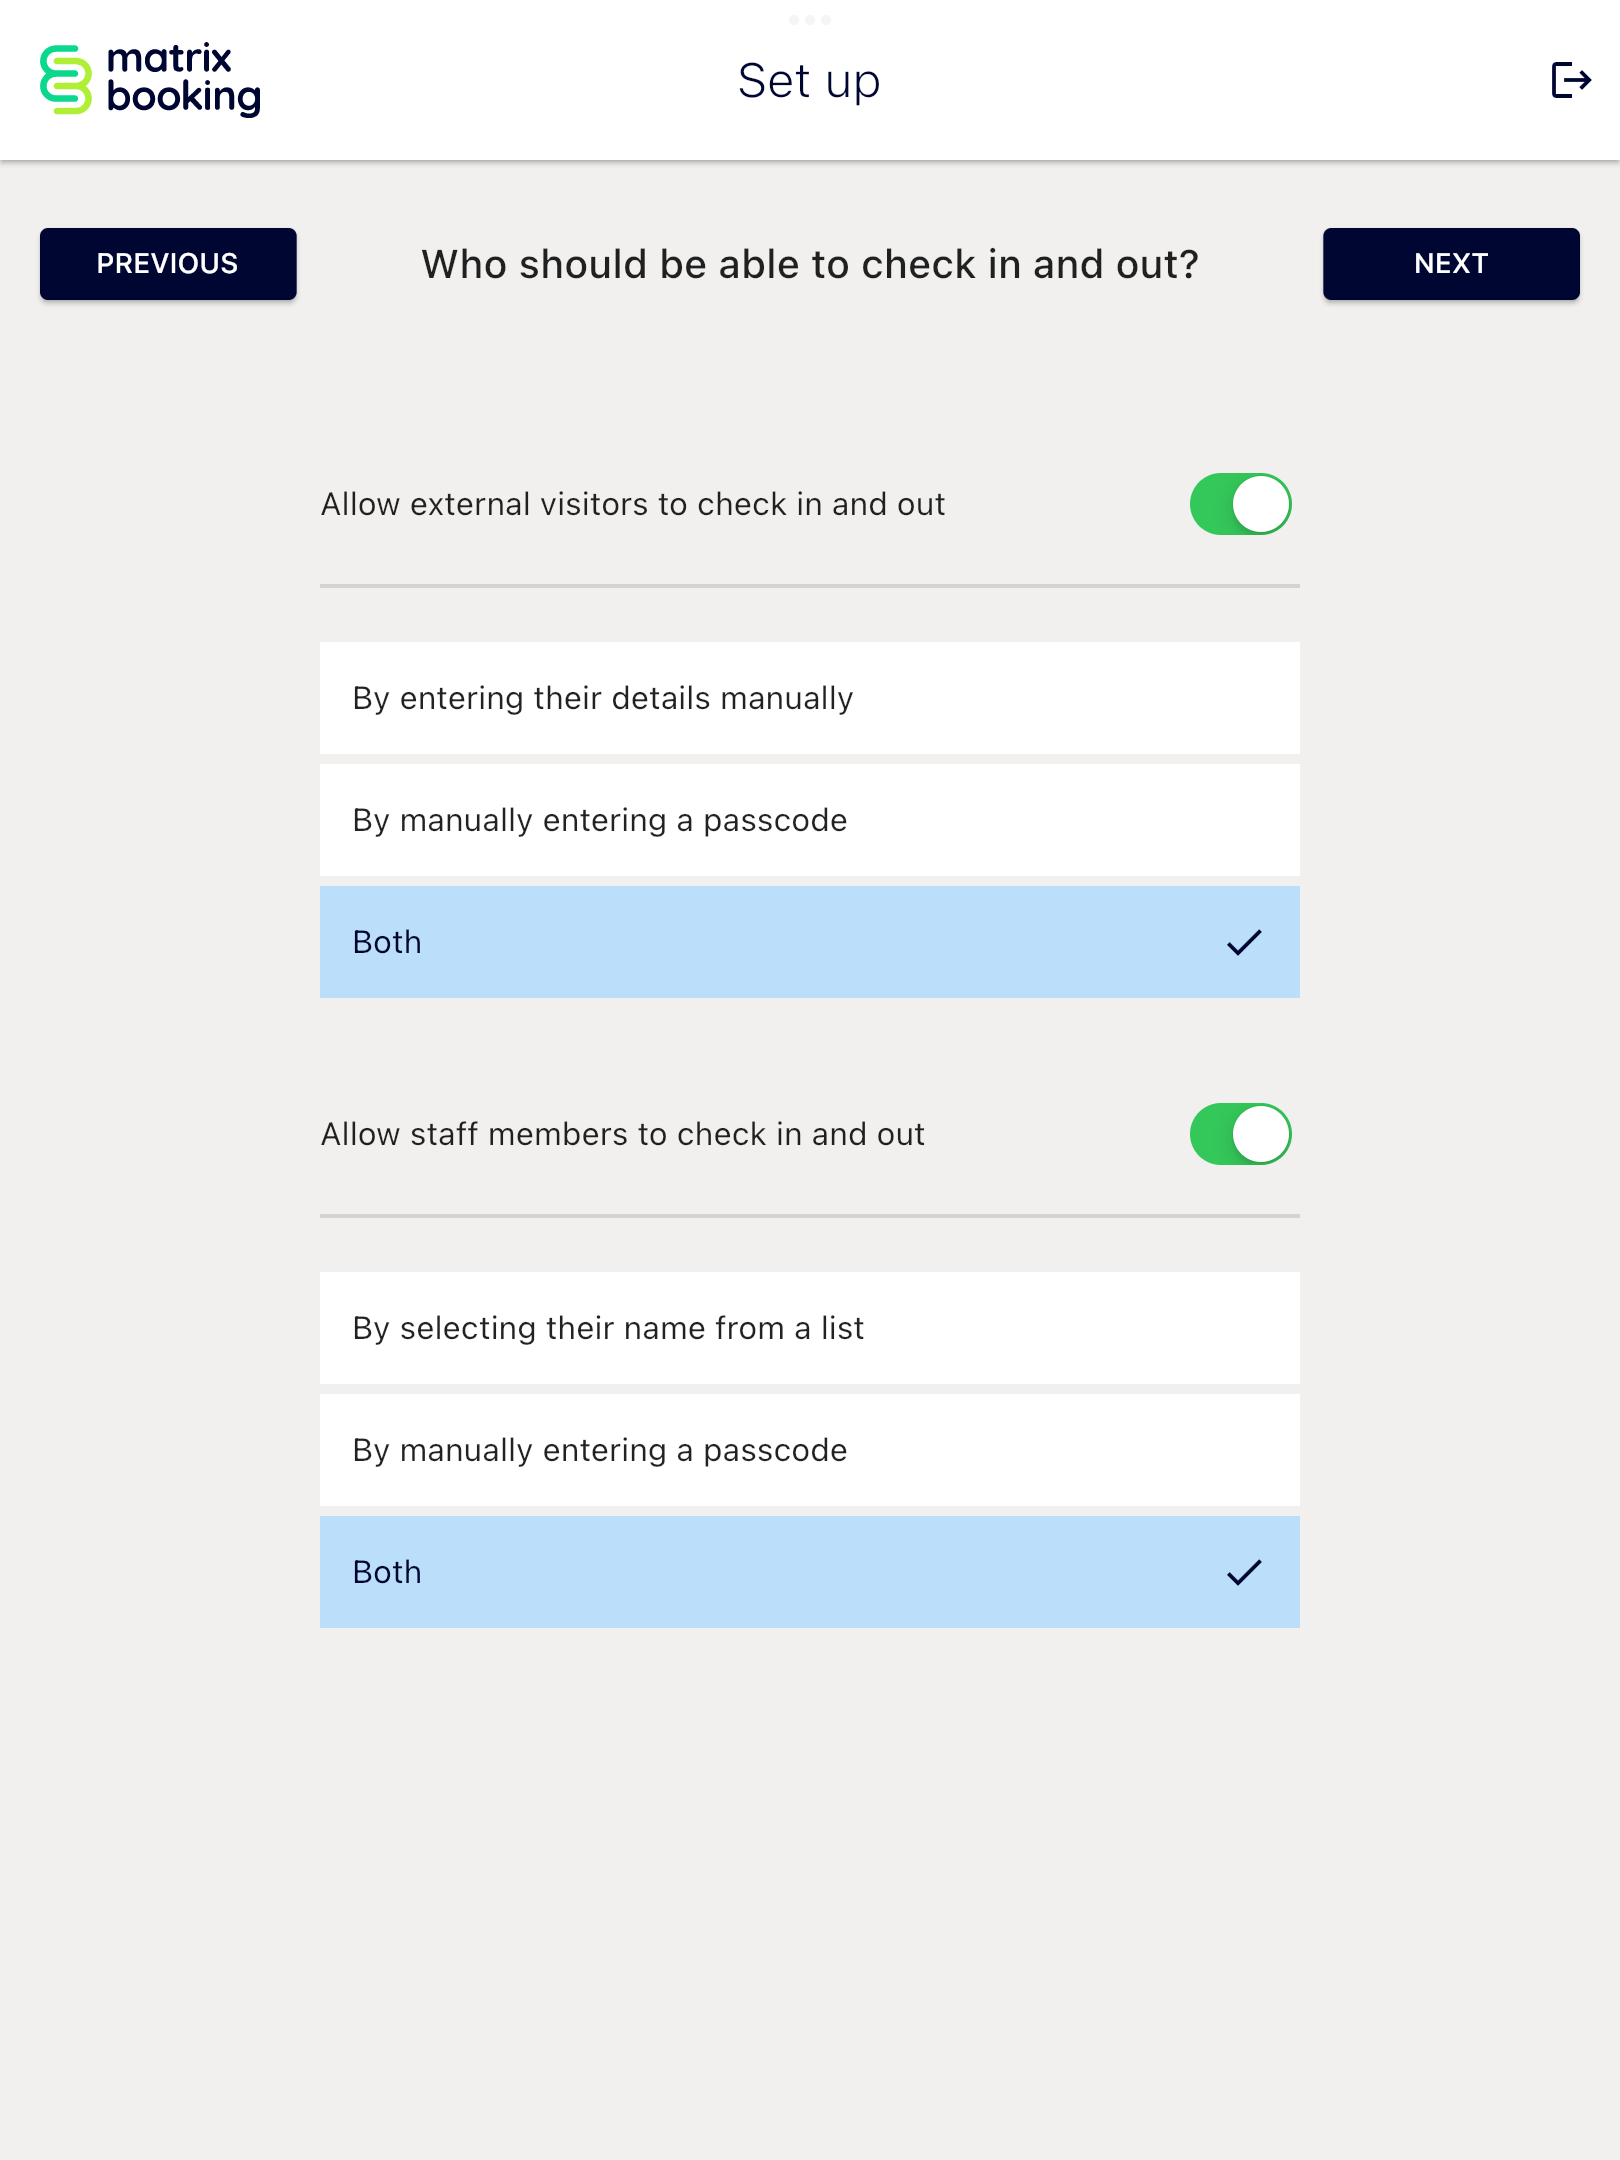
The pass QR code scanning option is always available by default unless your device doesn’t have a front-facing camera. The list of possible hosts or staff members is sourced from the Matrix Booking internal directory.
Warning: if the device doesn’t have a front-facing camera, the option to check in By scanning or manually entering a passcode will automatically change to By manually entering a passcode.
Select a layout for the home screen
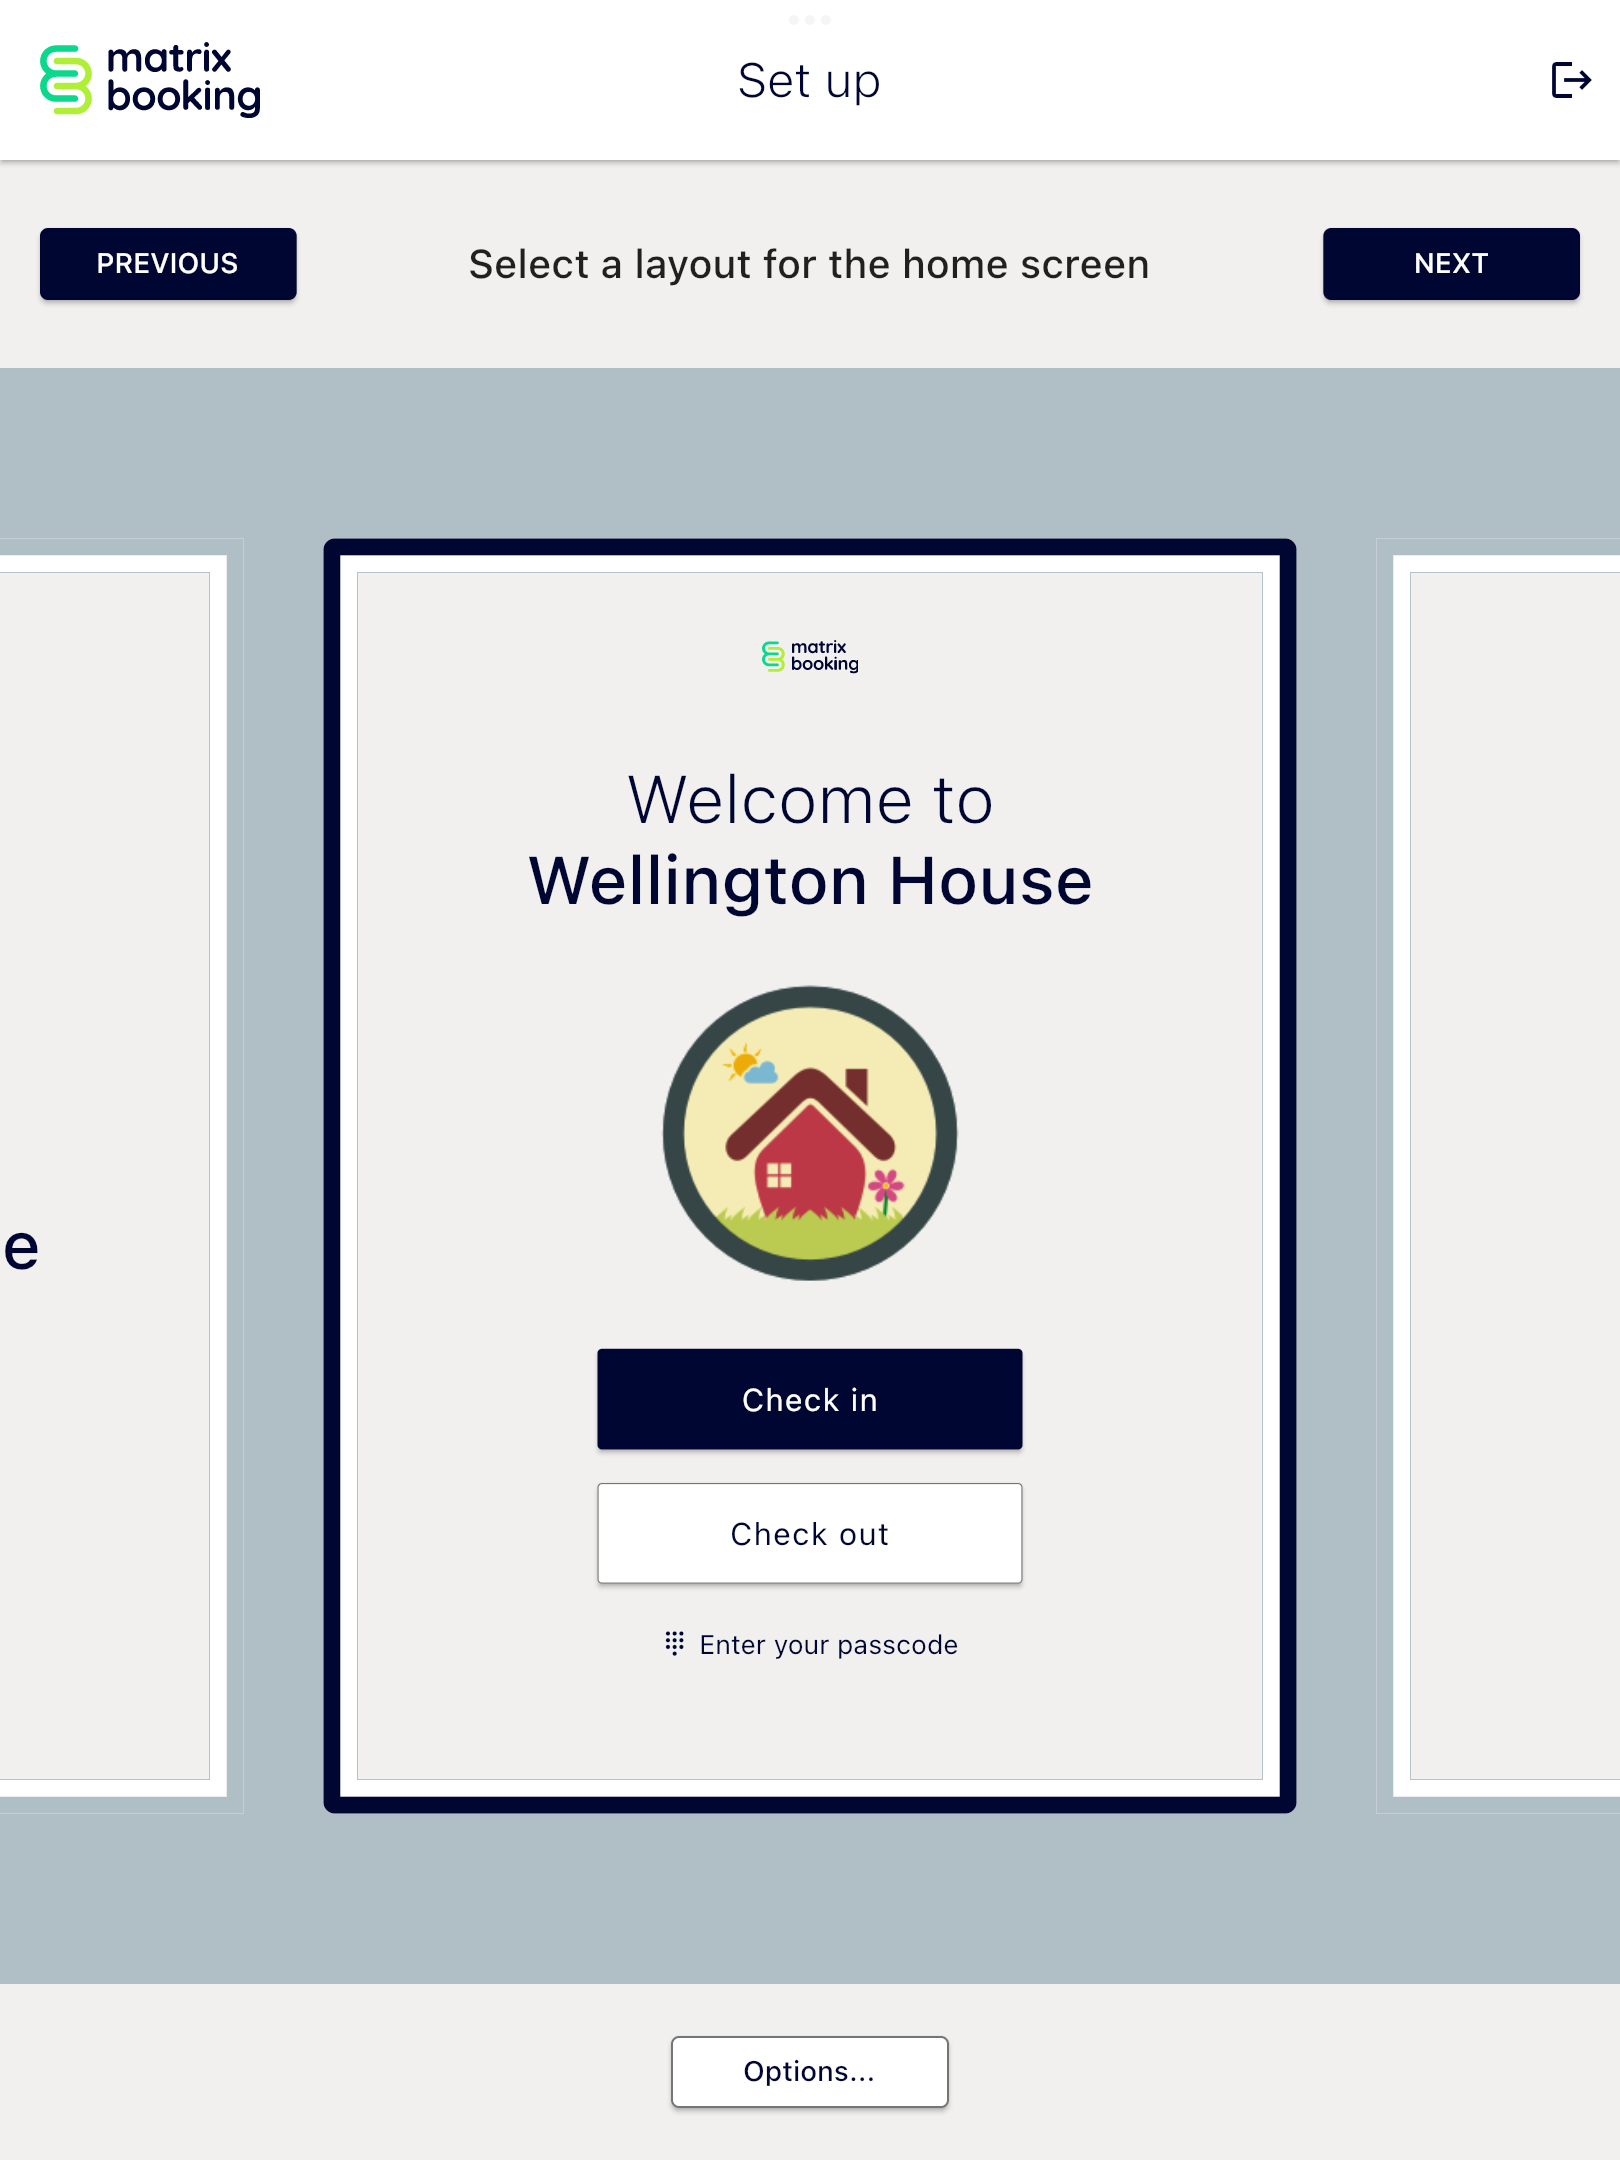
After choosing your check-in and checkout options, the Select a layout for the home screen screen will appear. The different layouts you can have are your:
-
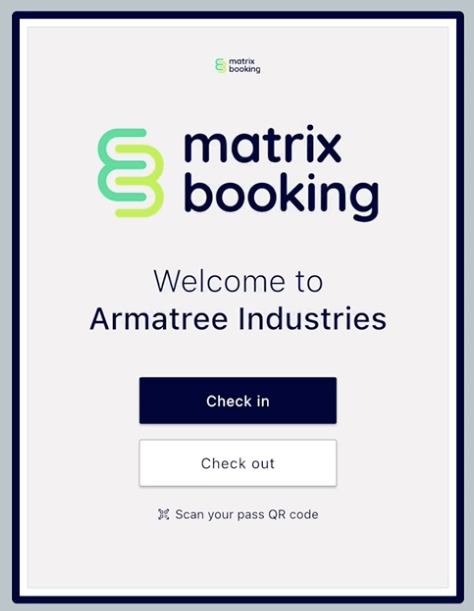
Company logo followed by your company (or reception) name.
-
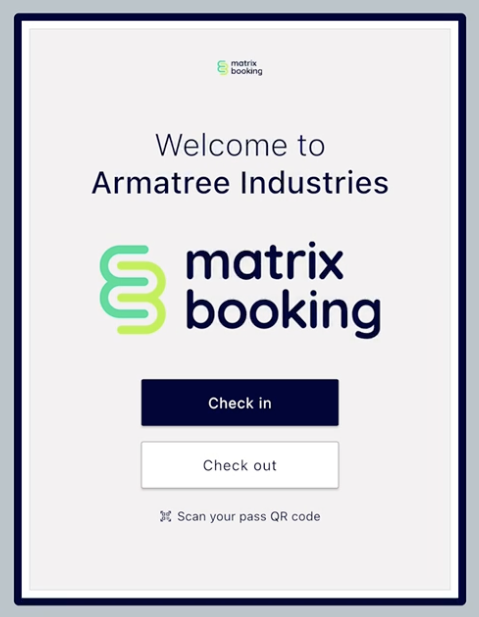
Company (or reception) name followed by your company logo.
-
Company logo prefixed with “Welcome to”.
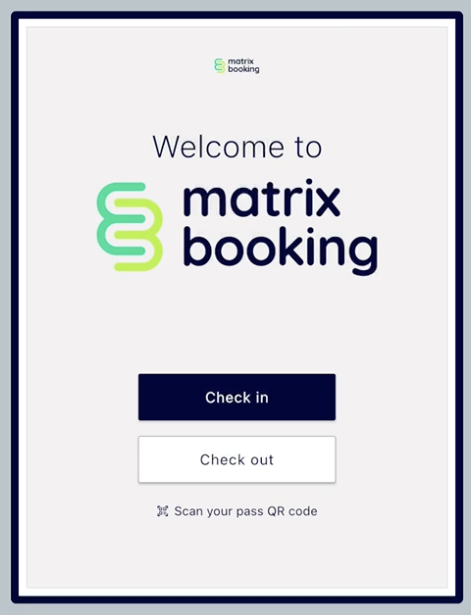
-
Company logo only.
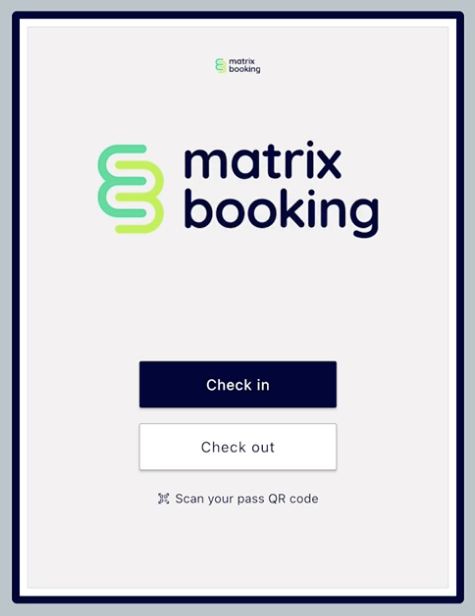
-
Company (or reception) name only.
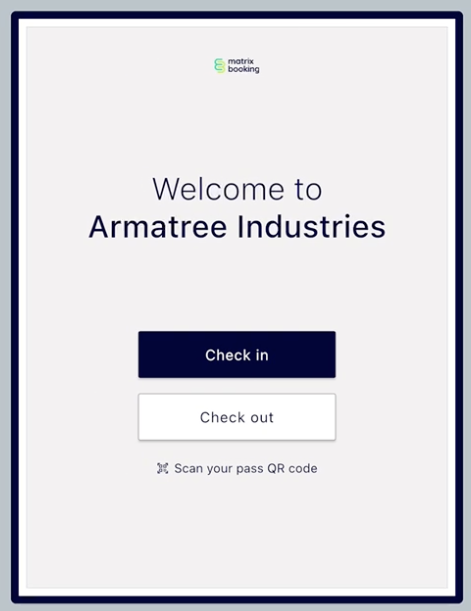
To select a home screen layout:
-
Swipe left or right to your chosen home screen.
-
Select Options…
-
Select the prefix that makes sense grammatically:
-
Welcome to.
-
Welcome to the.
-
-
Select either your:
-
[Organisation name] (for example, Armatree Industries).
-
[Building or reception name] (for example, Wellington House).
.png?cb=7a288933c6d18bbdc691da64b73fe15c)
-
-
Select NEXT.
Note: the app’s functionality is the same regardless of which layout you choose.
Other check-in options
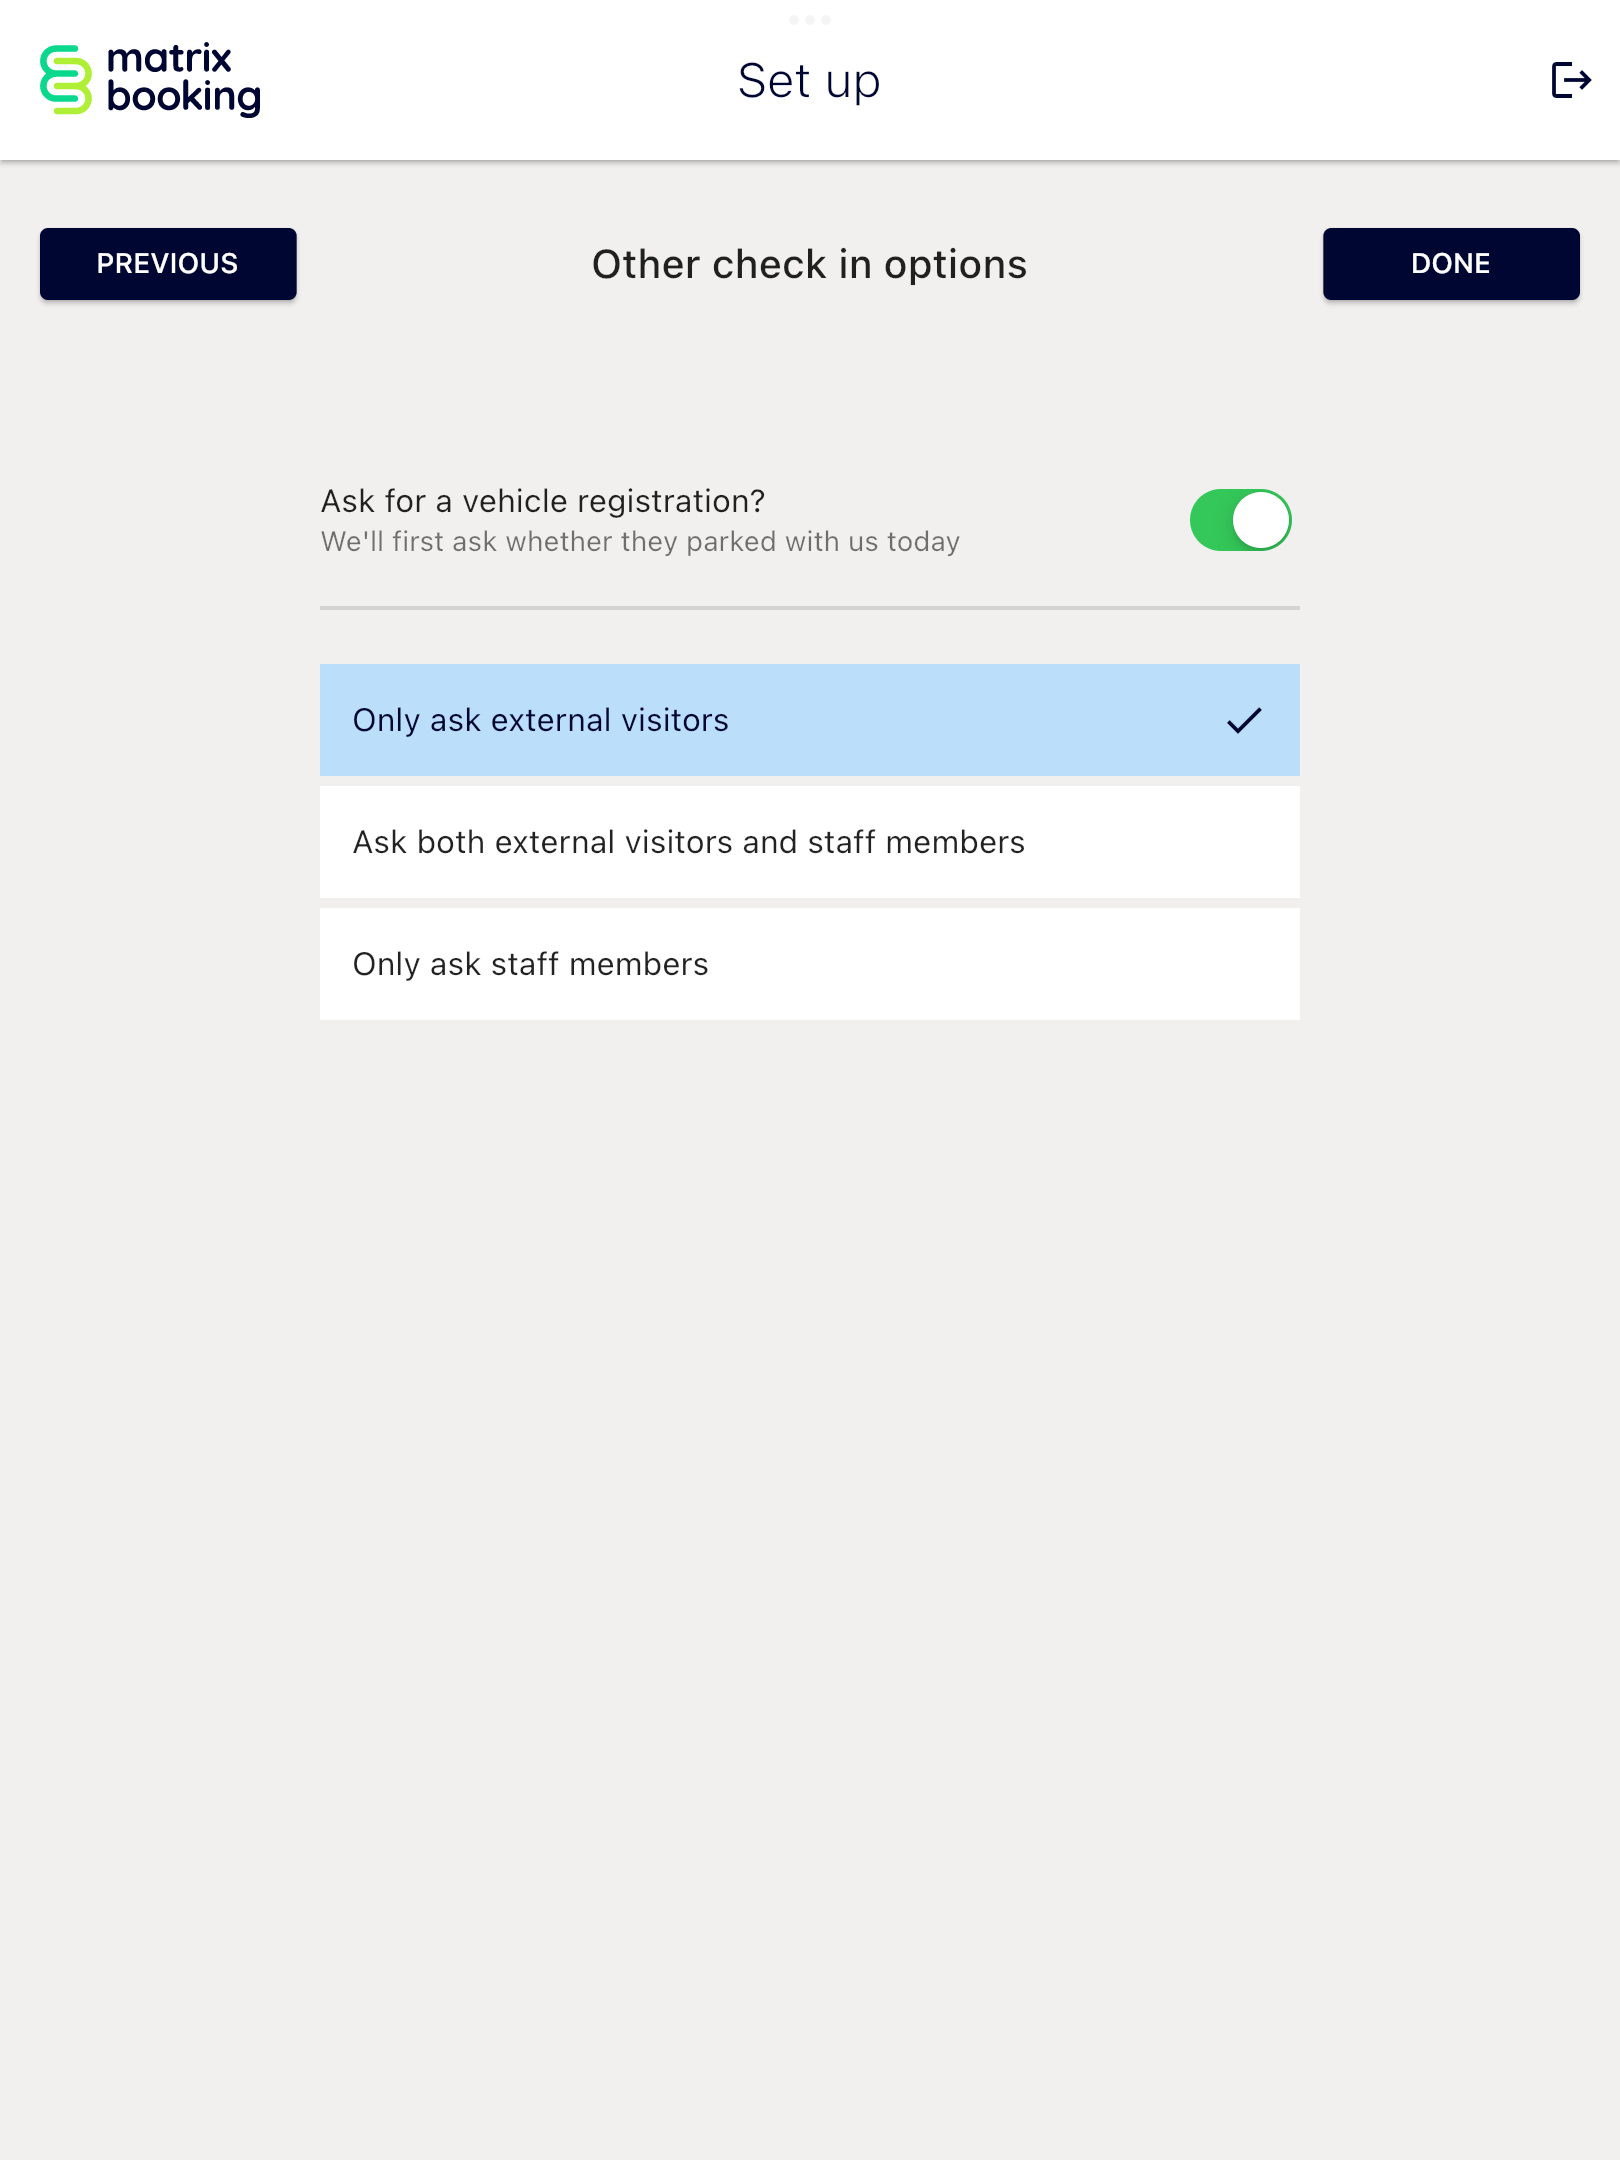
After selecting your home screen layout, the Other check-in options screen will appear. If you want visitors or staff to enter their vehicle registration (licence plate number):
-
Select the Ask for a vehicle registration? toggle button.
-
Below the button, 3 options will appear:
-
Only ask external visitors.
-
Ask both external visitors and staff members.
-
Only ask staff members.
-
-
-
Select the correct option for your organisation.
-
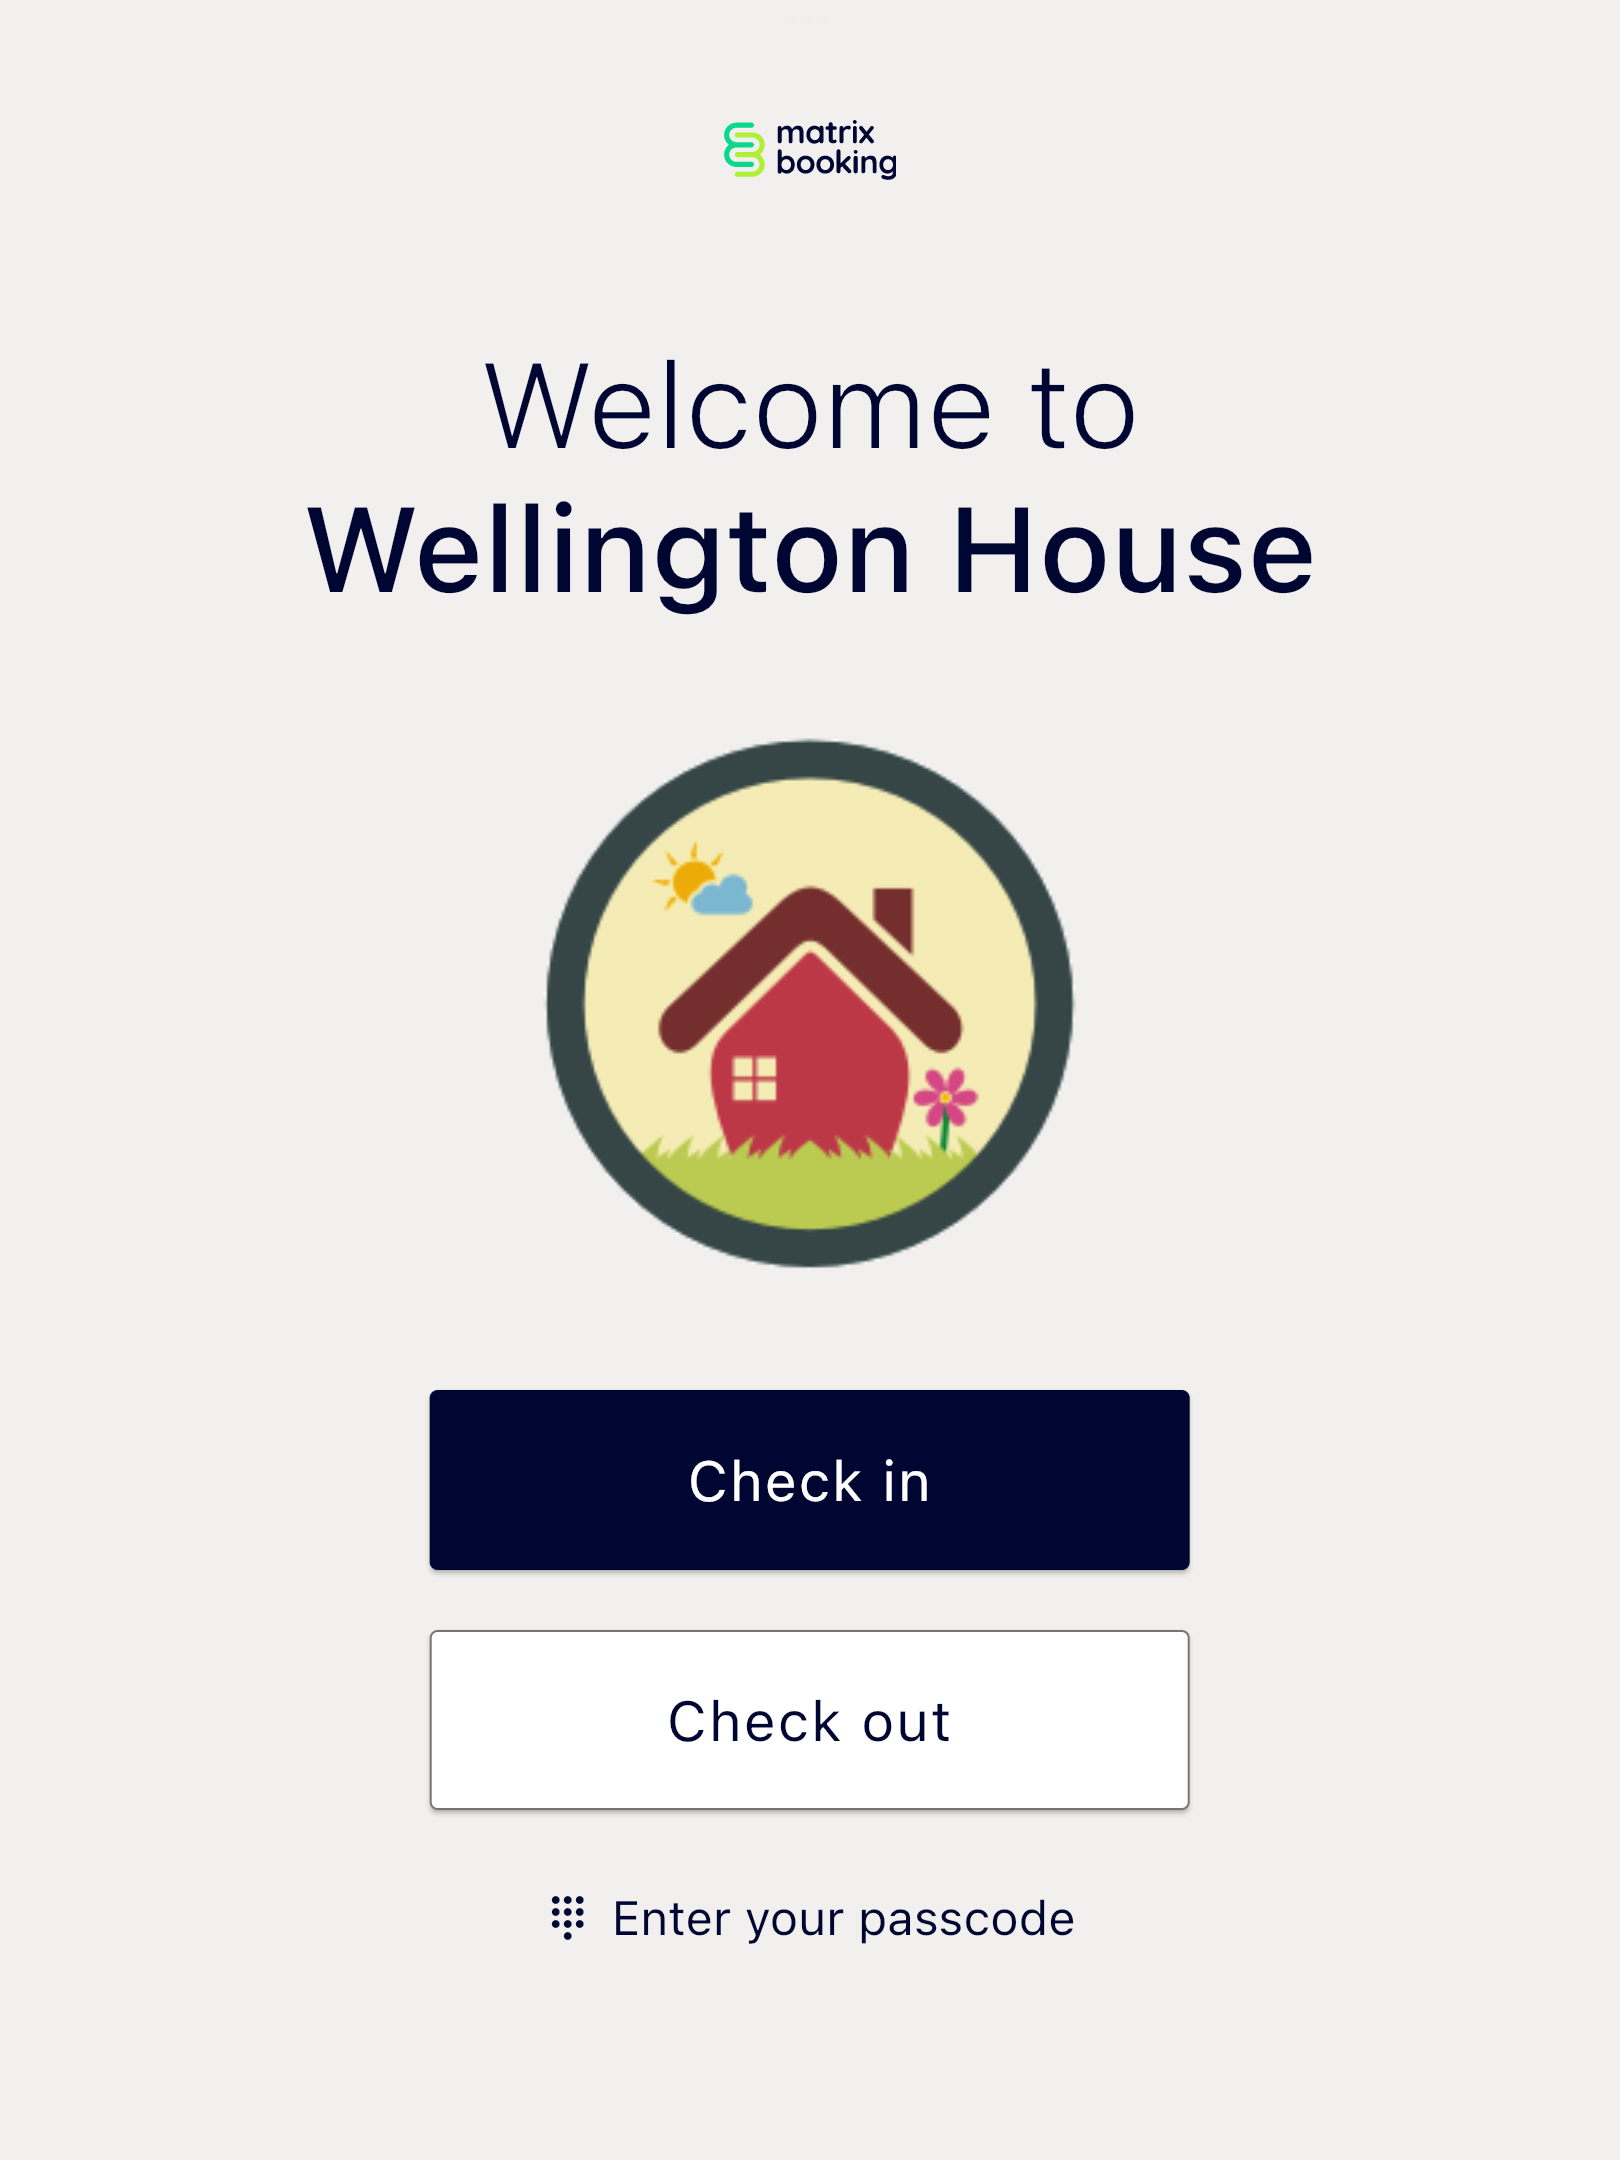
Select DONE.
-
The Welcome app’s home screen will be displayed.
Tip: you can change the settings at any time.
Permission to use the camera
If your device has a front-facing camera and you have chosen a setup that allows a person to scan their pass QR code, you’ll need to give permission for the app to use the camera after you have completed the app setup steps.
To give the app permission to use the camera:
-
Select the Scan your pass QR code button
-
Select Allow when prompted (the wording may be different between iPads and Android tablets).
Change the settings
Once you have set up the Welcome app, the home screen automatically displays. If you restart the app, it will automatically bypass the setup screens and use the choices that you made previously. To change any of those choices:
-
On the home screen, tap in quick succession:
-
The top-left corner.
-
The top-right corner.
-
The bottom-right corner.
-
The bottom-left corner
-
The bottom-right corner again.
-
-
You must complete this tapping sequence within 8 seconds.
-
You’ll see a brief splash when you tap each corner.
-
-
A pop-up will ask you to confirm that you want to reconfigure the app.
-
Select RECONFIGURE. You’ll be taken to the first setup screen where you can complete the setup steps again.
Tip: if you want to reconfigure the app using a different kiosk user, tap the logout button that appears in the top-right corner of the setup screens.
Check the version of the Welcome app
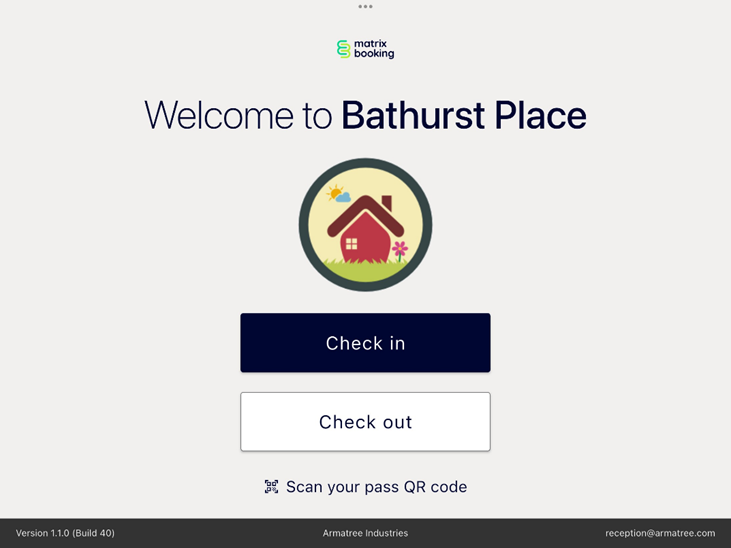
To check what version of the Welcome app you have installed, long press (a second or two) on the Matrix Booking logo at the top of the home screen. The app version will appear briefly at the bottom of the screen.
Troubleshooting
For more information, see troubleshooting.
Network requirements
Network connectivity
The table below shows the full list of application endpoints that you need to include in the allowed or trusted list to fully utilise the Matrix Booking applications on a closed network. If any endpoints aren’t in your allowed or trusted list, you may have issues with the service related to the endpoint.
|
Server name |
Protocol |
Port |
Application |
Notes |
|
HTTPS (TCP) |
443 |
Signage Floor plan Welcome |
Matrix Booking data |
|
|
HTTPS (TCP) |
443 |
Signage Floor plan Welcome |
Organisation logo |
|
|
HTTPS (TCP) |
443 |
Signage |
Event-based communication |
|
|
UDP |
123 |
Signage Floor plan Welcome |
Time and date server ProDVX Android devices only
|
|
|
Outbound (TCP) |
443 |
Hexnode MDM |
Hexnode app updates and remote view |
|
|
Outbound HTTPS (TCP) |
443 |
Hexnode MDM |
Hexnode remote view |
|
|
Outbound HTTPS (TCP) |
443 |
Hexnode MDM |
Hexnode remote view |
|
|
Outbound HTTPS (TCP) |
443 |
Hexnode MDM |
Hexnode client portal |
|
|
Outbound TCP and UDP |
3478 |
Hexnode MDM |
Hexnode remote view |
|
|
Outbound TCP |
5349 |
Hexnode MDM |
Hexnode remote view |
|
|
Outbound TCP and UDP |
3478 |
Hexnode MDM |
Hexnode remote view |
|
|
Outbound TCP |
5349 |
Hexnode MDM |
Hexnode remote view |
|
|
Outbound TCP |
1883, 8883 |
Hexnode MDM |
Hexnode remote view: Receive push notifications via MQTT. |
|
|
Outbound TCP |
1883, 8883 |
Hexnode MDM |
Hexnode remote view: Receive push notifications via MQTT. |
|
|
Outbound TCP |
1883, 8883 |
Hexnode MDM |
Hexnode remote view: Receive push notifications via MQTT. |
|
|
HTTPS (TCP) |
443 |
Hexnode MDM |
Remote view push notifications |
|
|
TCP |
5228–5230 |
Hexnode MDM |
Remote view persistent connection |
Device settings
Time and date settings
If you have your own device, make sure that the default time zone is correct as it may be the device manufacturer’s time zone. Devices supplied by us will be set up with the correct time zone setting.
Warning: your device may have a different time server. Make sure this is available through your firewall to ensure your devices can keep the correct time.
Security settings
There are a number of options to prevent users from accidentally exiting the app:
-
Install the Matrix Booking MDM or kiosk software – contact your Account Manager for this.
-
Install your organisation’s MDM or kiosk software.
-
Use the Android native personal identification number (PIN) or password mechanism.
We use and have information on the native kiosk mode for iOS devices.
Notes:
-
You don’t have to follow these options, but your devices may not be secure.
-
Check your organisation’s IT security policy to see if 1 of the above is required.
If you have your own MDM kiosk solution or you have purchased the Matrix Booking MDM or kiosk software, this must be installed prior to installing the app. You won’t need to set the Android or iOS native PIN or password when using MDM or kiosk mode as this automatically restricts access.
To prevent navigation away from the Welcome app:
-
Close all other apps:
-
For iPads:
-
Go to the Home Screen
-
Swipe up from the bottom of the screen.
-
Pause in the middle of the screen.
-
Swipe right or left to find the app that you want to close.
-
Swipe up on the app’s preview to close the app.
-
-
For Android tablets:
-
Select the square icon at the bottom of the device.
-
Select the X button on each apps.
-
-
-
Select Settings (of the device, not the app).
-
Go to the Security section (may be called different names depending on the OS).
-
Go to the Screen locking sub-section (may be called different names depending on the OS (for example, Guided Access in iOS)).
-
Set a password or PIN.
-
Go to Screen pinning option (may be called different names depending on the OS).
-
Select the Screen pinning tick box or slider.

-
You’ll notice a pin button in the bottom-right of the Welcome app.
-
Select the pin button. A pop-up box will appear asking you to confirm this.
-
Select Confirm.
Notes:
-
For more information, see Guided Access for iOS devices.
-
If you’re using an MDM solution or using the Matrix Booking HaaS product, don’t set a PIN as this isn’t needed and will interfere with remote support and automatic recovery.