There are 2 directories in the side menu:
-
Internal directory – lists all the contacts within your organisation.
-
External directory – lists all the contacts outside your organisation.
Matrix Booking collects any and all contacts that have been invited to bookings and builds them into a directory for you to reuse again. You don’t have to enter their details again or make a new contact. If you wish to change how long this data is stored, raise a support ticket. For more information, see our GDPR statement and Privacy policy.
If we sync with your single sign-on (SSO) or Microsoft Entra ID integrations, the internal contacts’s information is better managed through the Users screen.
Note: Matrix Booking has a feature switch that prevents standard users from seeing each other’s external visitors. This feature will therefore keep external visitor information confidential between standard users. Only administrators will have access to external visitor information in the External directory screen. This feature is switched off by default. To switch this feature on, raise a change setup support ticket.
This page explains how to manage your internal and external directories:
Access a directory
To access a directory:
-
Select Admin in the navigation bar.
-
Under the Contact Directory section in the side menu, select either:
-
Internal Directory – displays internal users and staff.
-
External Directory – displays external users and visitors.
-
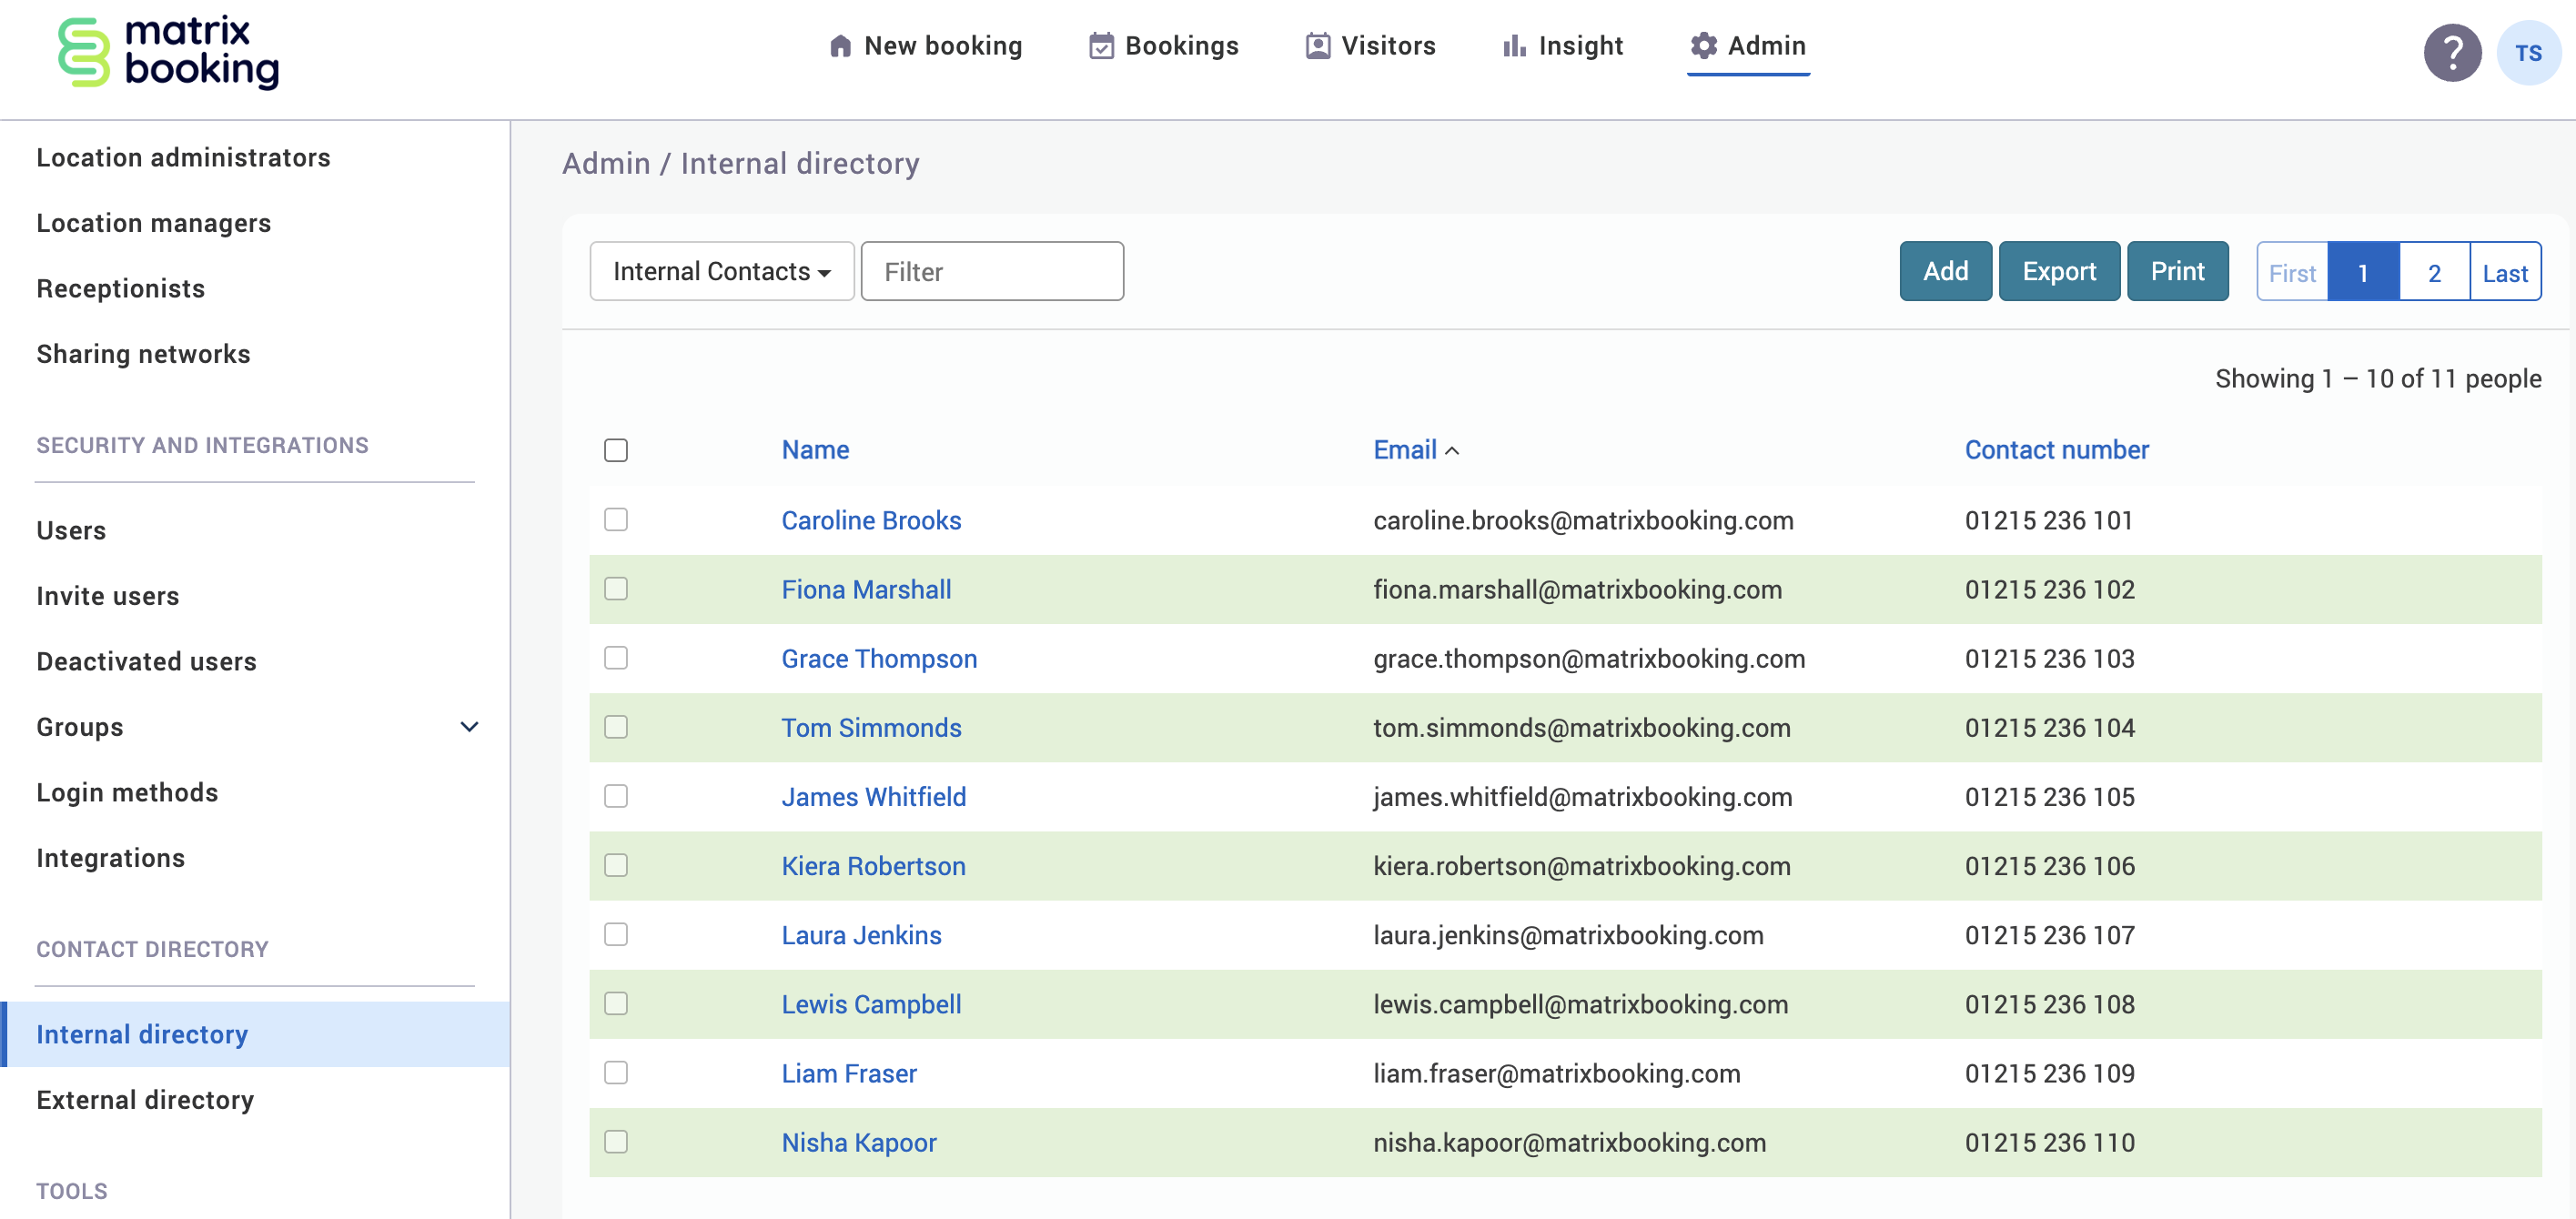
Use the directory
Both directories can be used in similar ways. To use the directory:
-
There are several options you can choose from:
-
Change the directory using the Directory dropdown.
-
Filter your directory on a particular search term in the Filter text box (for example, names).
-
Add a contact using the Add button.
-
Export the chosen directory list using the Export button (save the directory as a
.csvfile). -
Print the directory list using the Print button (save the directory as a
.pdffile). -
Deactivate users or contacts using the checkboxes on the left of each entry and the Deactivate (number) button.

-
Note: there’s a maximum of 10 contacts per page.
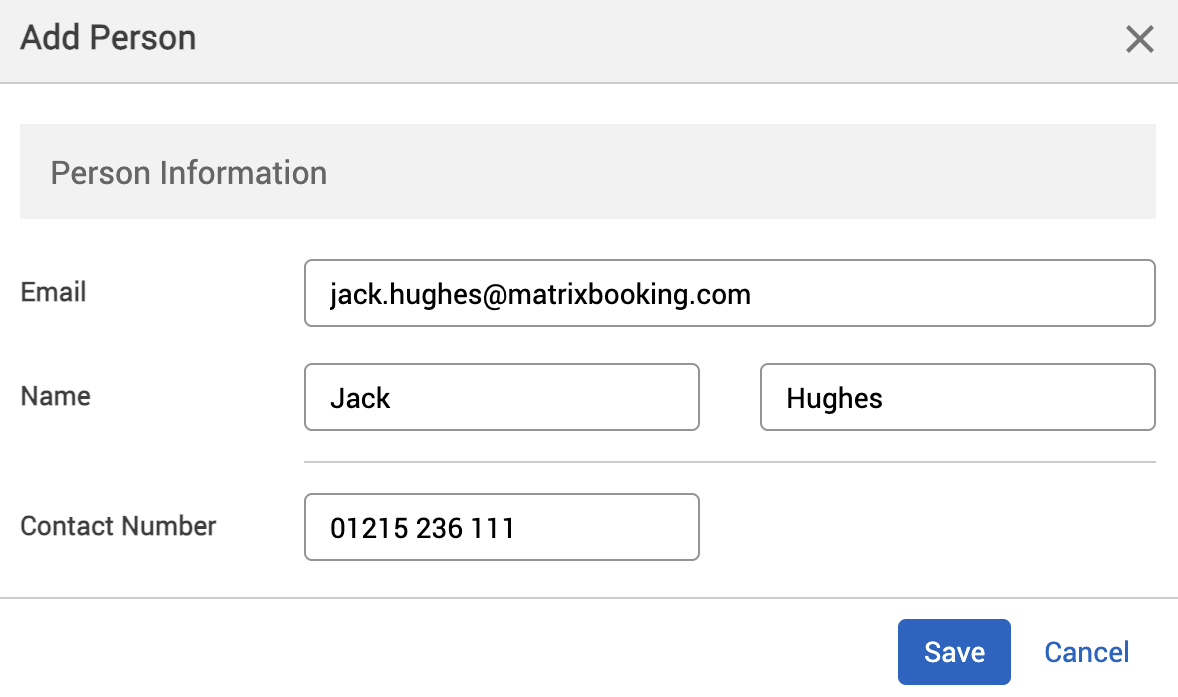
Add a contact
The amount of information you can enter for a contact will depend on which directory you’re adding the contact to (more information for external contact). To add a contact:
-
Select Add. The Add Person dialog will appear.
-
Enter the person’s information into the relevant text boxes. The Company Name text box won’t appear for an internal contact.
-
Select either of the following and the dialog will close to return you to your chosen directory:
-
Save to keep your changes.
-
Cancel to discard your changes.
-
Edit a contact
To edit a contact:
-
Select the contact’s name highlighted in blue. The Edit Person dialog will appear.
-
Amend the information you need to.
-
Select either of the following and the dialog will close to return you to your chosen directory:
-
Save to keep your changes.
-
Cancel to discard your changes.

-
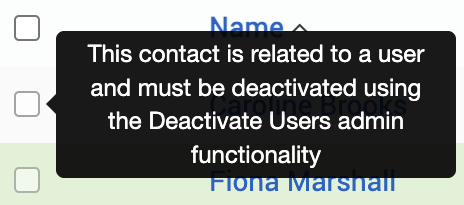
Deactivate external contacts
Internal contacts can’t be deactivated this way. To deactivate an internal contact, use the Users screen.
You can deactivate external contacts in 2 ways:
-
Deactivate them one by one.
Deactivate contacts one by one
To deactivate external contacts one by one:
-
Select the checkbox to the left of the contact that you want to deactivate. The Deactivate (1) button will appear.
-
If you want to deactivate more than one contact, select their checkboxes.
-
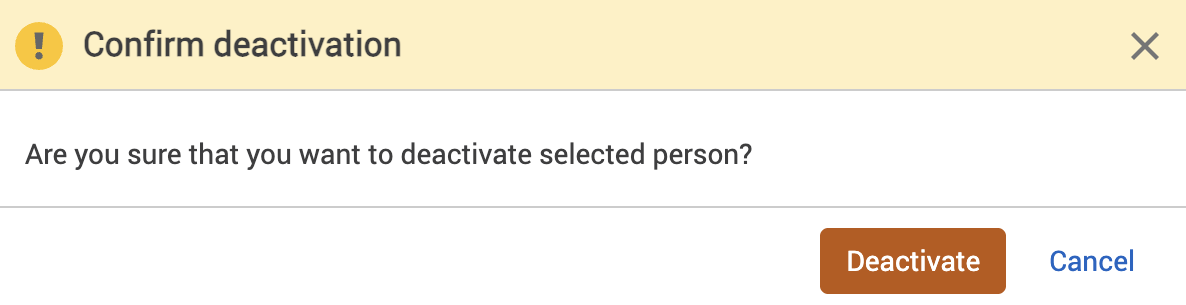
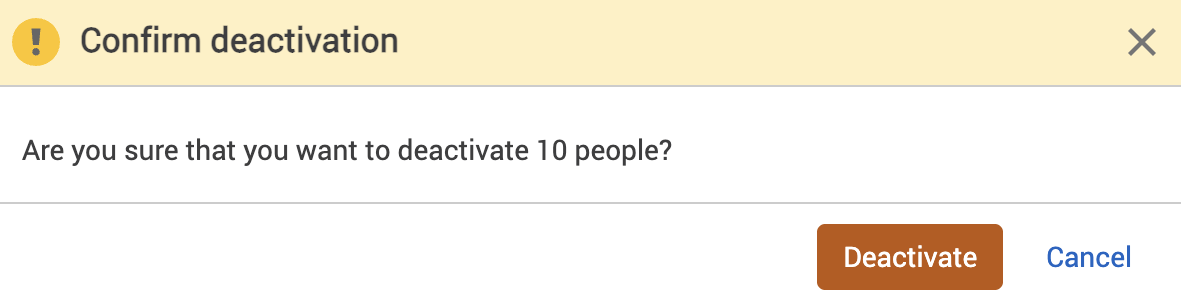
Select the Deactivate (number) button. The Confirm deactivation warning dialog will appear.
-
Select either of the following and the dialog will close to return you to your chosen directory:
-
Deactivate to continue with the deactivation of the contacts.
-
Cancel to cancel the deactivation.
-
Deactivate all contacts at the same time
To deactivate all external contacts at the same:
-
Select the checkbox next to the Name filter. This will tick all the contacts in the whole directory.
-
Select the Deactivate (number) button. The Confirm deactivation warning dialog will appear.
-
Select either of the following and the dialog will close to return you to your chosen directory:
-
Deactivate to continue with the deactivation of the contacts.
-
Cancel to cancel the deactivation.
-
Reactivate contacts
Internal contacts can’t be reactivated this way. To reactivate an internal contact, use the Users screen.
You can reactivate external contacts in 2 ways:
-
Reactivate them one by one.
Reactivate contacts one by one
To reactivate contacts one by one:
-
Filter on either:
-
Internal contacts (deactivated).
-
External contacts (deactivated).
-
-
This will open the Deactivated contacts directory screen (for example, External contacts (deactivated)).
-
Select the checkbox next to the left of the contact that you want to reactivate. The Reactivate (1) button will appear.
-
If you want to reactivate more than one contact, select their checkboxes.
-
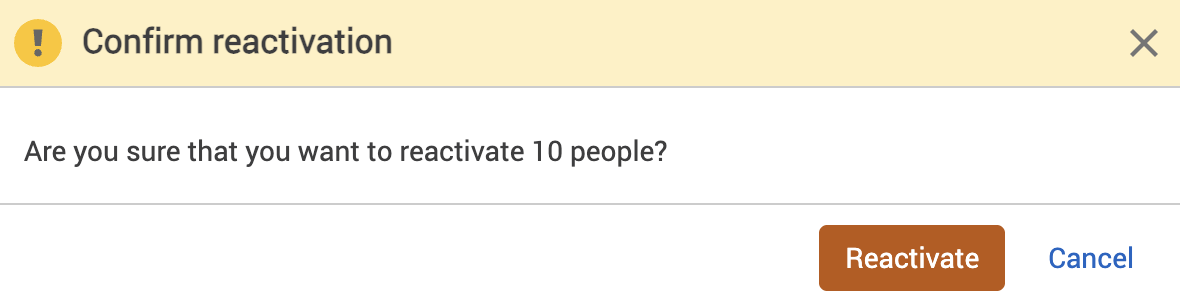
Select the Reactivate (number) button. The Confirm reactivation warning dialog will appear.
-
Select either of the following and the dialog will close to return you to your chosen directory:
-
Reactivate to continue with the reactivation of the contacts.
-
Cancel to cancel the reactivation.

-
Reactivate all contacts at the same time
To reactivate all contacts at the same time:
-
Filter on either:
-
Internal contacts (deactivated).
-
External contacts (deactivated).
-
-
This will open the Deactivated contacts directory screen (for example, External contacts (deactivated)).
-
Select the checkbox next to the Name filter. This will tick all the contacts in the whole directory.
-
Select the Reactivate (number) button. The Confirm reactivation warning dialog will appear.
-
Select either of the following and the dialog will close to return you to your chosen directory:
-
Reactivate to continue with the reactivation of the contacts.
-
Cancel to cancel the reactivation.
-
Export and print a directory
To export a directory:
-
Select Export. Your file explorer will appear.
-
Select the location you want to save your directory as a
.csvfile. -
Select Save (or equivalent on different PCs). Your file explorer will close and your directory has been saved.
To print a directory:
-
Select Print. A print preview dialog will appear.
-
Select either:
-
Your chosen printer.
-
Save as PDF destination you want to print your directory.
-
-
Select Save (or equivalent on different PCs).
-
If you selected a printer, the dialog will close and your directory will be printed from the printer you selected.
-
If you selected Save as PDF, your file explorer will appear.
-
Select the location you want to save your directory as a
.pdffile. -
Select Save (or equivalent on different PCs). Your file explorer will close and your directory has been saved.
Next ❯
Event management and basket bookings