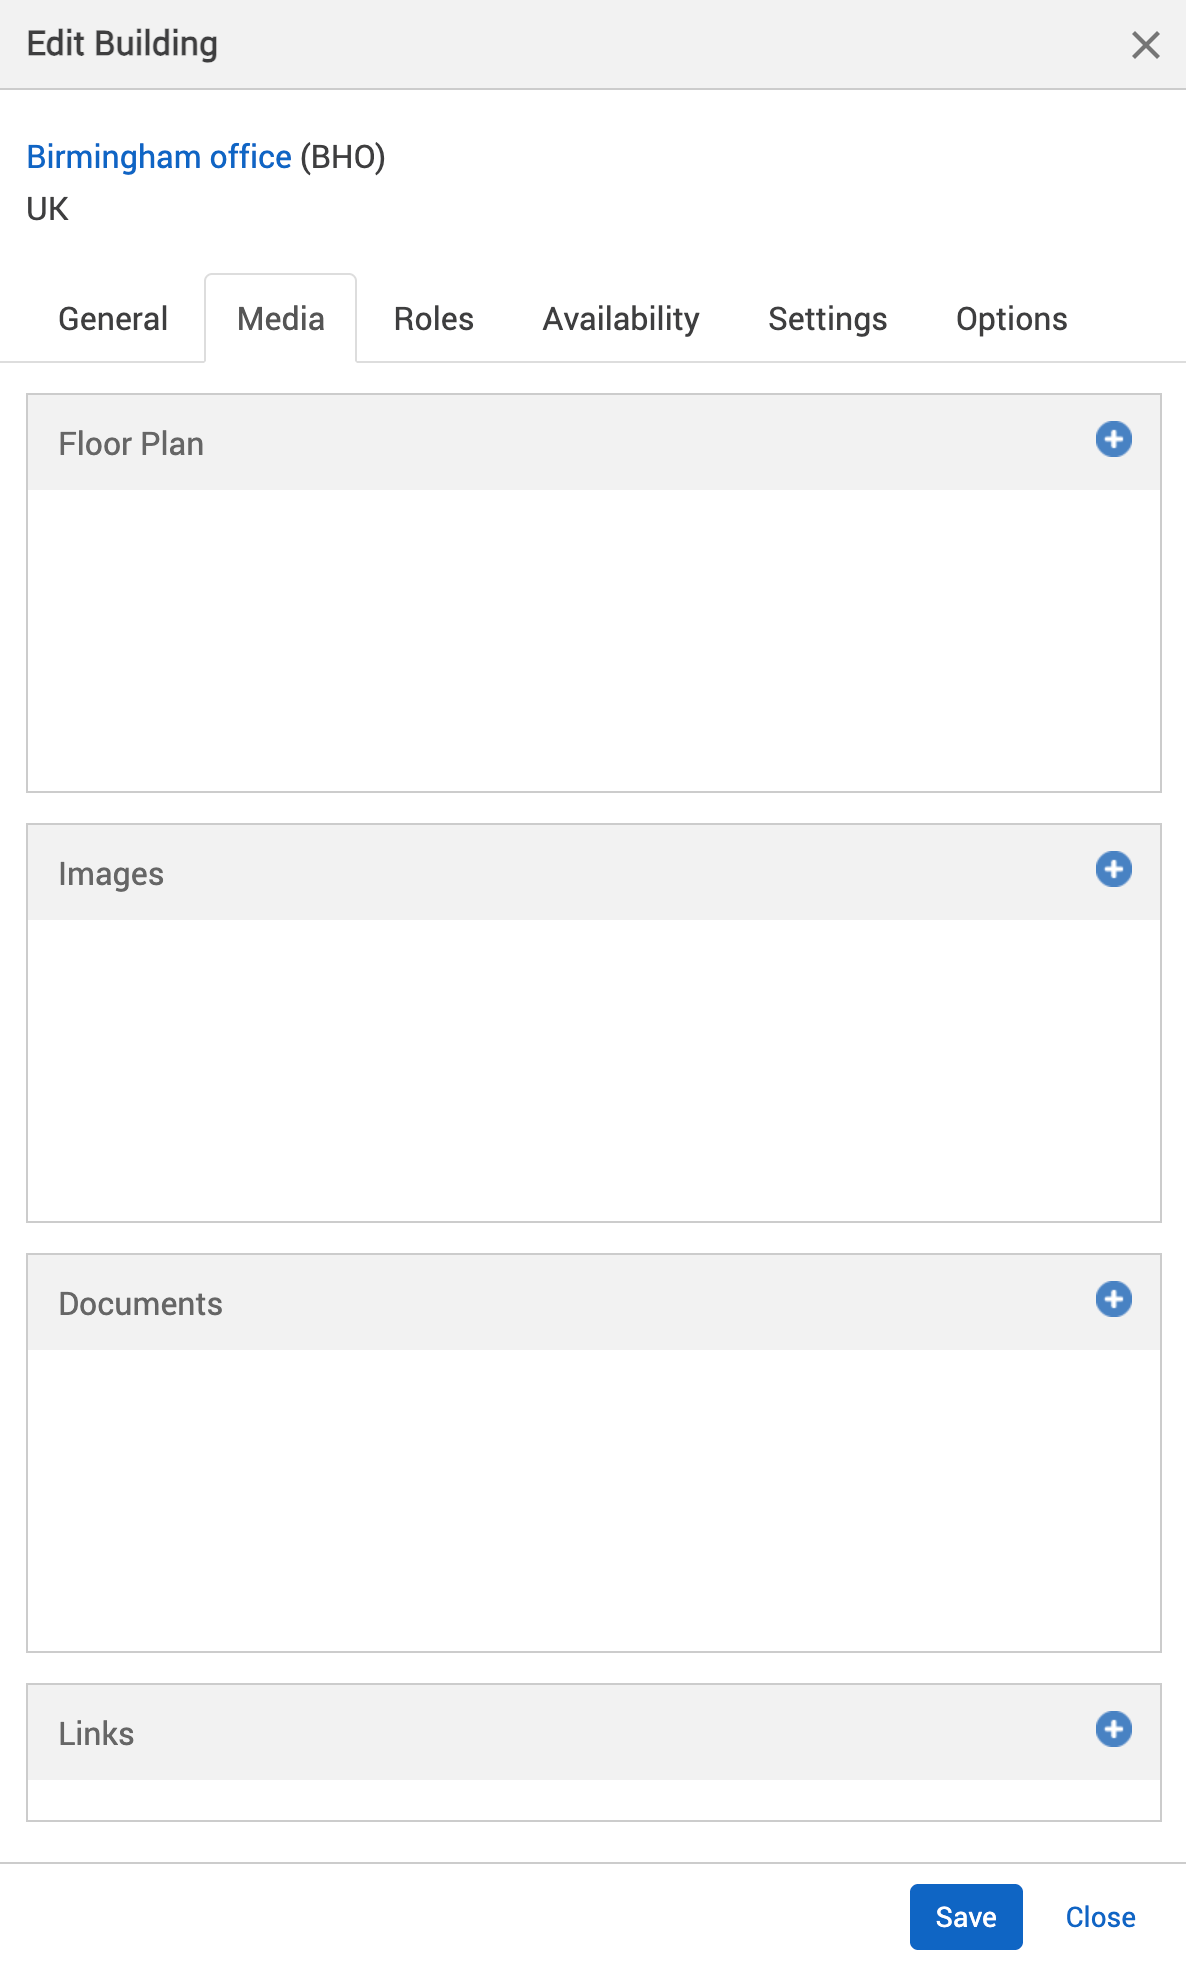
In the Media tab, you can upload and manage images and documents of resources and locations:
Access the Media tab
To access the Media tab of a location or resource:
-
Select Admin in the navigation bar.
-
Select Locations and resources under the Location Settings section in the side menu.
-
Select Edit hierarchy. The Locations and resources hierarchy will appear.
-
Select Edit next to the location or resource you want to change. The Edit [Location or Resource] dialog will appear with the General tab selected by default.
-
Select the Media tab.
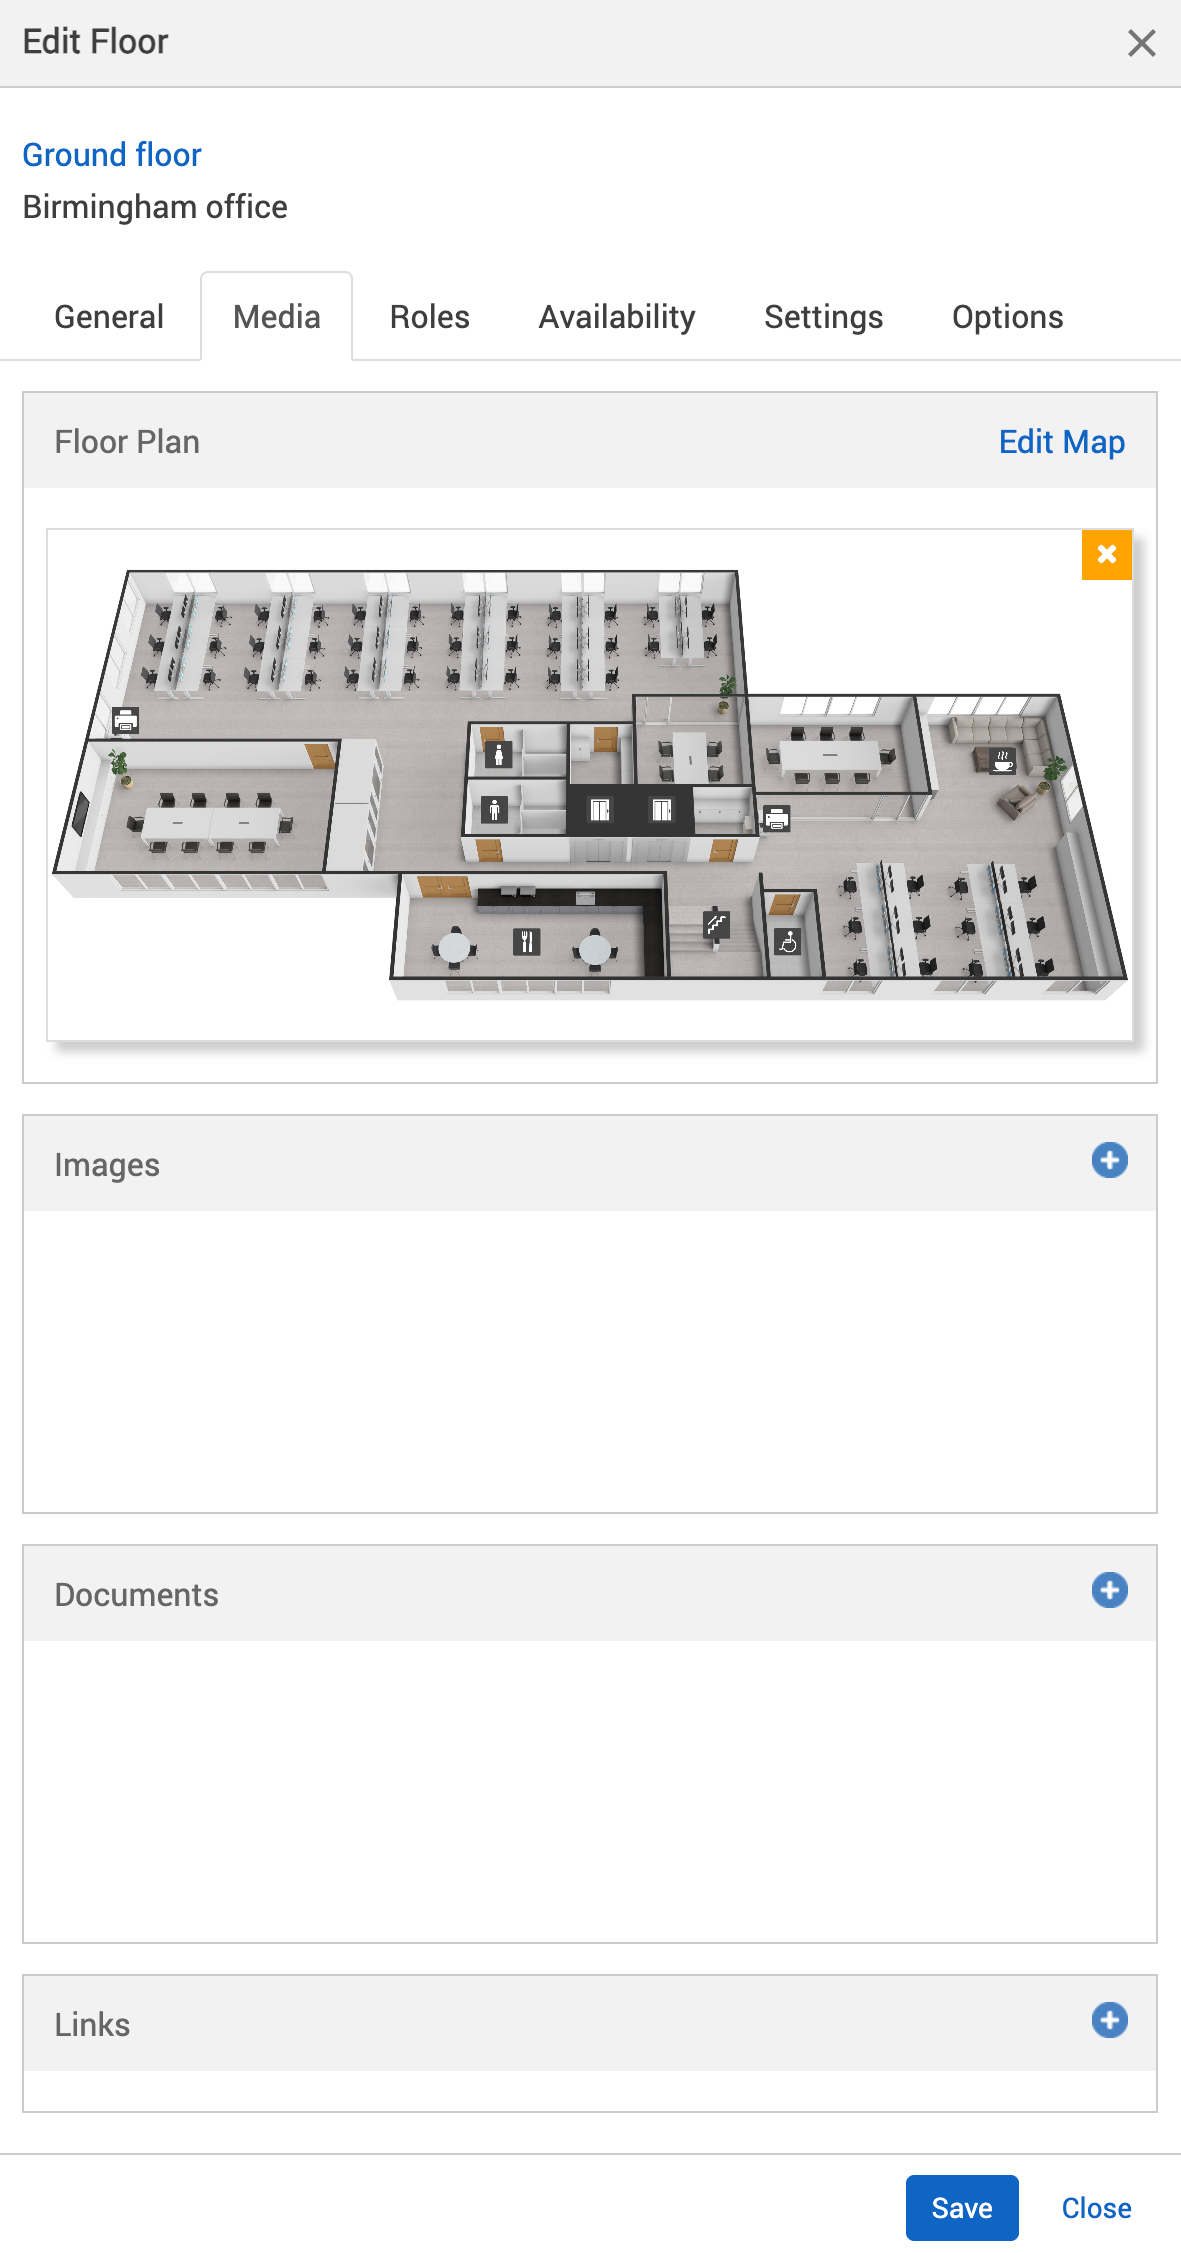
Add floor plans
To add floor plans to a floor:
-
Select the + Add button next to the Floor plan section.
-
Your computer’s file explorer will appear.
-
Go to the floor plan file’s location.
-
Select the floor plan file.
-
Select Open or Upload. This will close the file explorer and your floor plan will appear in the Floor plan section of the Media tab.
-
Select either of the following and the dialog will close to return you to the Locations and resources hierarchy:
-
Save to keep your changes.
-
Close to discard your changes.
-
-
Select Save changes.
If you want to book resources using your floor plans, you need to map your resources first. Once mapped, when you make a booking and select View as floor plan, you’ll be to book any mapped resources.
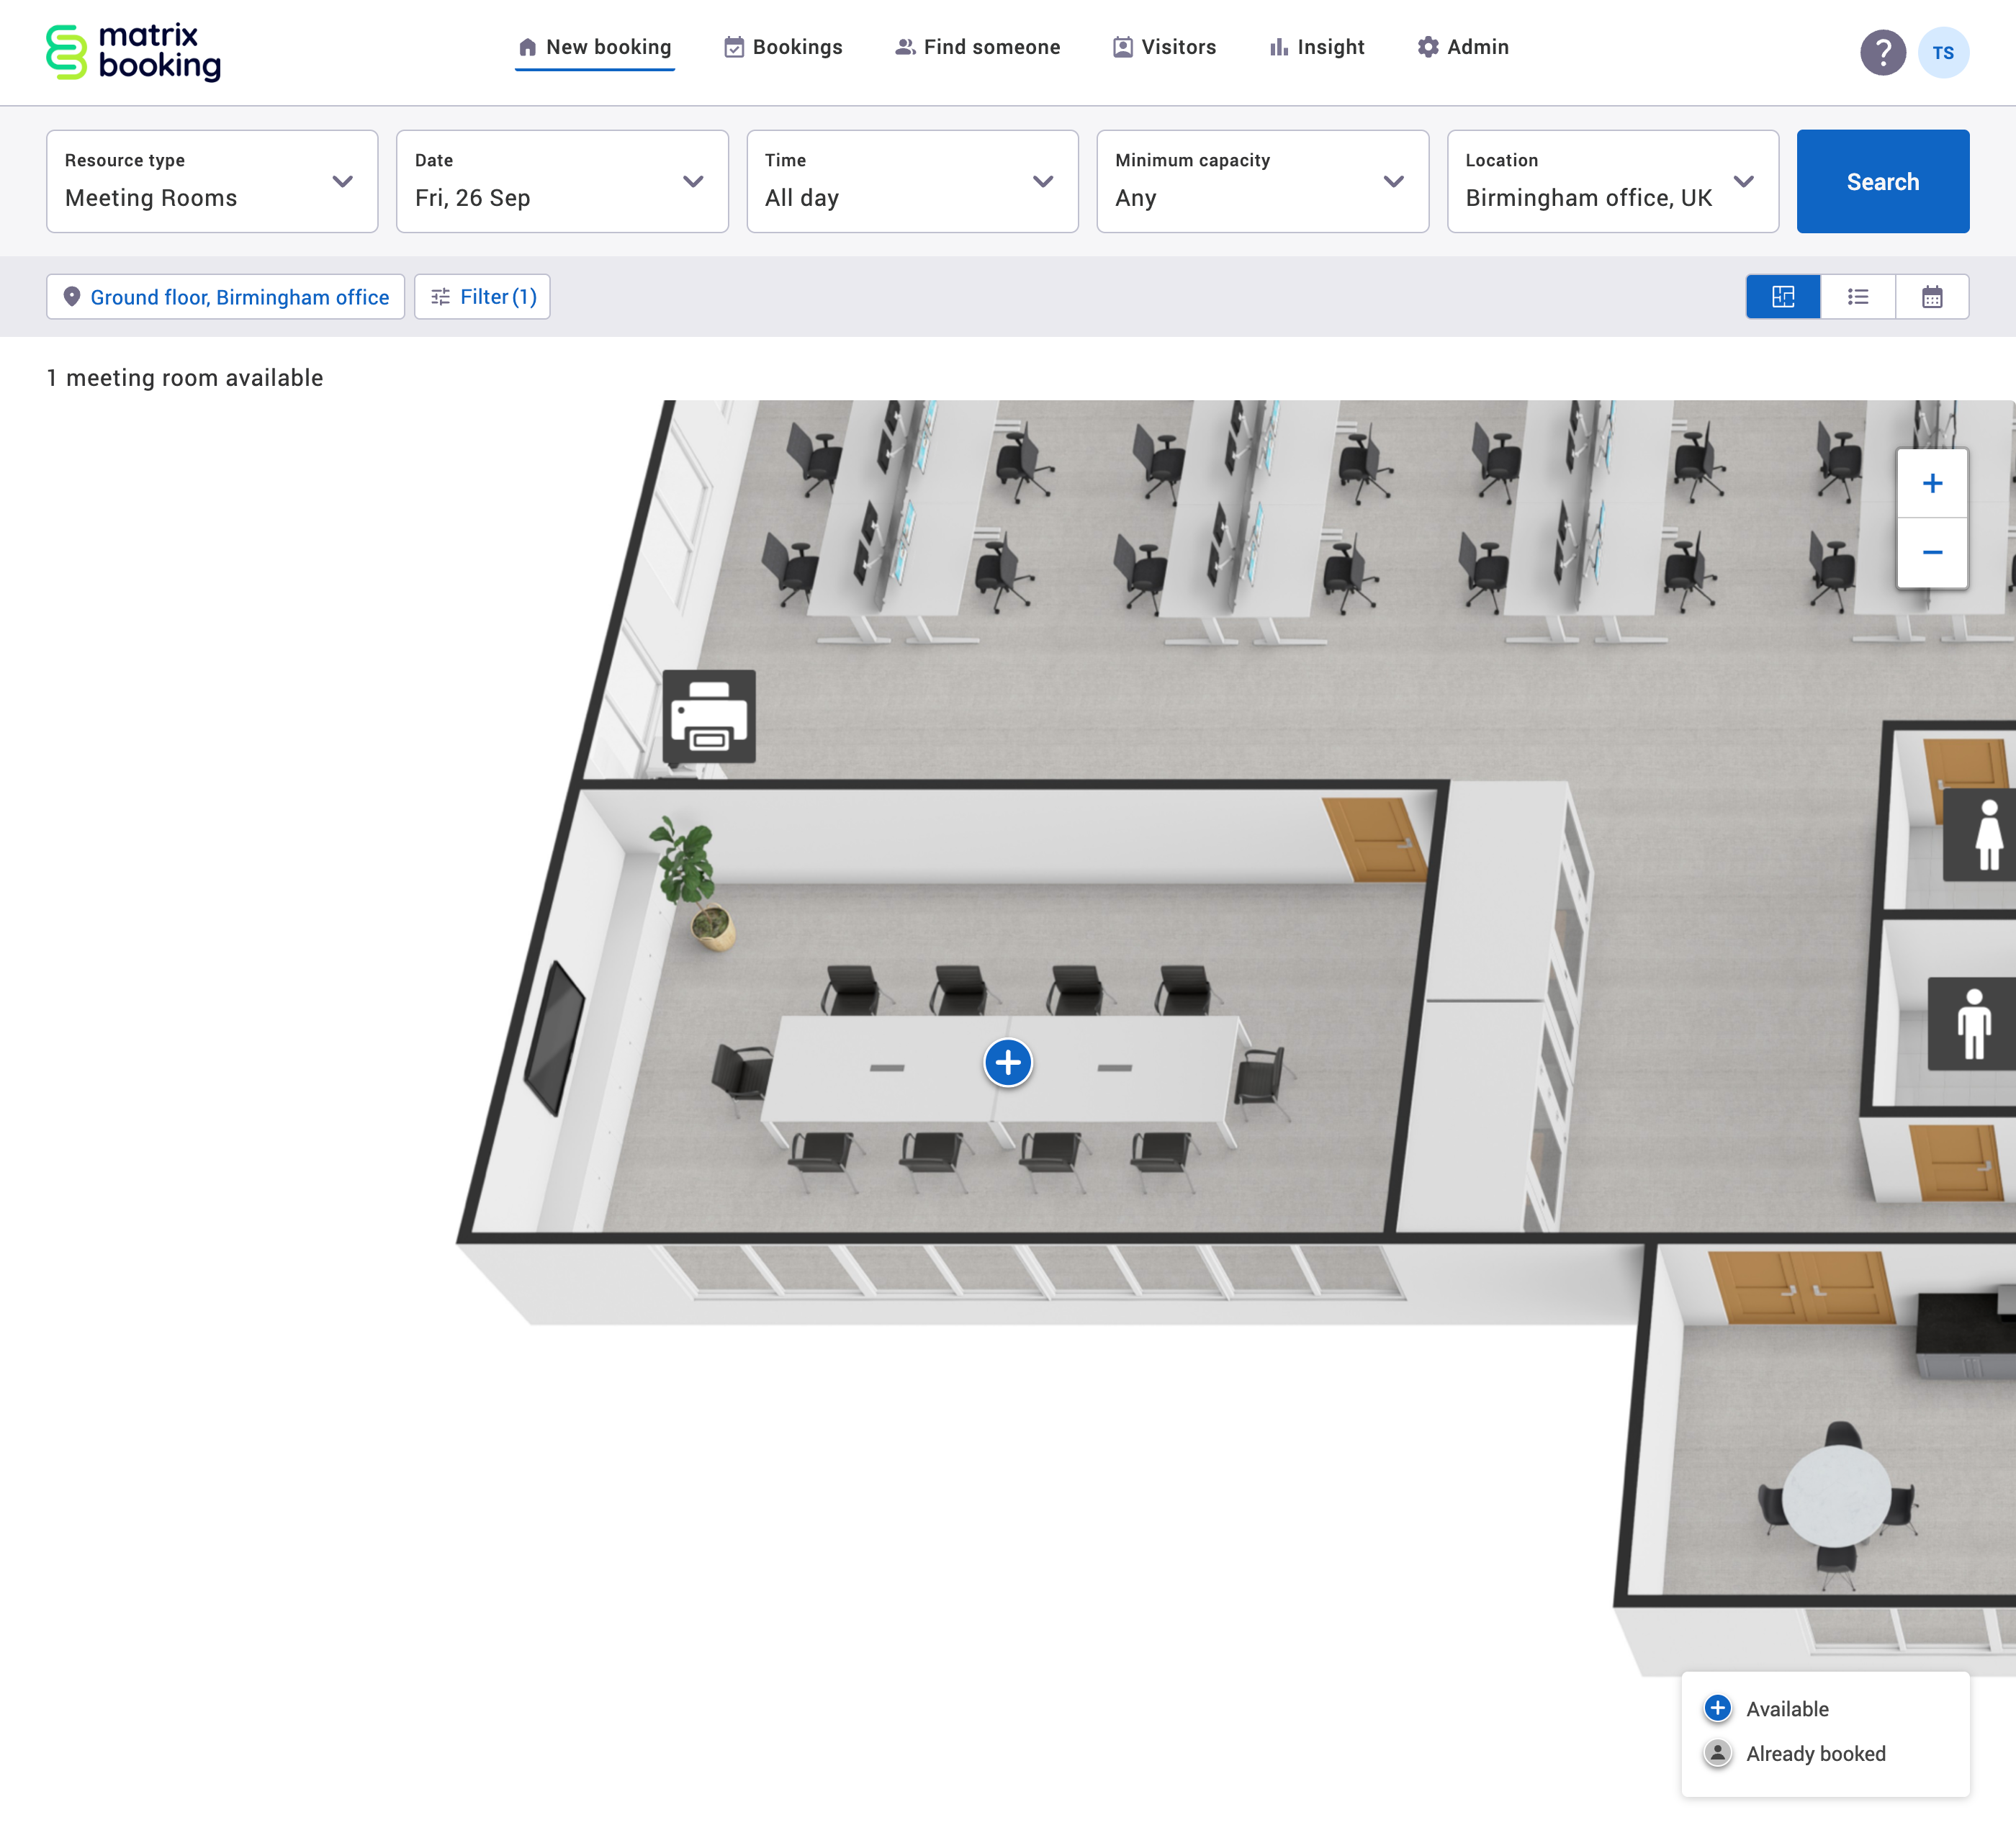
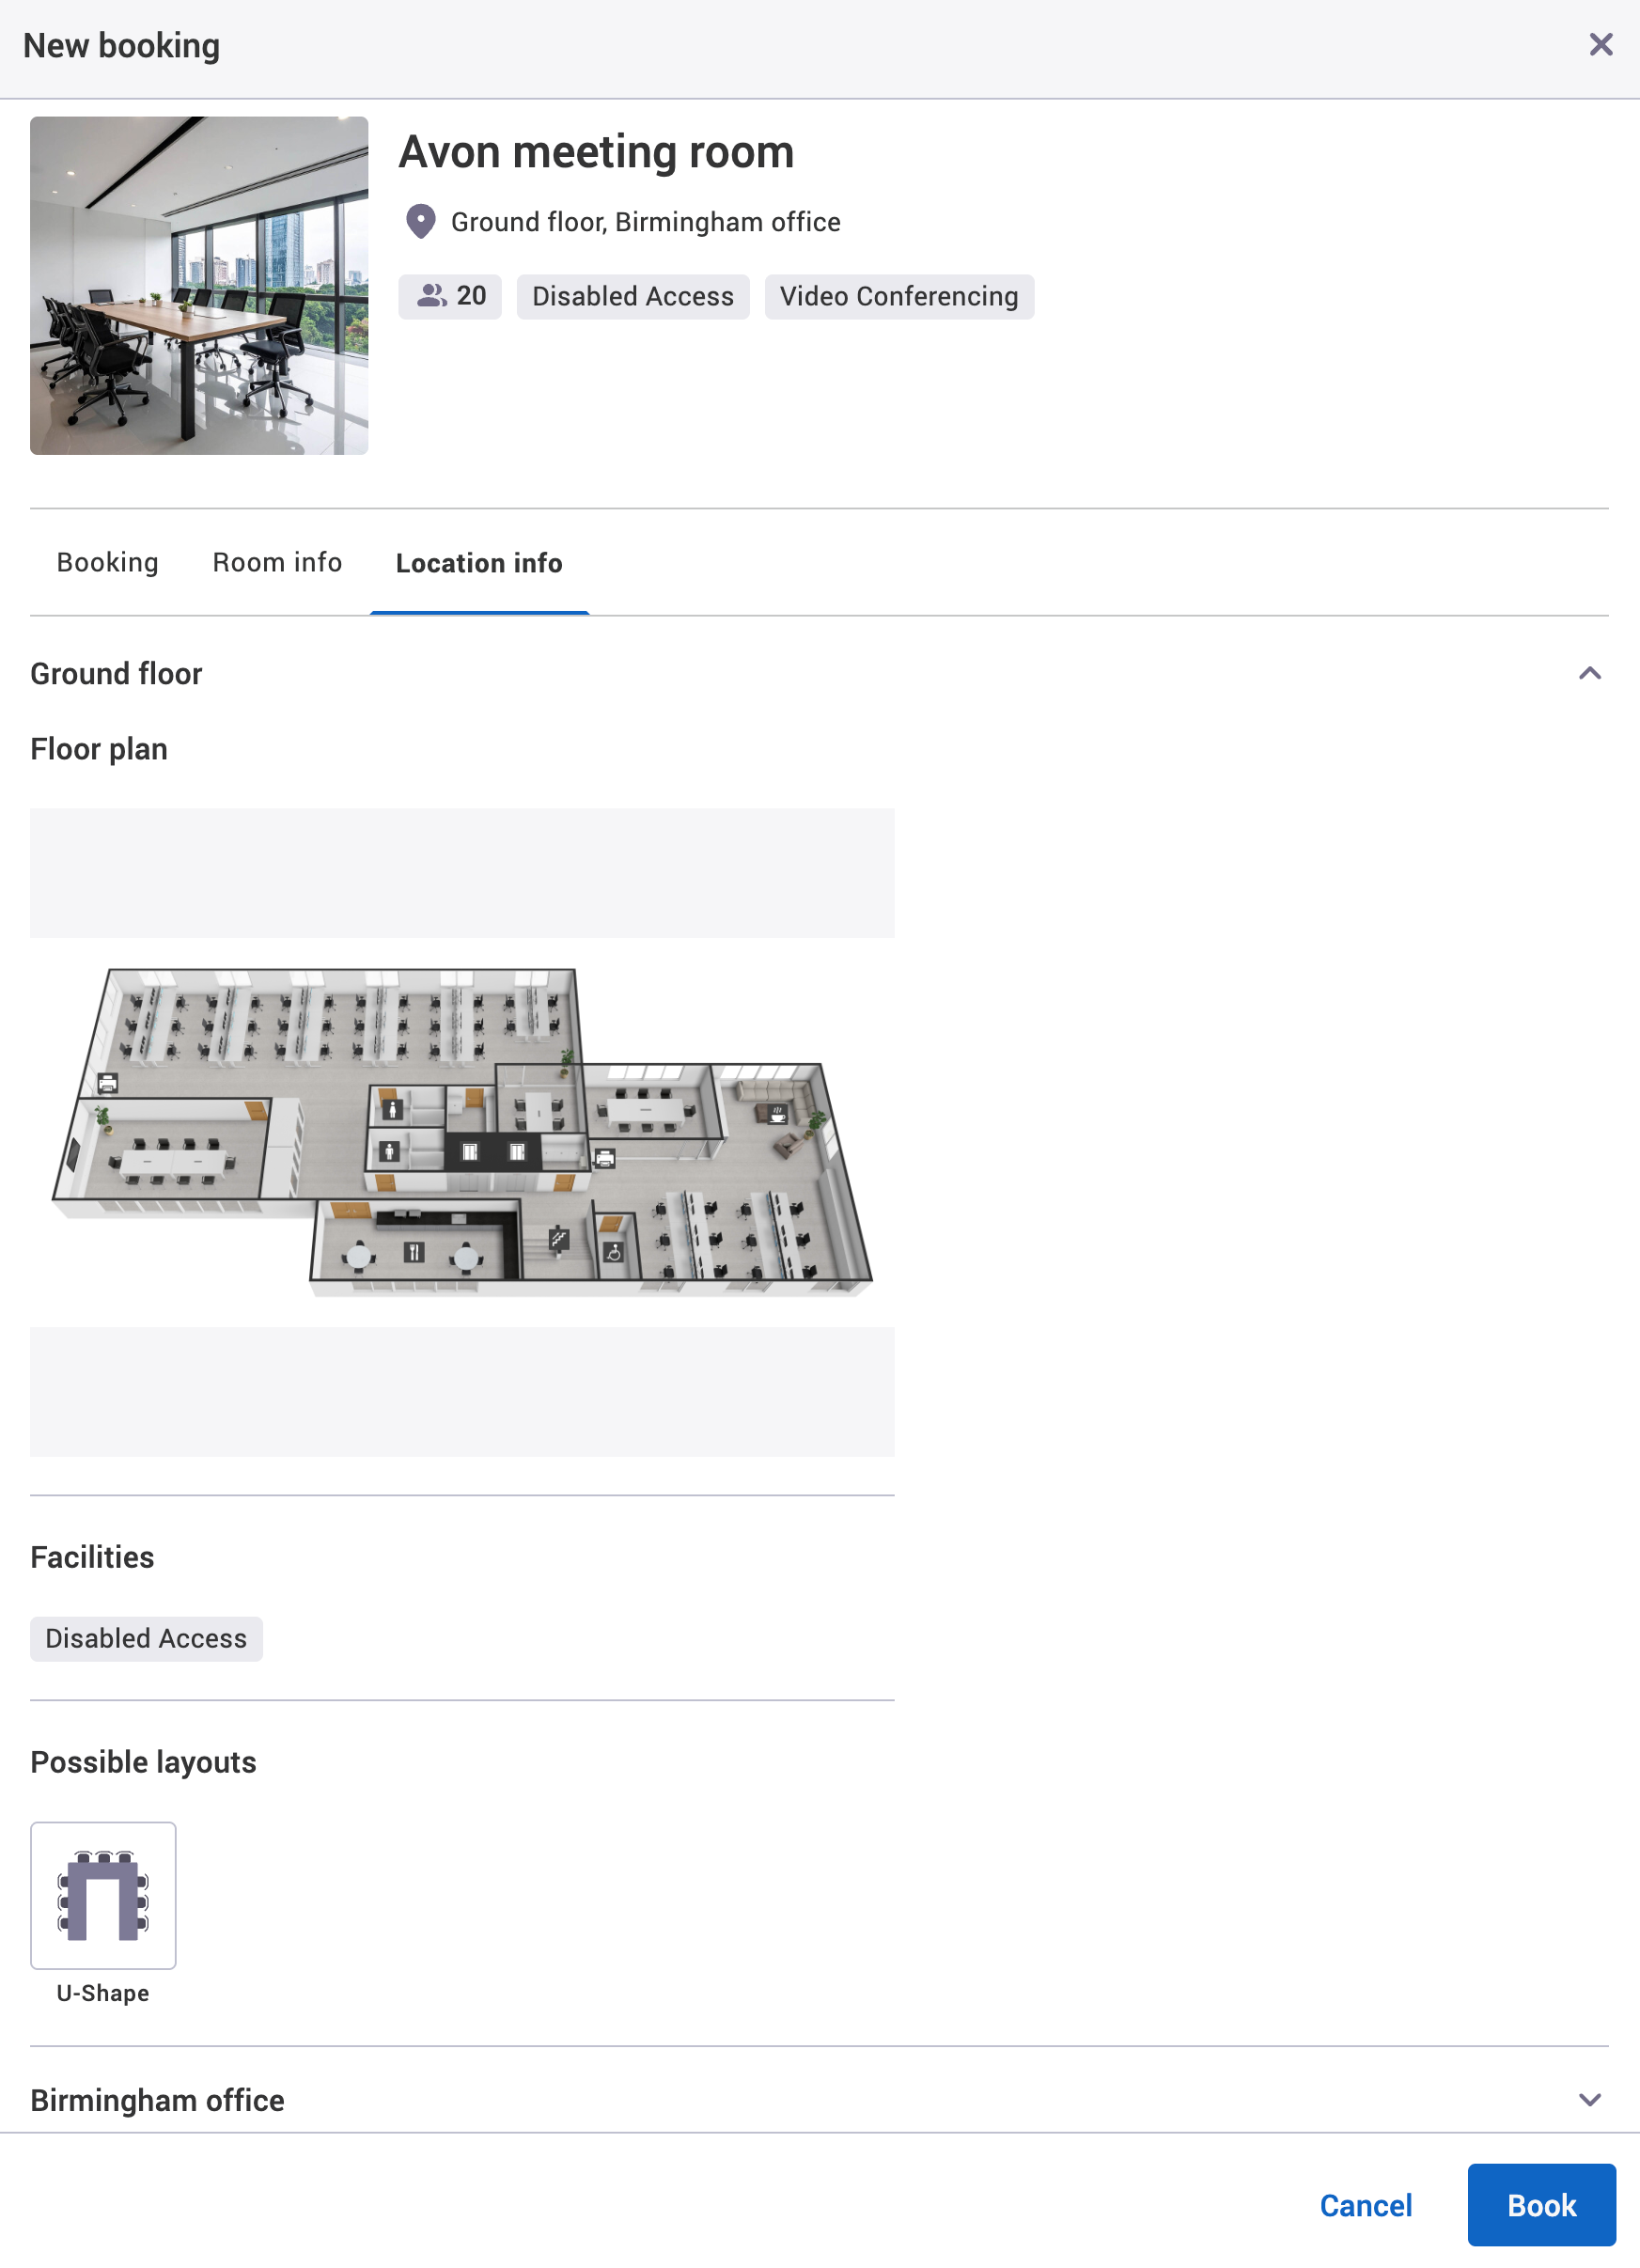
The floor plan will also appear in the Location info tab in the New booking dialog.
Notes:
-
This option is only available for locations and should be used for floors.
-
You must map your resources on the floor plan before you can book them on the View as map screen.
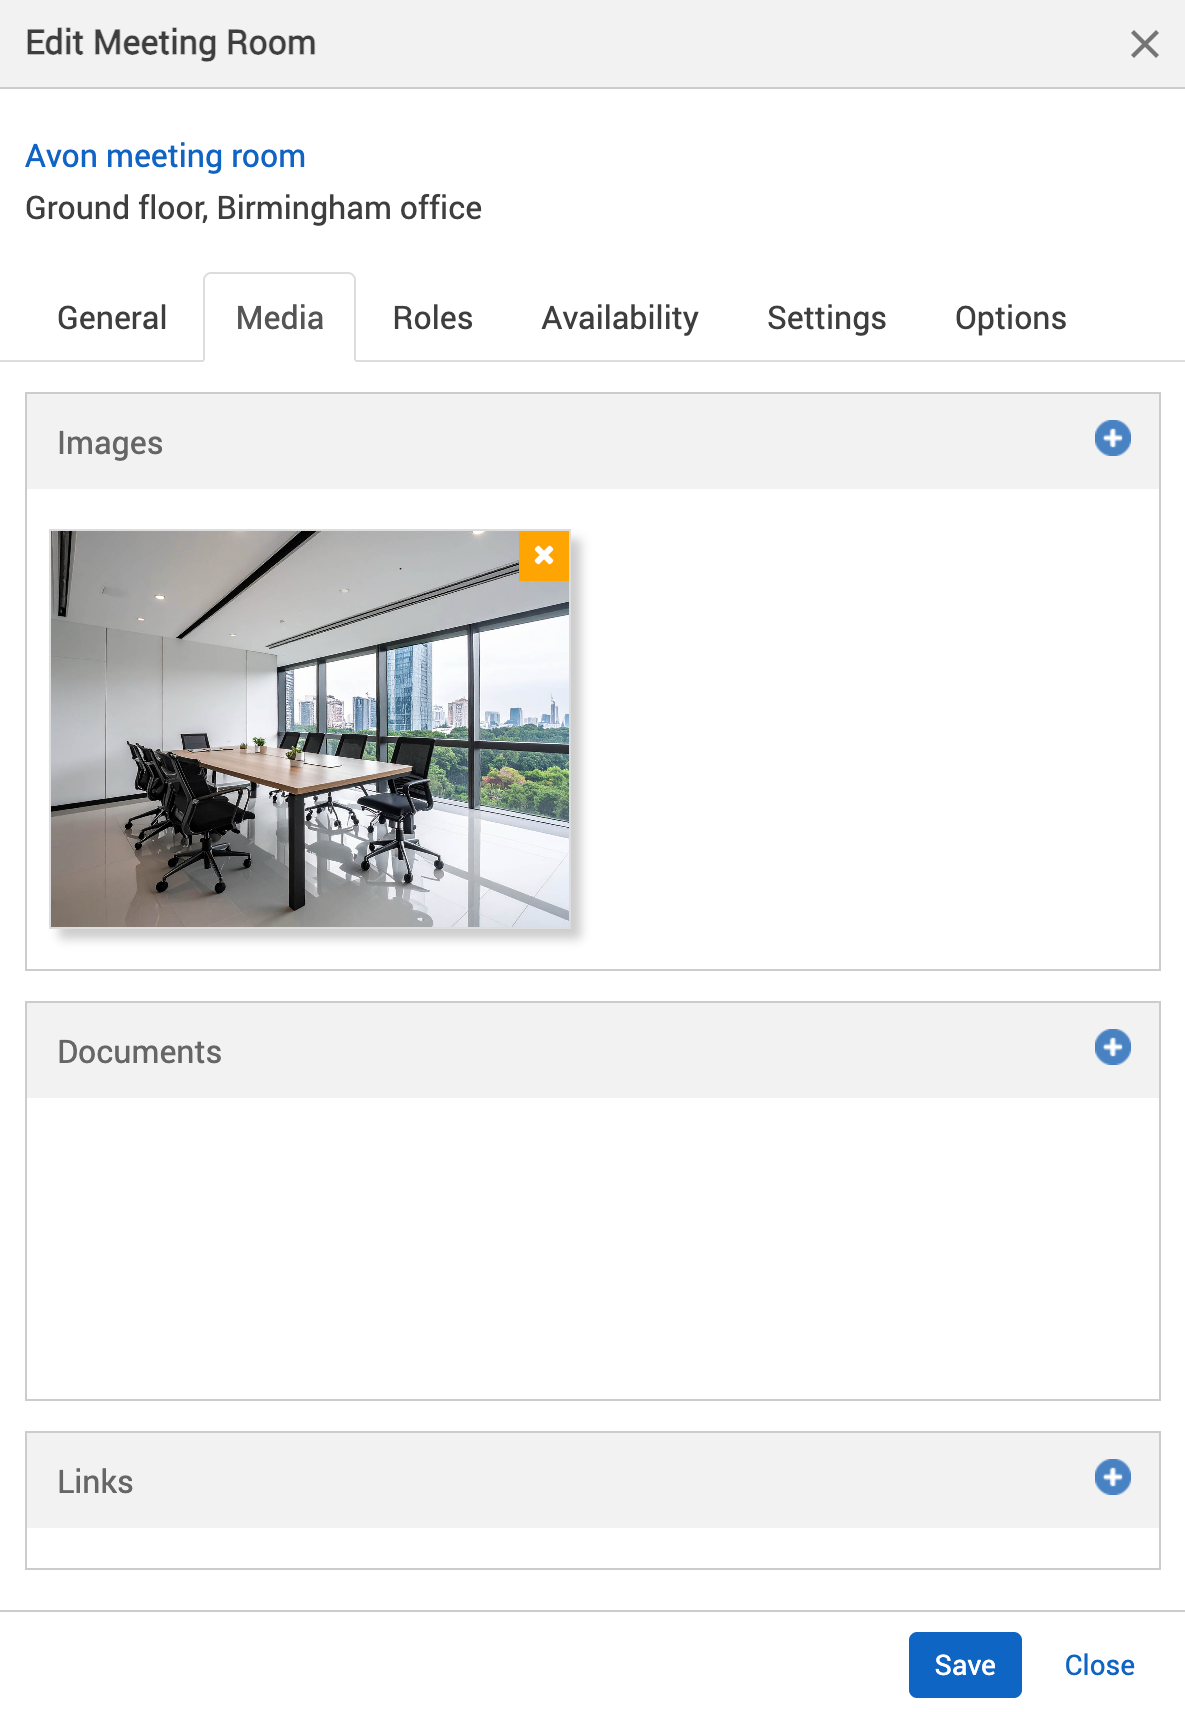
Add images
To add images to a location or resource:
-
Select the + Add button next to the Images section.
-
Your computer’s file explorer will appear.
-
Go to the image file’s location.
-
Select the image file.
-
Select Open or Upload. This will close the file explorer and your image will appear in the Images section of the Media tab.
-
Select either of the following and the dialog will close to return you to the Locations and resources hierarchy:
-
Save to keep your changes.
-
Close to discard your changes.
-
-
Select Save changes.
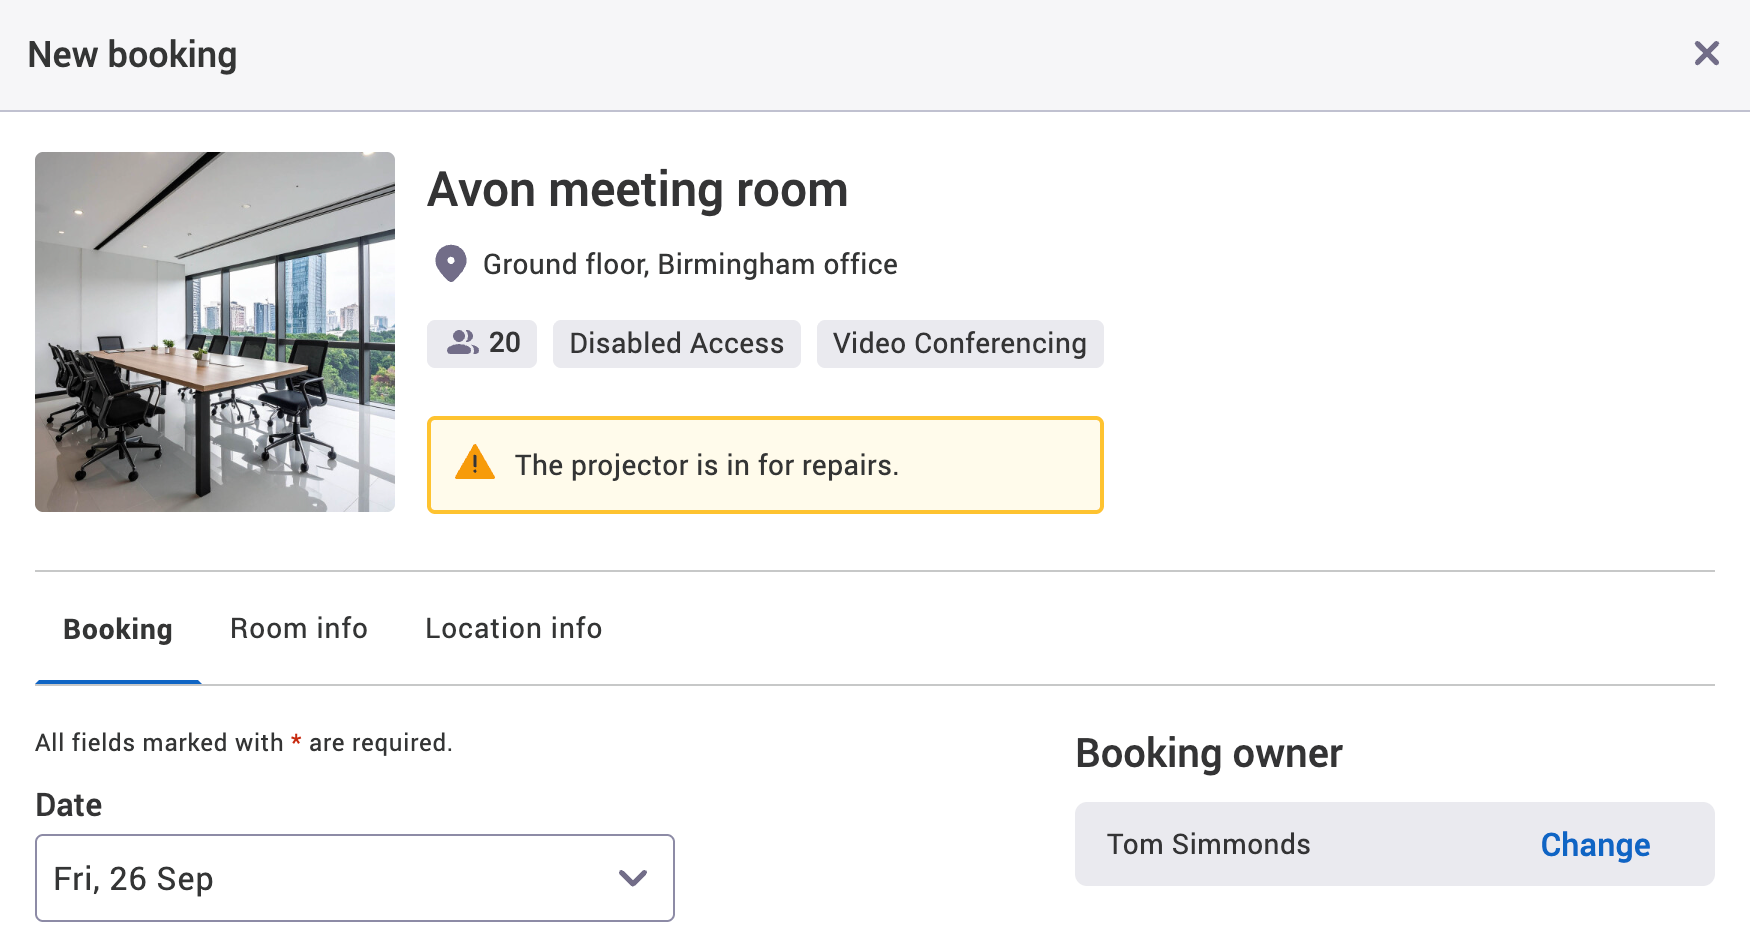
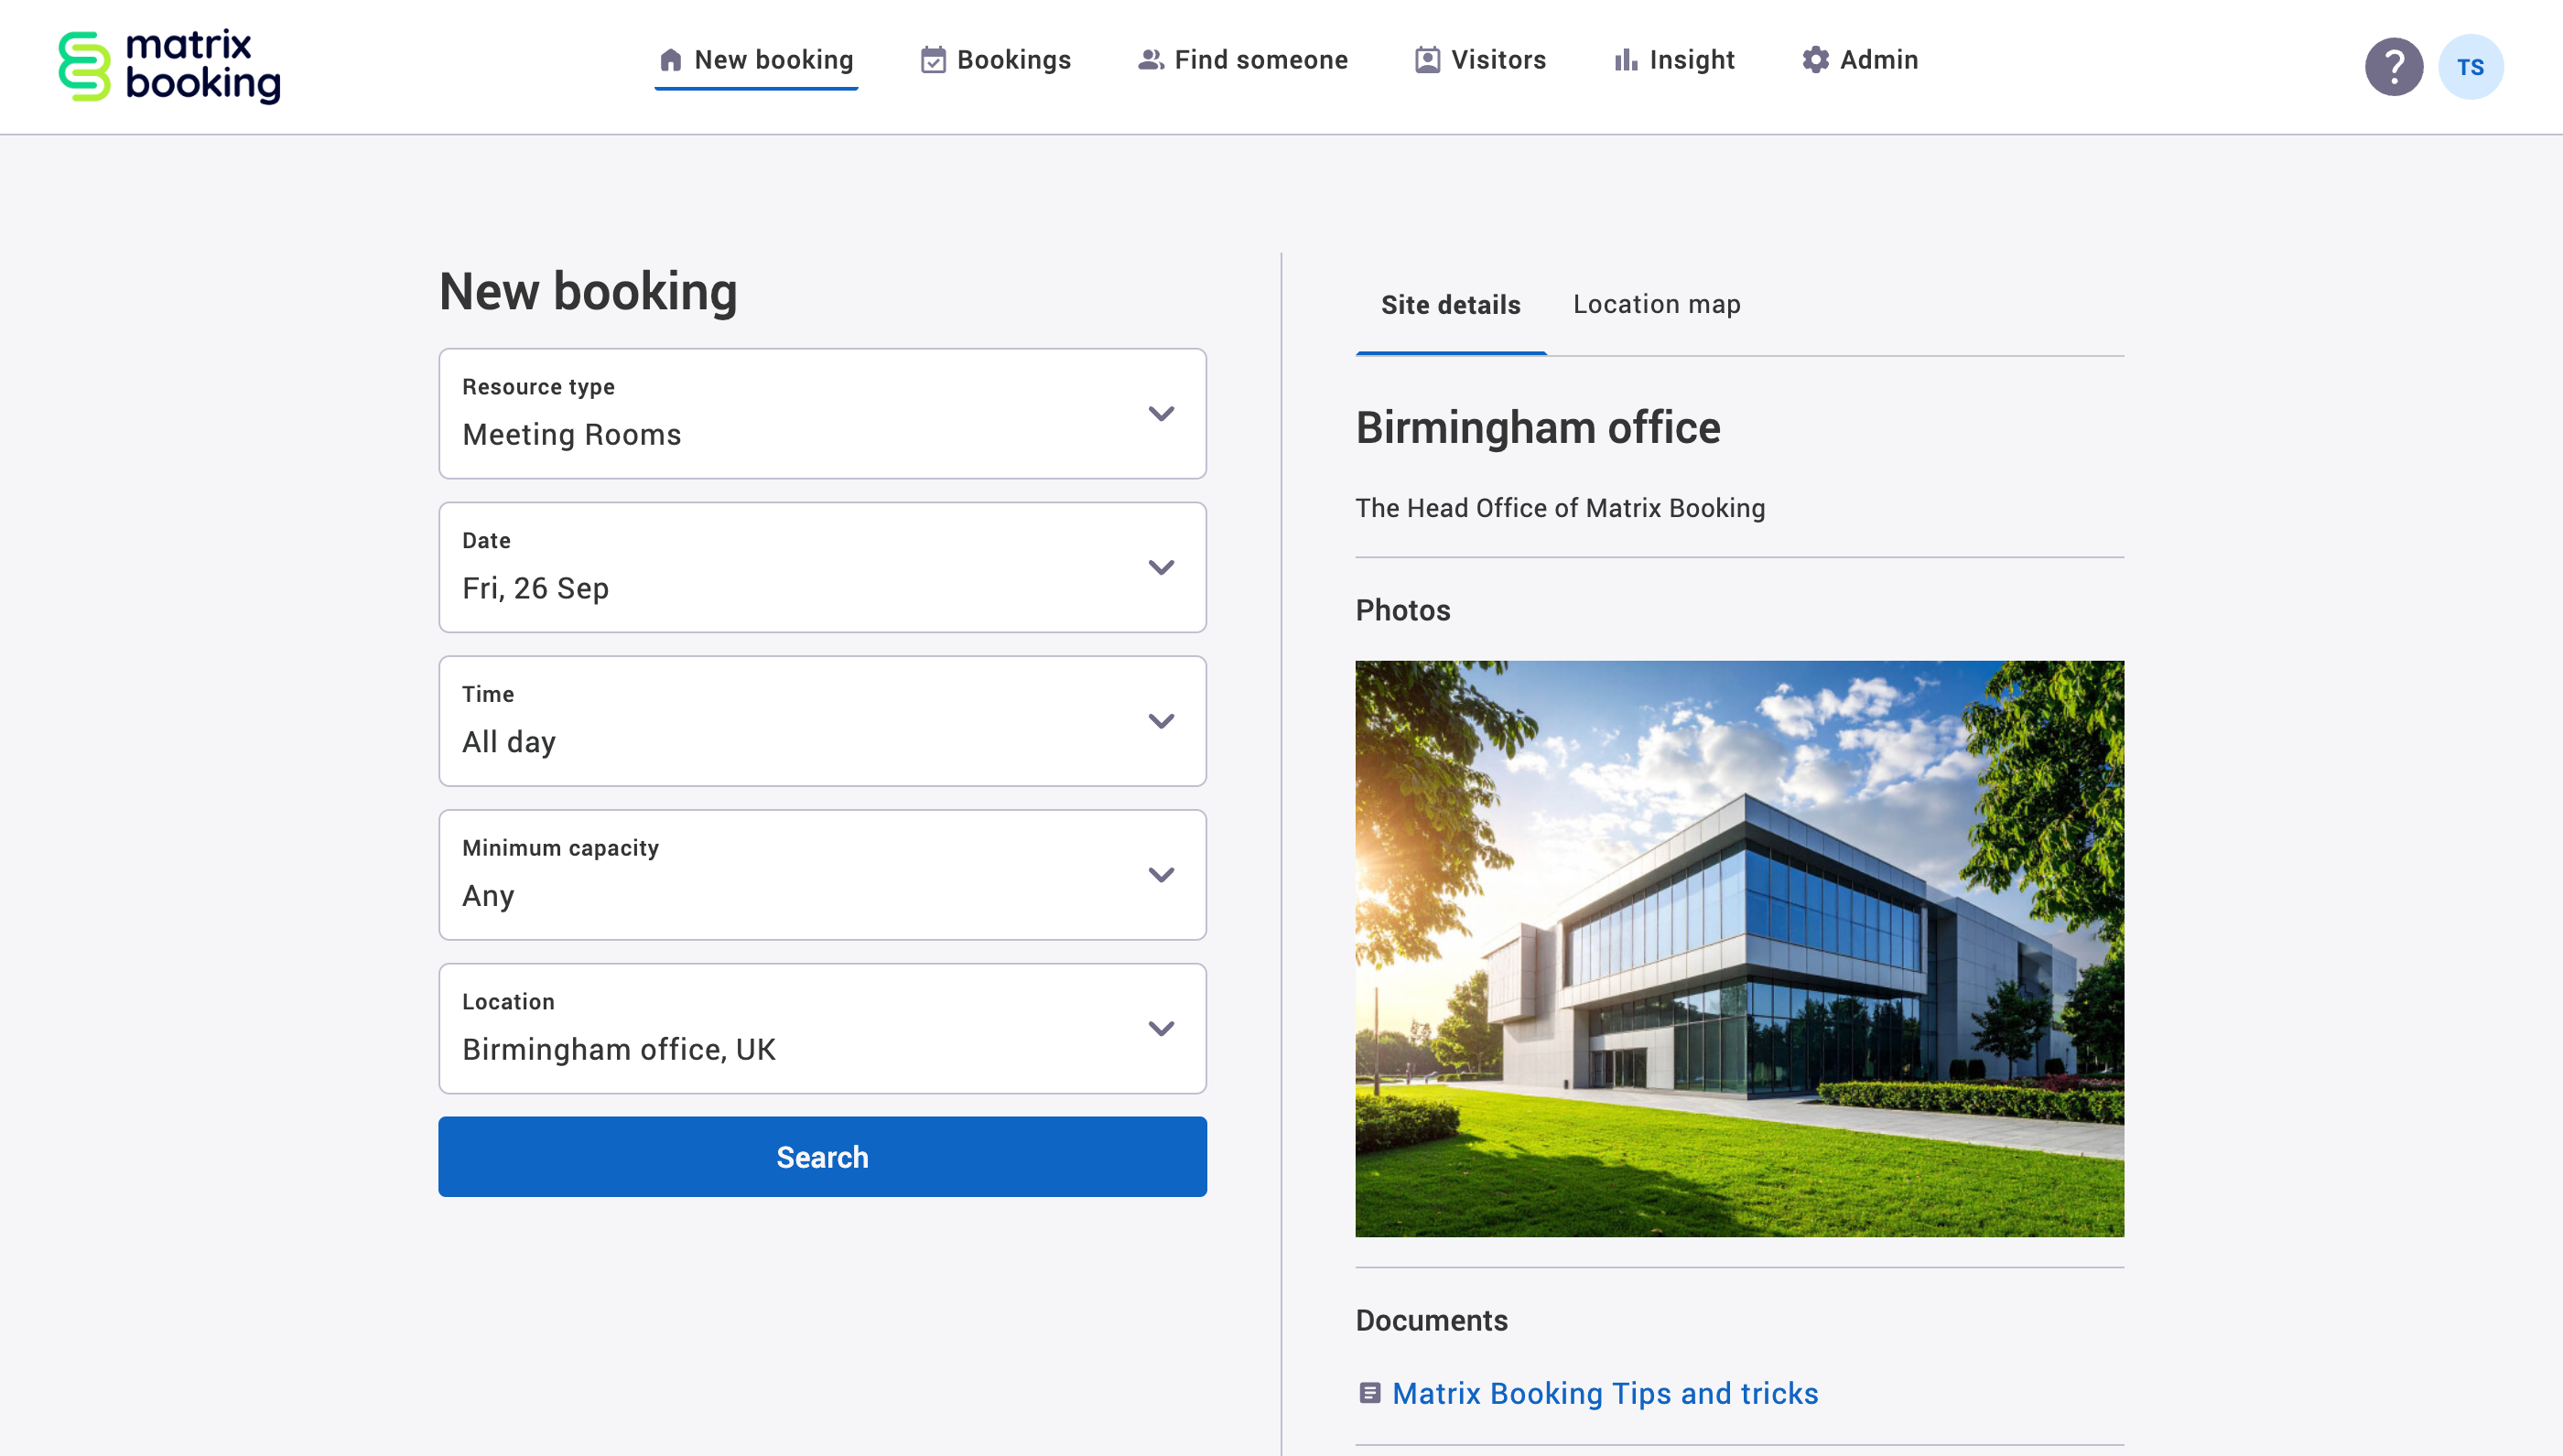
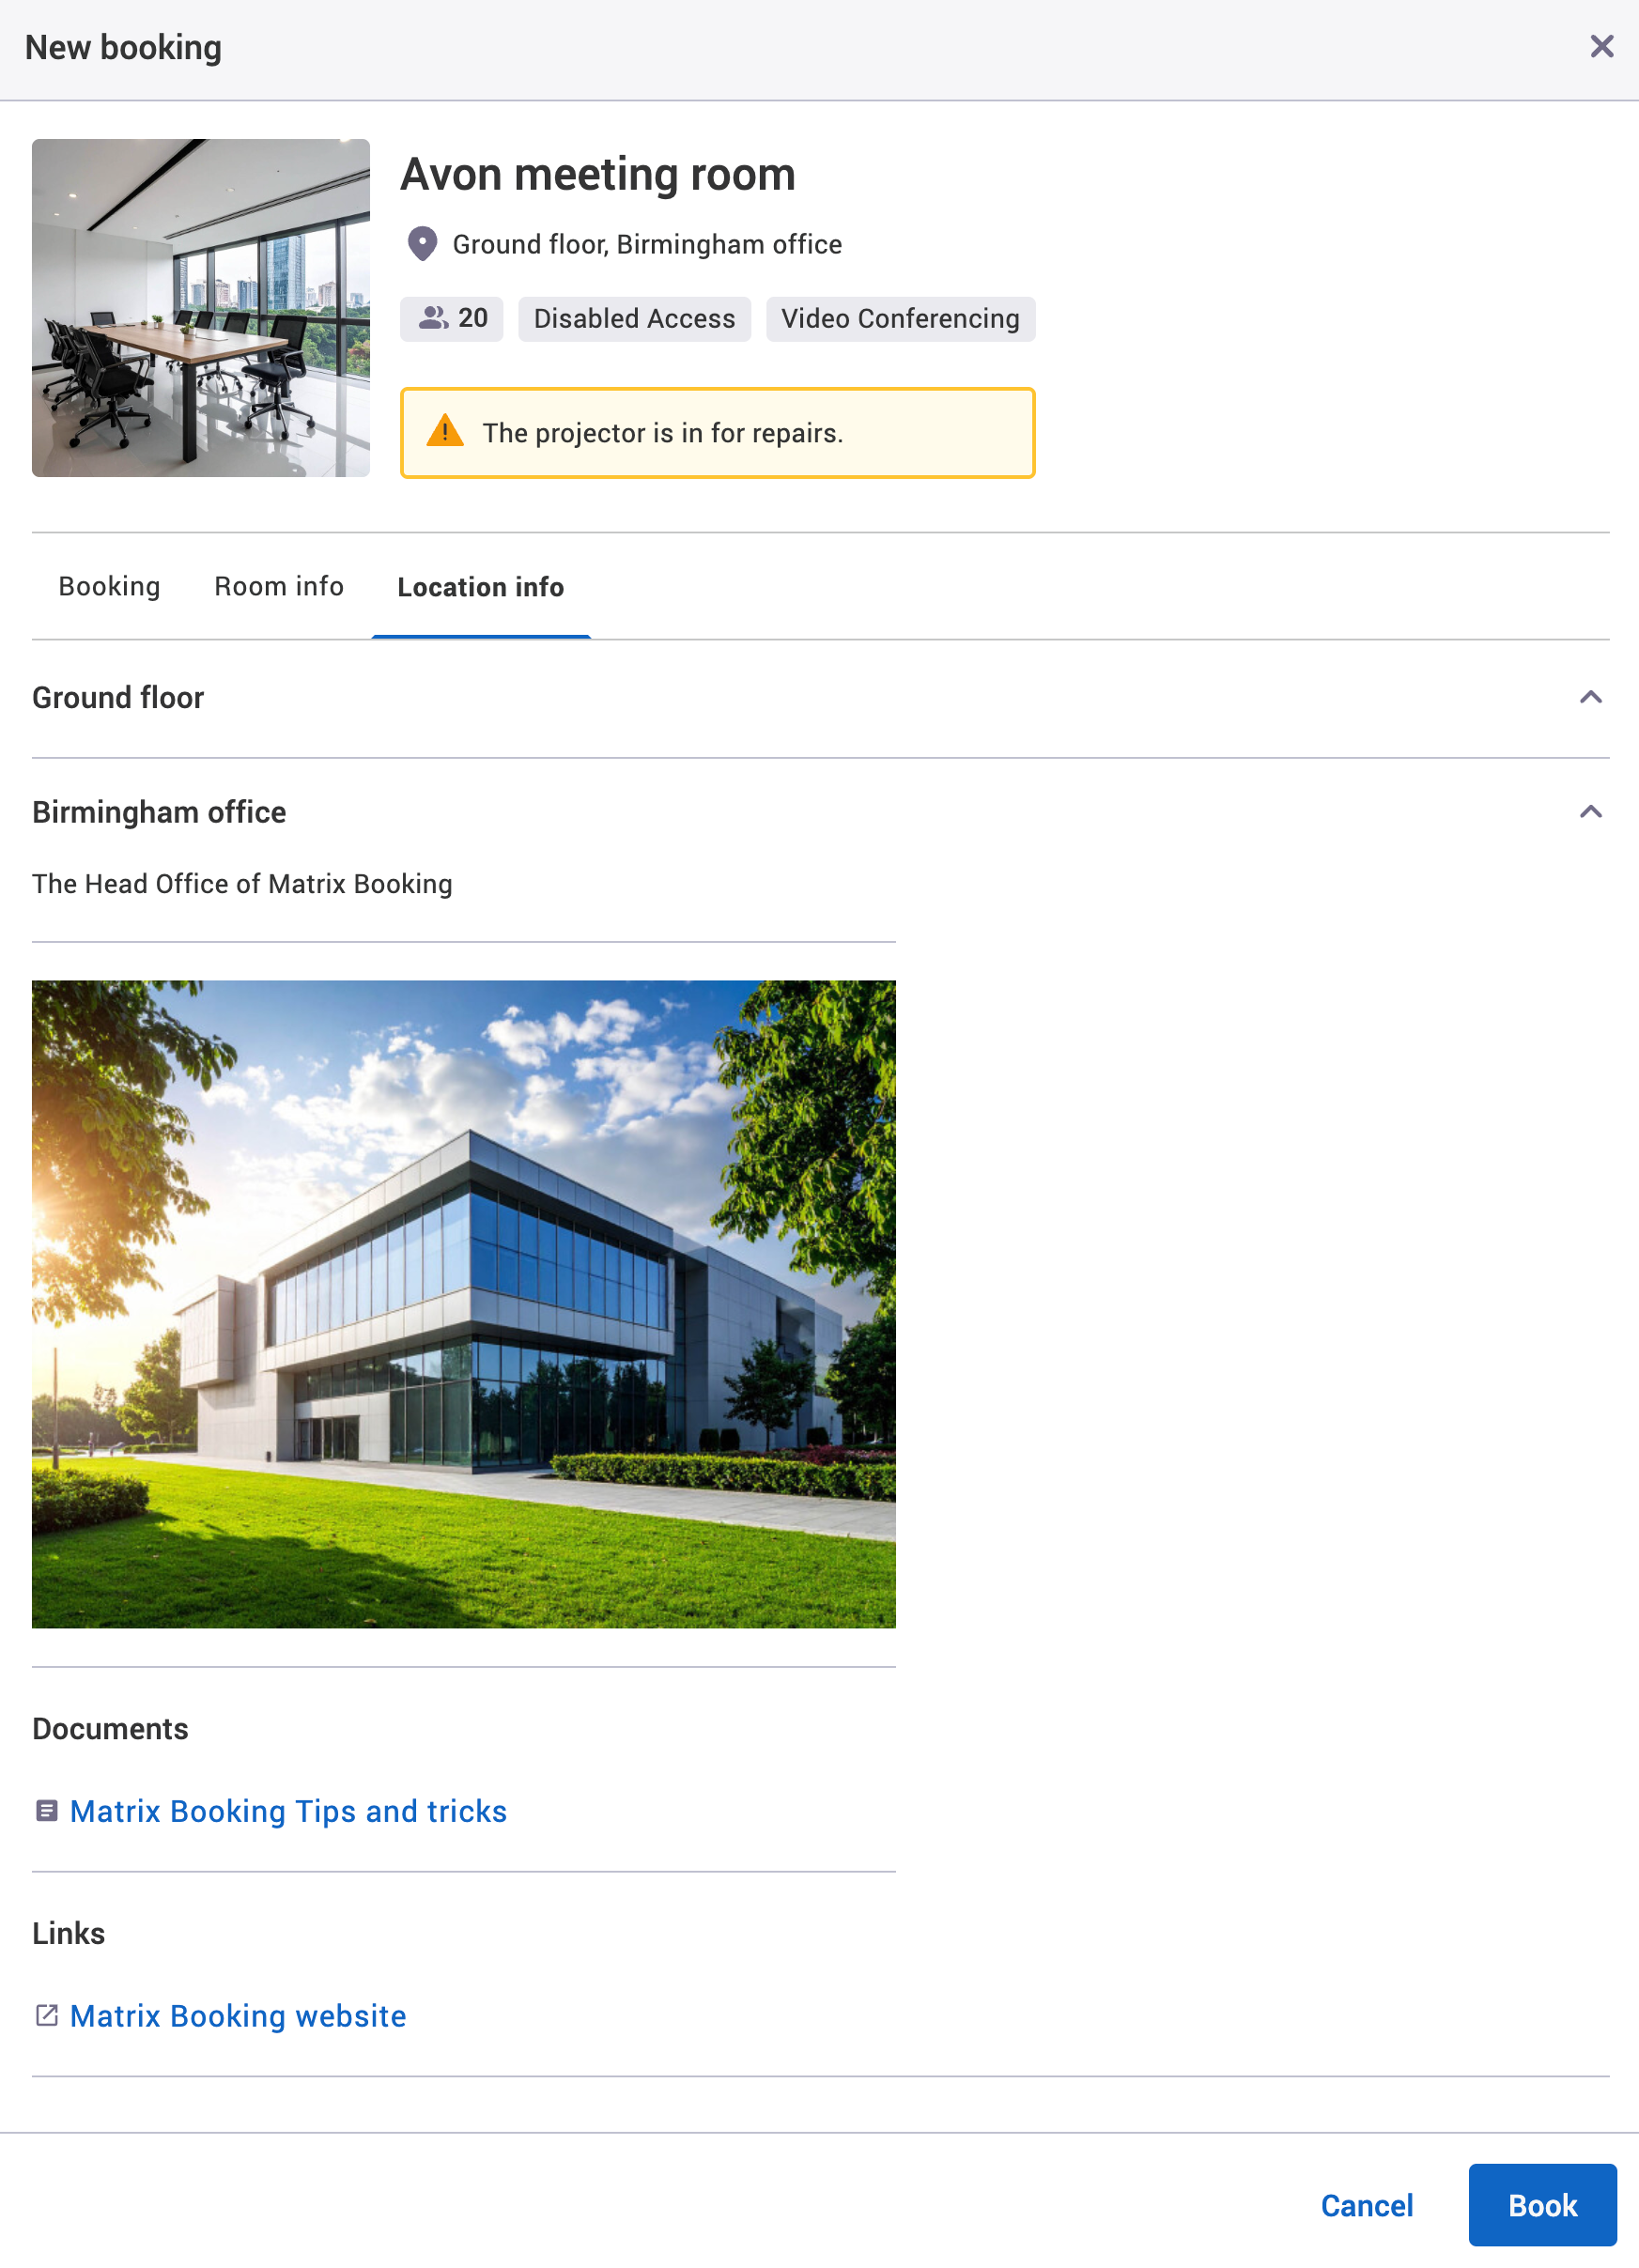
When you make a booking and you’ve added an image of the building, you’ll be able to see the image in building’s Site details tab of the New booking screen.
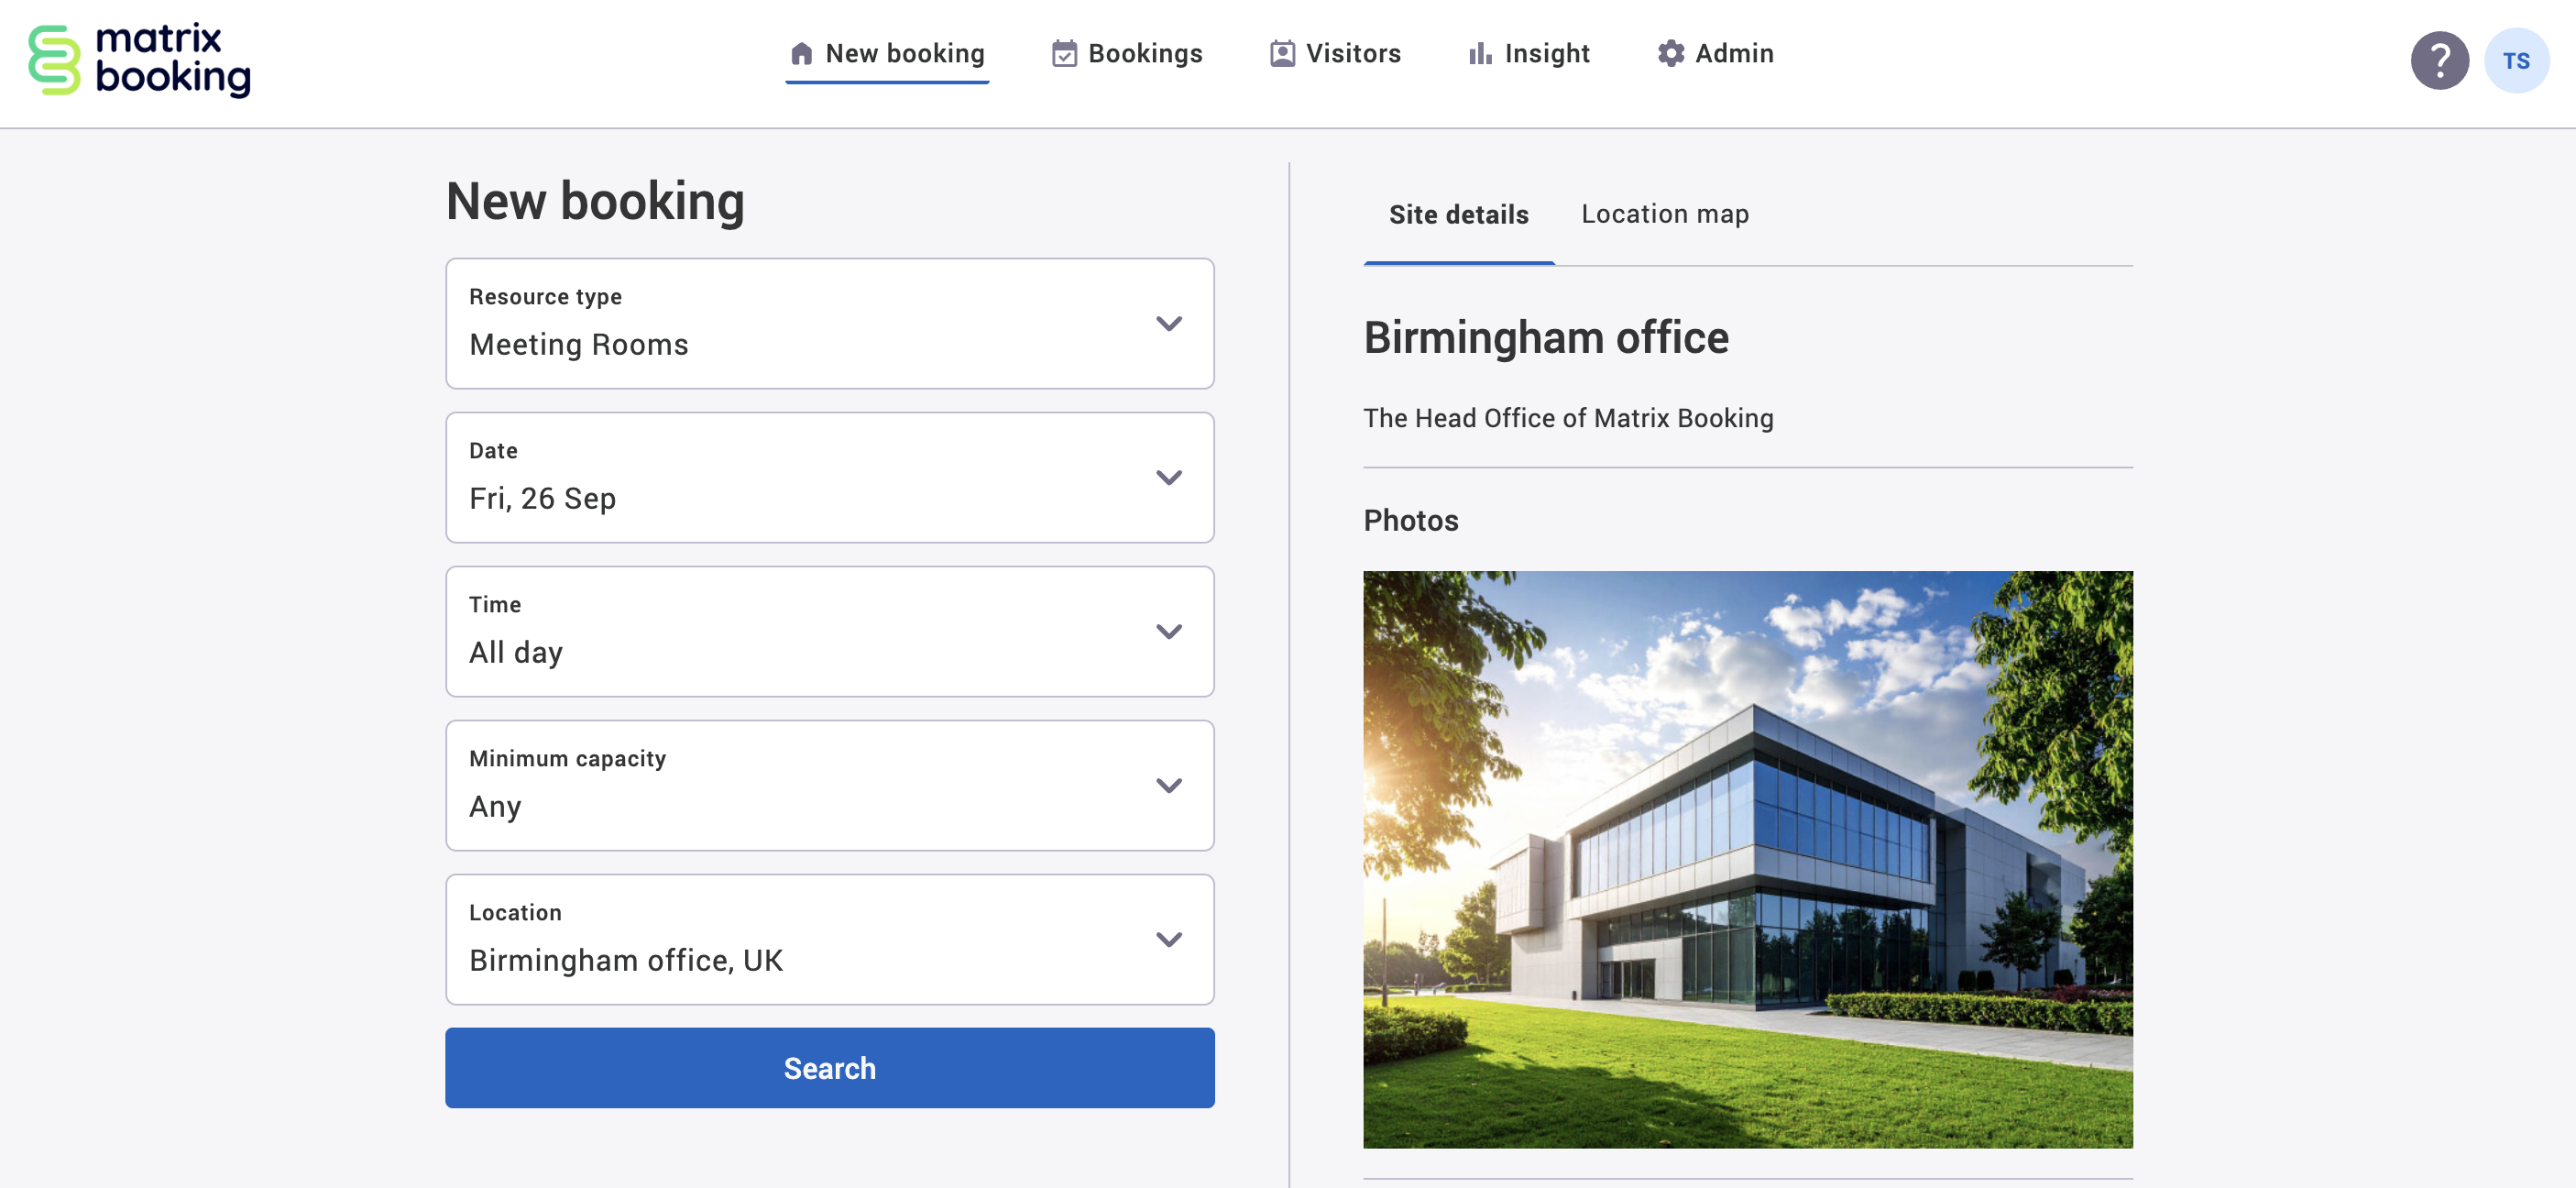
The image will also appear in the Booking and Location info tabs in the New booking dialog.
Images and floor plans should be uploaded in the any of the following formats:
-
.jpg -
.png -
.svg
You can upload multiple images to any level, and drag-and-drop them to change their order.
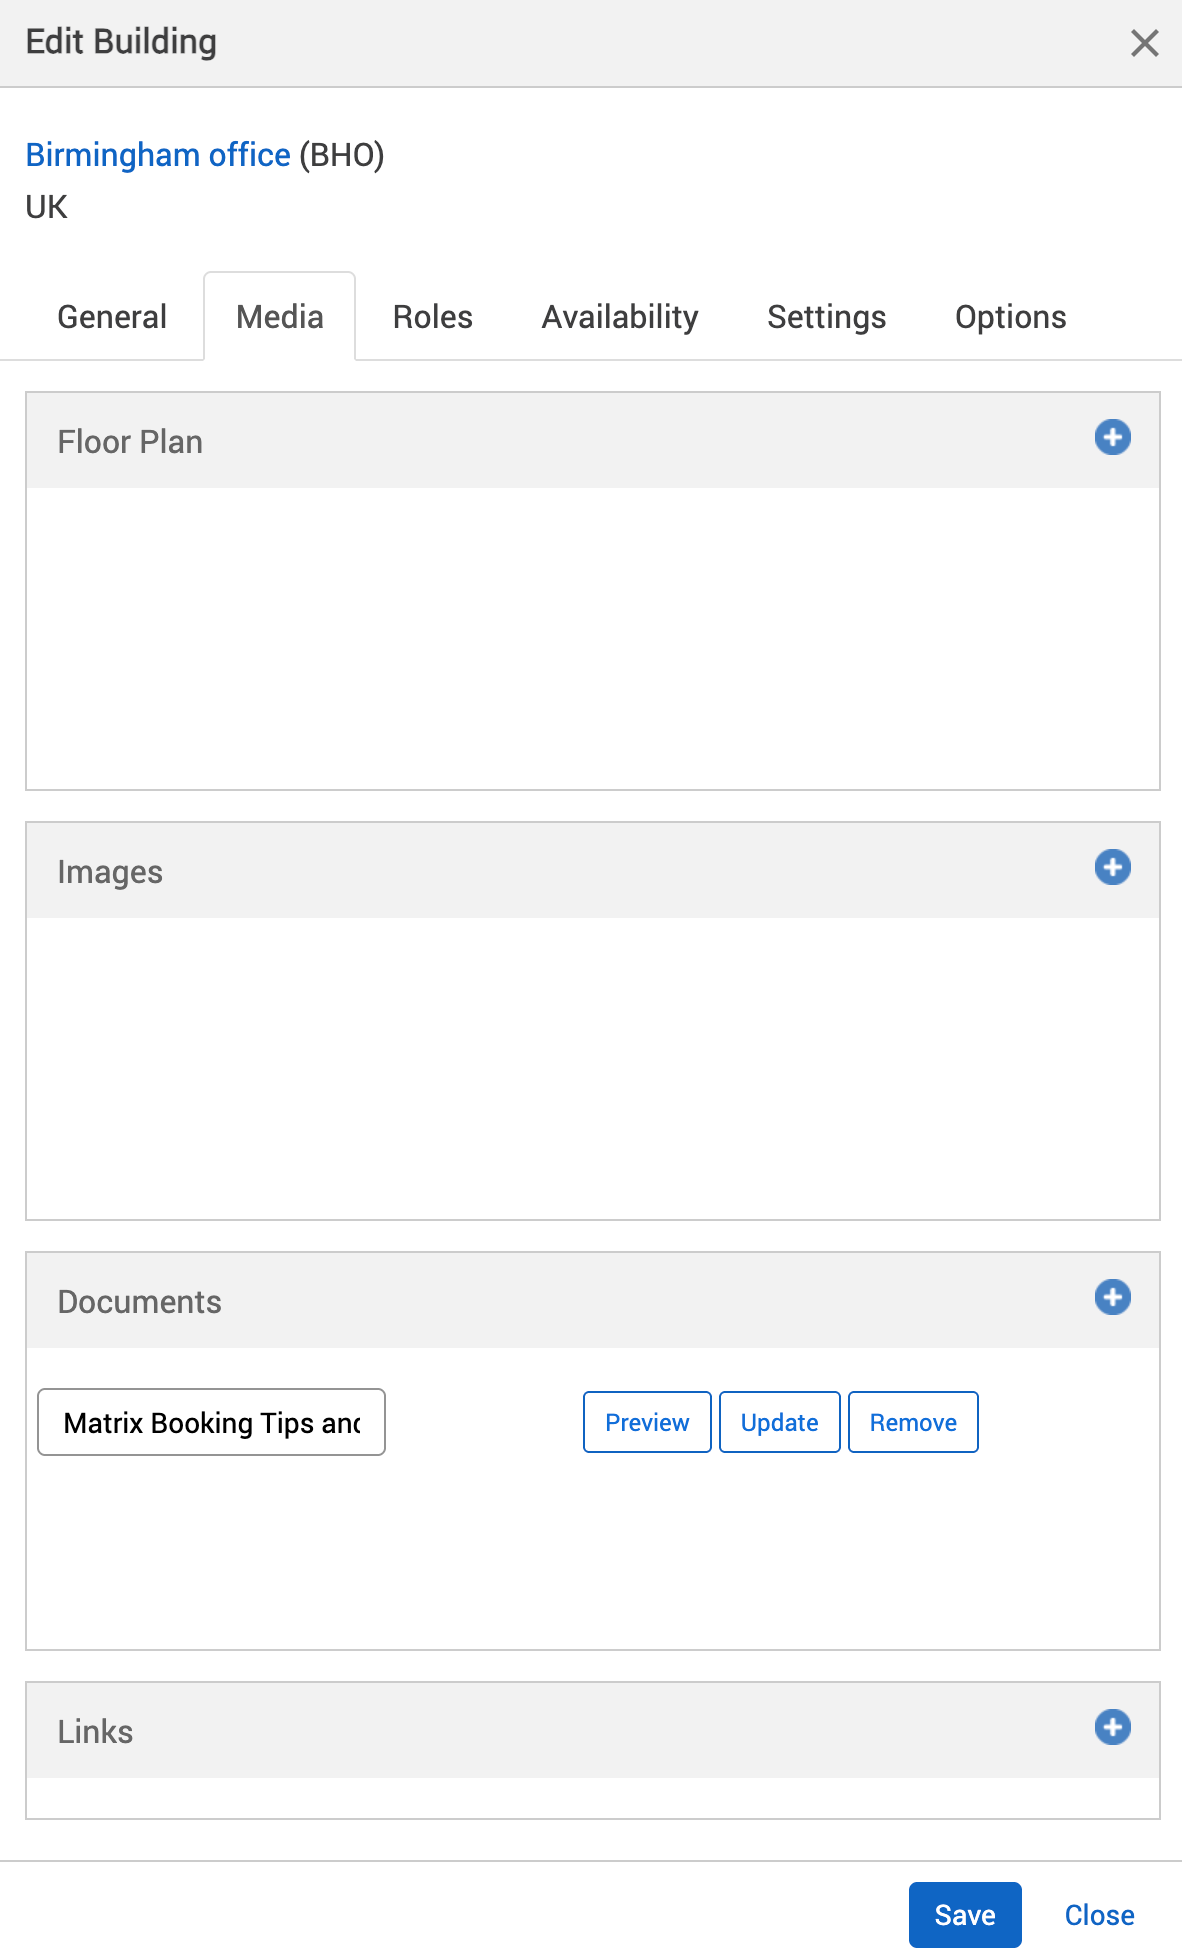
Add documents
You can add documents as .pdf files to display things, such as fire evacuation plans or wi-fi instructions.
To add documents to a location or resource:
-
Select the + Add button next to the Documents section.
-
Your computer’s file explorer will appear.
-
Go to the file’s location.
-
Select the file.
-
Select Open or Upload. This will close the file explorer and your document will appear in the Images section of the Media tab.
-
Select Preview next to the document you want to preview. The a new tab will open with your document.
-
Select Update next to the document you want to update. Your computer’s file explorer will appear.
-
Repeat steps 6 to 9 to upload the updated file.
-
Select Remove next to the document you want to remove.
-
Select either of the following and the dialog will close to return you to the Locations and resources hierarchy:
-
Save to keep your changes.
-
Close to discard your changes.
-
-
Select Save changes.
When you make a booking and you’ve added a document at the building level, you’ll be able to see the document in building’s Site details tab of the New booking screen.
The document will also appear in the Location info tabs in the New booking dialog.
Note: you can only upload .pdf files.
Add links
To add a link to a location or resource:
-
Select the + Add button next to the Links section.
-
A new entry line will appear.
-
Enter the link title in the link title text box.
-
Enter the URL (link) into the URL text box.
-
Select Preview if you would like to see the webpage in a new tab.
-
Select either of the following and the dialog will close to return you to the Locations and resources hierarchy:
-
Save to keep your changes.
-
Close to discard your changes.

-
-
Select Save changes.
When you make a booking and you’ve added a link at the building level, you’ll be able to see the link in building’s Links section.
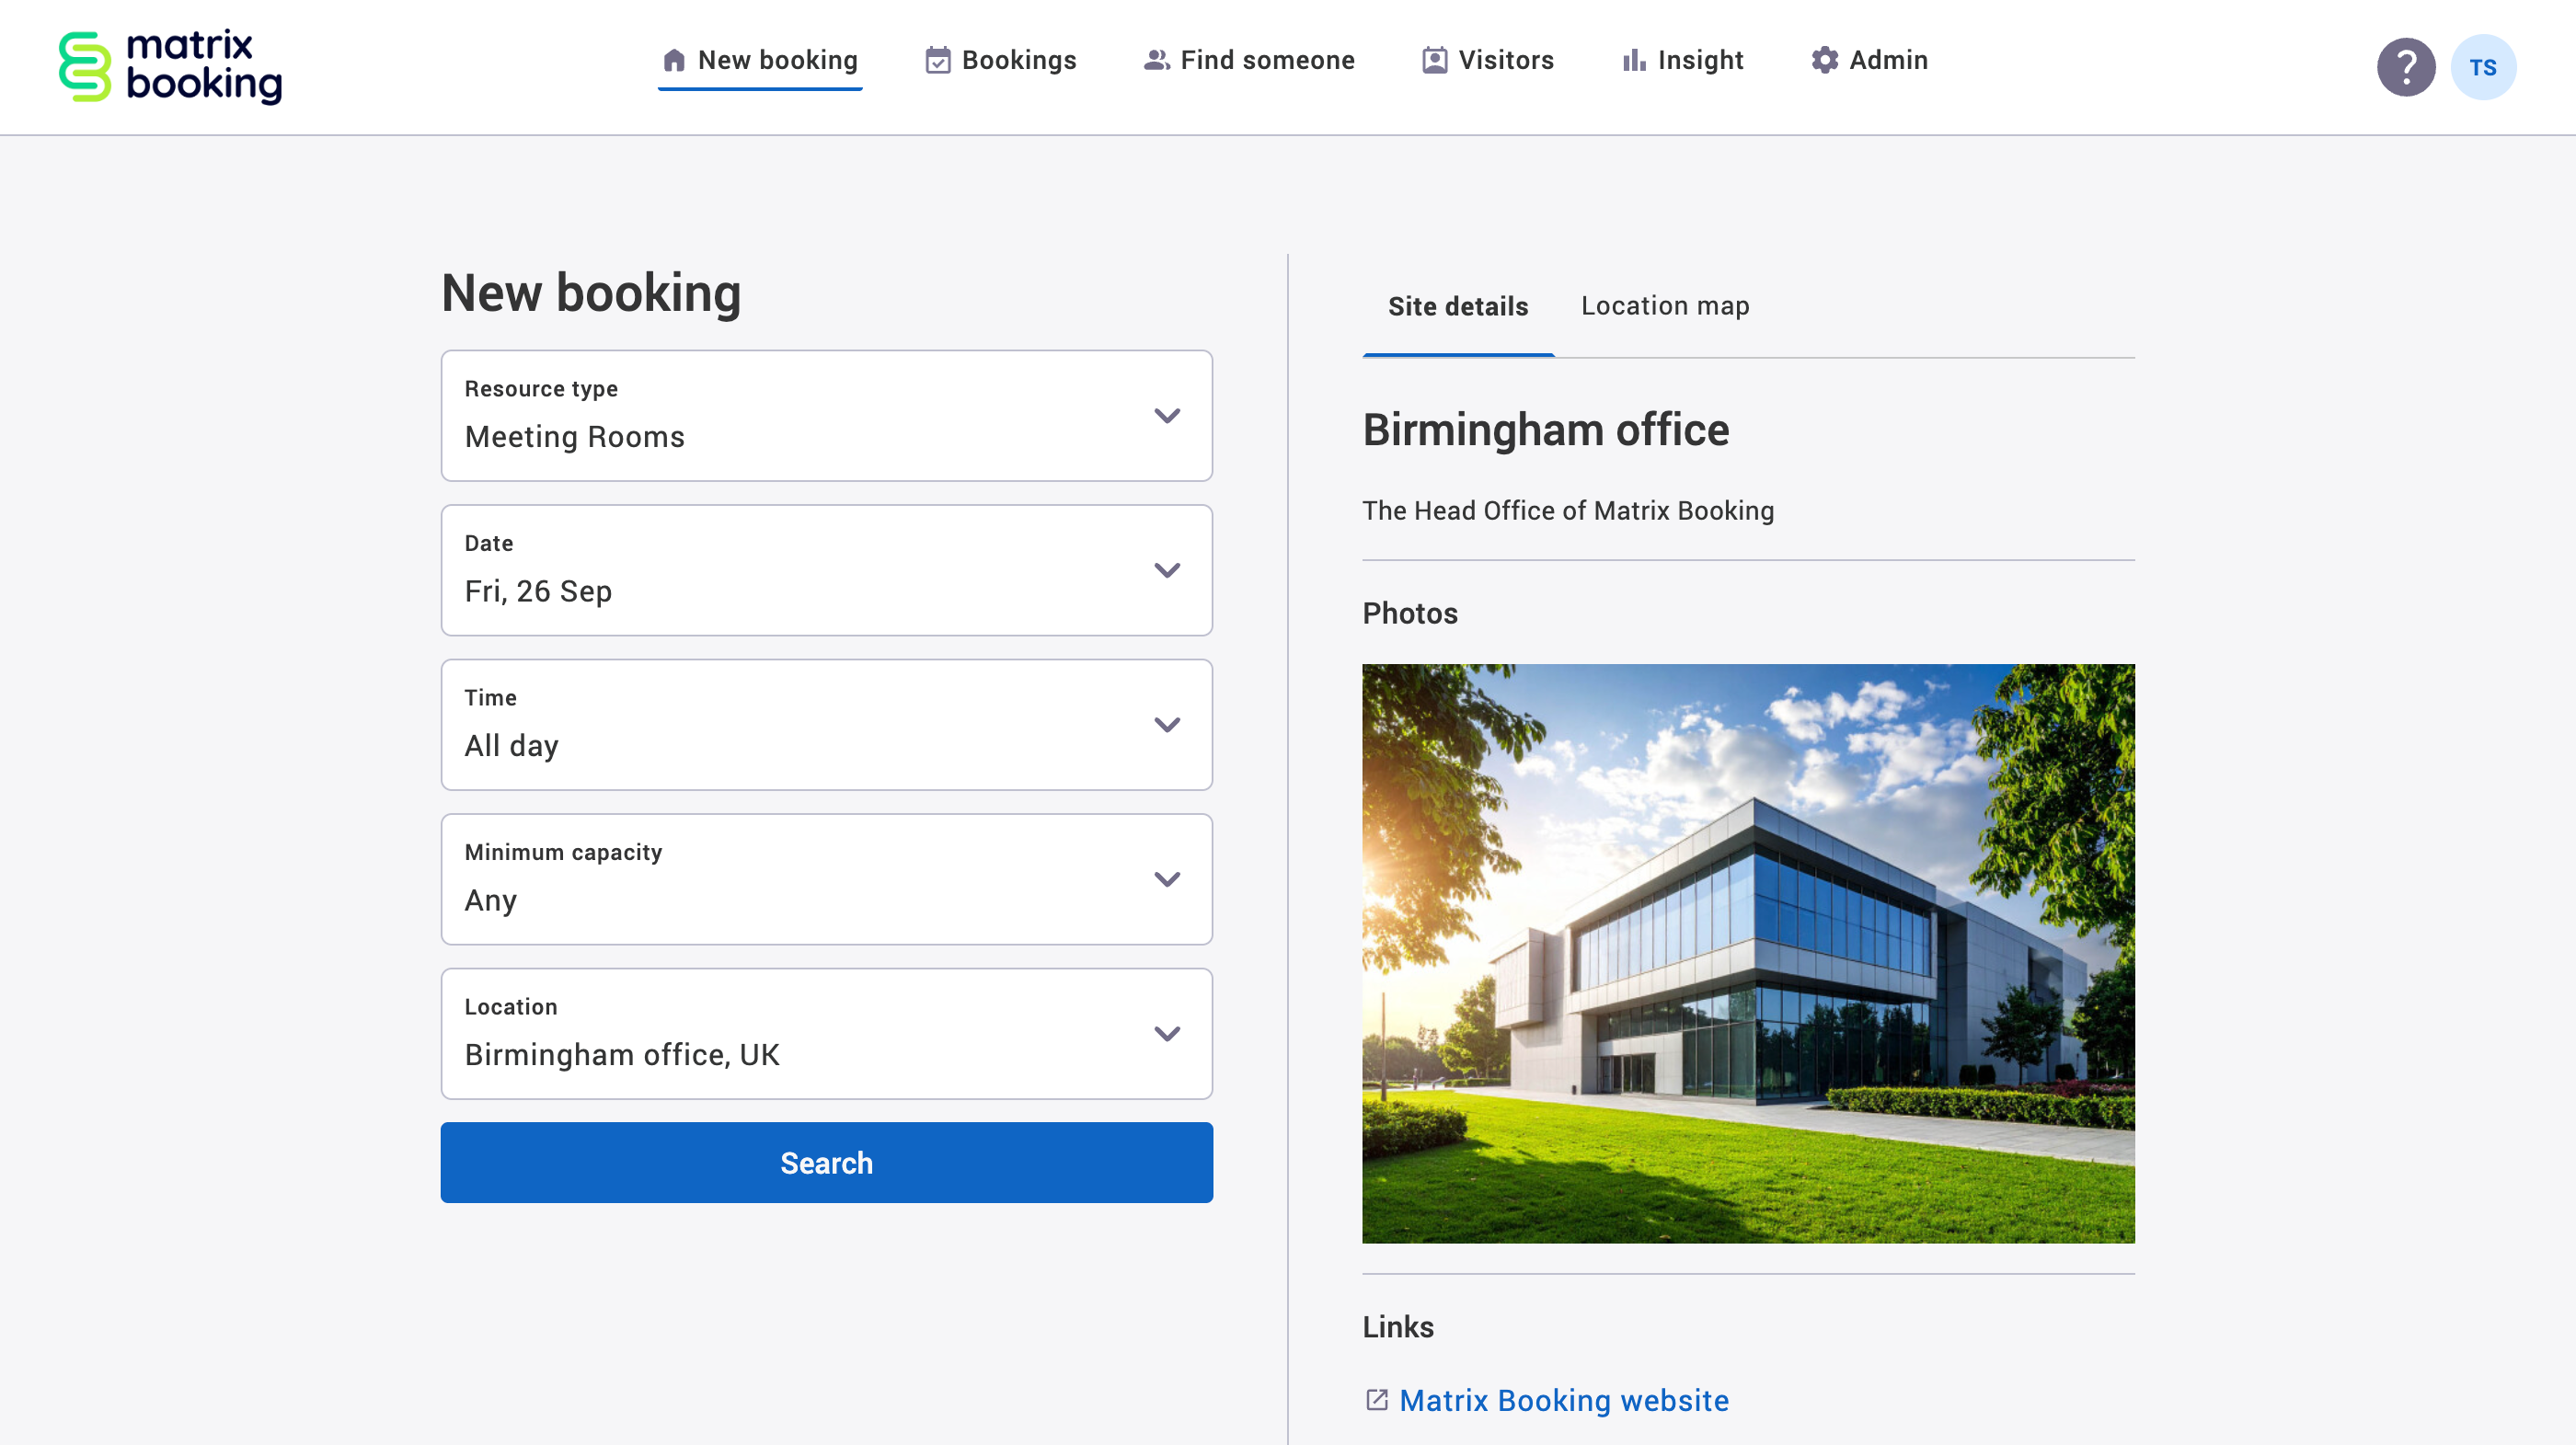
The link will also appear in the Location info tabs in the New booking dialog.