Matrix Booking provides you with a number of ways of managing your users and keeping your user list in Matrix Booking aligned with your own directory:
Microsoft Entra ID sync
As users are added and removed from your directory, it will be synchronised overnight with Matrix Booking. This can be your whole directory or a subset or group within your directory.
Learn more about our security and directory integrations
SCIM
Provision your users via SCIM so that we synchronise specific groups from your directory.
Learn more about our SCIM integration
Manually in Matrix Booking
Using SSO controls who can log in and who can’t, so access is always secure. However, your directory will still be populated by all users, even if SSO prevents them from logging in. These users can be manually managed from the Admin screen.
To deactivate 1 or more user:
-
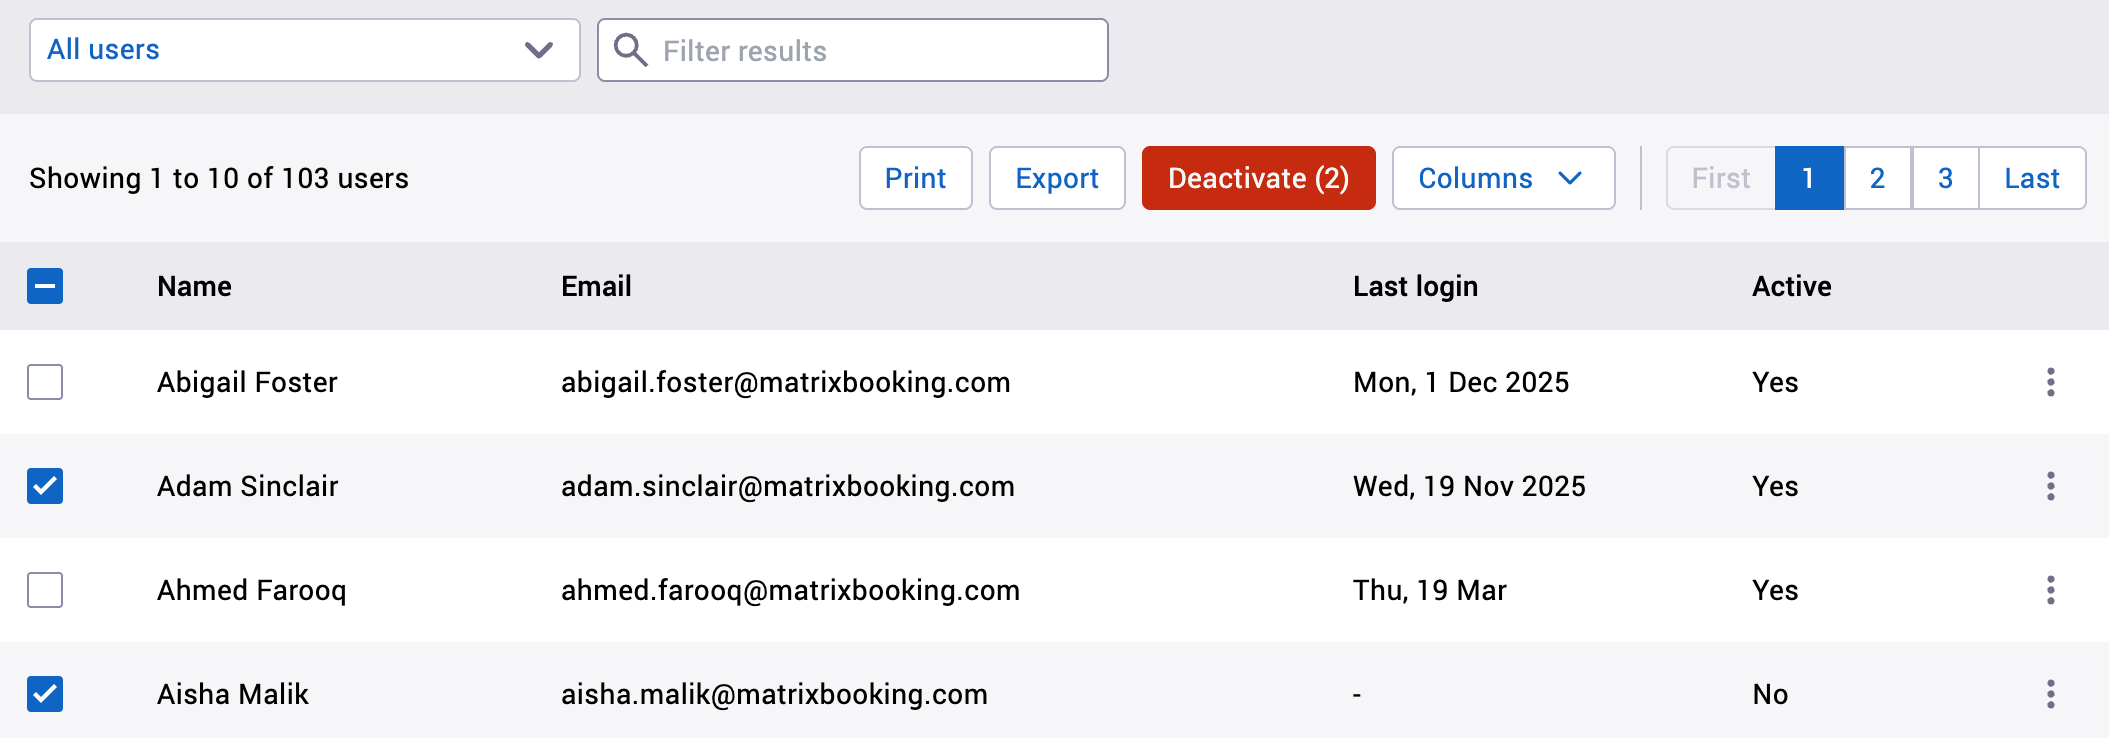
Search for the user or use one of our pre-selected filters (show users inactive in last 30, 60, or 90 days, or the last 6 or 12 months).
-
Select the Choose Columns dropdown. The dropdown will appear.
-
Select the columns you want to display (for example, Last Login, Last Booking, or Active).
-
Select the column header of your choice to sort the list of users by that column. Select it once to see your users in ascending order. Select it again to see your users in descending order. Select it once more to return to the default order of users (normally, alphabetically).
-
Select the checkbox to the left of each user you wish to deactivate or select the checkbox next to the left-hand column title (for example, Name) to select all users.
-
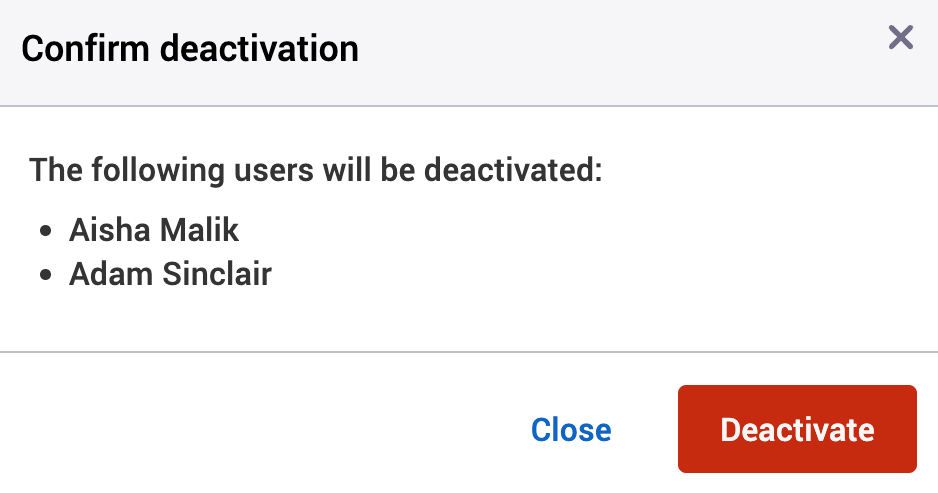
Select Deactivate ([number]) in the top-right of the screen, where the [number] tells you how many users have been selected. The Confirm deactivation dialog will appear.
-
Select Deactivate.
Note: once you’ve deactivated a user, they won’t be able to log in. The system will advise them when they try to log in that their account has been disabled.
We recommend using one of the predefined filters for speed and accuracy.
You can export the data and filter your users whichever you want to create a list of people you may wish to deactivate.
Learn more about User account management
Inactive users
These users are defined as people that haven’t logged in or made a booking within a given time period and don’t hold any future bookings. For example, if a user appears on the report as inactive for last 90 days, this means they:
-
haven’t logged in within the last 90 days
-
haven’t made or held any bookings within the last 90 days
-
don’t hold any future bookings at all
Note: for more information, see our other guidance: