This technical guide explains how to install and set up the Outlook add-in for Matrix Booking.
Notes:
-
This guide was written for our Outlook add-in v2.6 and above.
-
Our add-in is compatible with Microsoft Outlook 2016 for Windows. Earlier versions of Microsoft Outlook aren’t supported. This is driven by the versions that Microsoft currently supports. For more information, see Microsoft’s guidance on end of support.
-
This add-in is for Windows OS and the Outlook app only. The add-in doesn’t work for the in-browser version of Outlook.
-
This add-in isn’t compatible with our Microsoft 365 calendar integration.
-
If you already have our Microsoft 365 calendar integration set up, see Microsoft 365 add-in guide.
Introduction
The Matrix Booking add-in for Microsoft Outlook enhances the standard Outlook meeting request windows to easily search for available meeting rooms and make or update room bookings.
Technical requirements
Our add-in is compatible with Microsoft Outlook 2016 for Windows. Earlier versions of Microsoft Outlook aren’t supported. This is driven by the versions that Microsoft currently supports. For more information, see Microsoft’s guidance on end of support.
Additionally, the add-in has the following requirements:
The Visual Studio Tools for Office Runtime must be version 10.0.50903 or higher.
Notes:
-
You must ask your IT team to install our Outlook add-in first.
-
Our add-in works in the current Outlook app. You can switch between the old and new designs for Outlook, but our add-in doesn’t work for the new Outlook.

Install the Outlook add-in
There are 2 installers available for the Matrix Booking Outlook add-in. The latest version of installer can be downloaded from Matrix Booking’s public file repository: https://media.matrixbooking.com/software/outlook-add-in/matrix-outlook-add-in-latest.msi
Standard installer (enabled by default)
The standard installer installs the add-in so that it’s available for all users of the Windows desktop on the given machine.
Note: if this installer is used in a virtual desktop environment (for example, those available from Citrix and VMWare), all users of the virtual desktop image will have the add-in available by default.
Extended installer (disabled by default)
To access the extended installer, contact your customer success manager. Your Windows PC must have a 64-bit processor. The extended installer installs the add-in so that it’s disabled for all users by default, until a custom registry key is applied for each user. Whilst this installer can be used with local Windows PC setups, it’s intended for use with virtual desktop environments when the add-in should be technically installed for all users, but only made available to sub-sets of the virtual desktop user base.
When using the extended installer, the Matrix Booking add-in will only appear available to the user when the following registry key exists:
[HKEY_CURRENT_USER\Software\Keytree\MatrixBooking]
After the installation
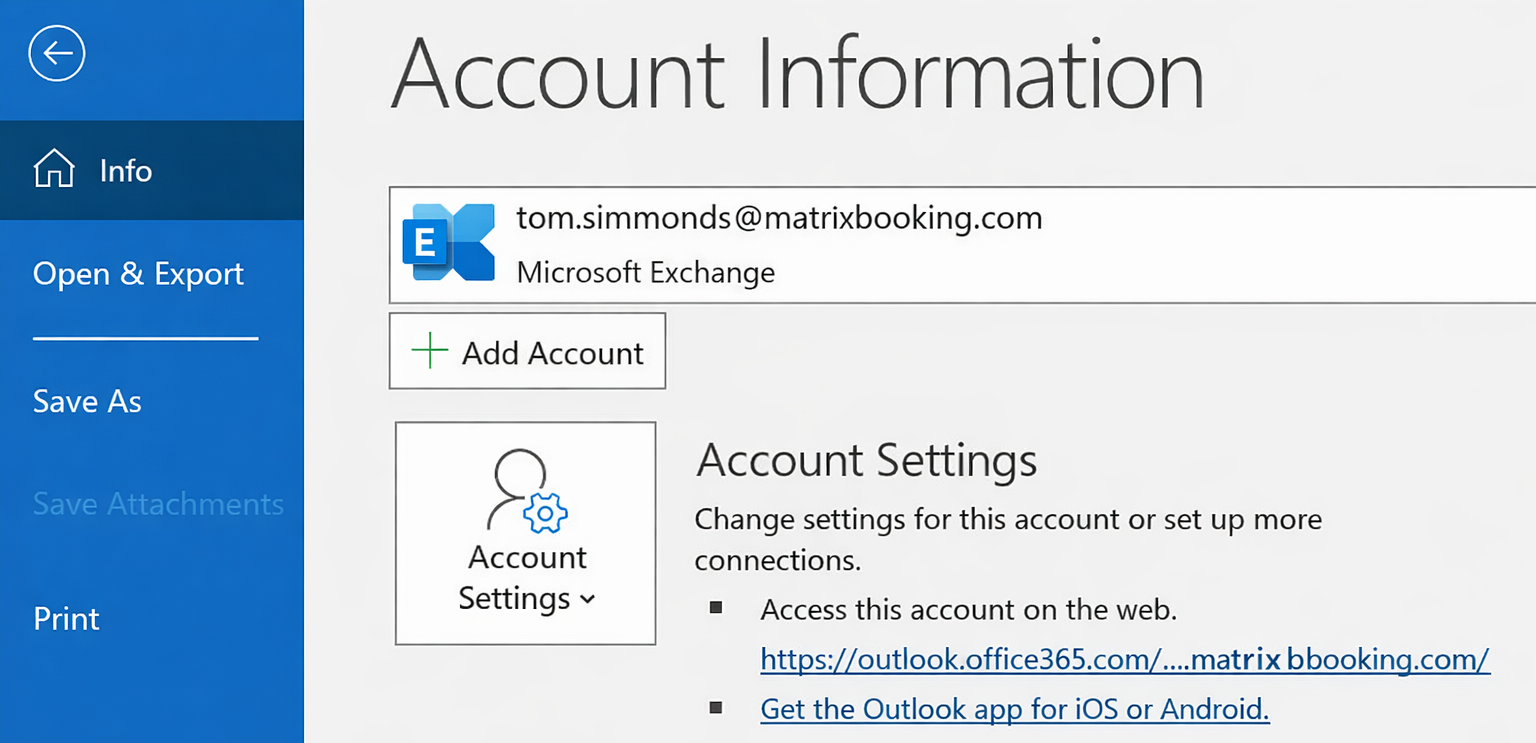
After installing the add-in, you can make sure that it’s available by opening the Outlook File menu and checking for the “Matrix Booking” options page.
You can also check by creating a new Outlook meeting. You should see the Matrix Booking toolbar button alongside the standard Outlook Appointment and Scheduling buttons.
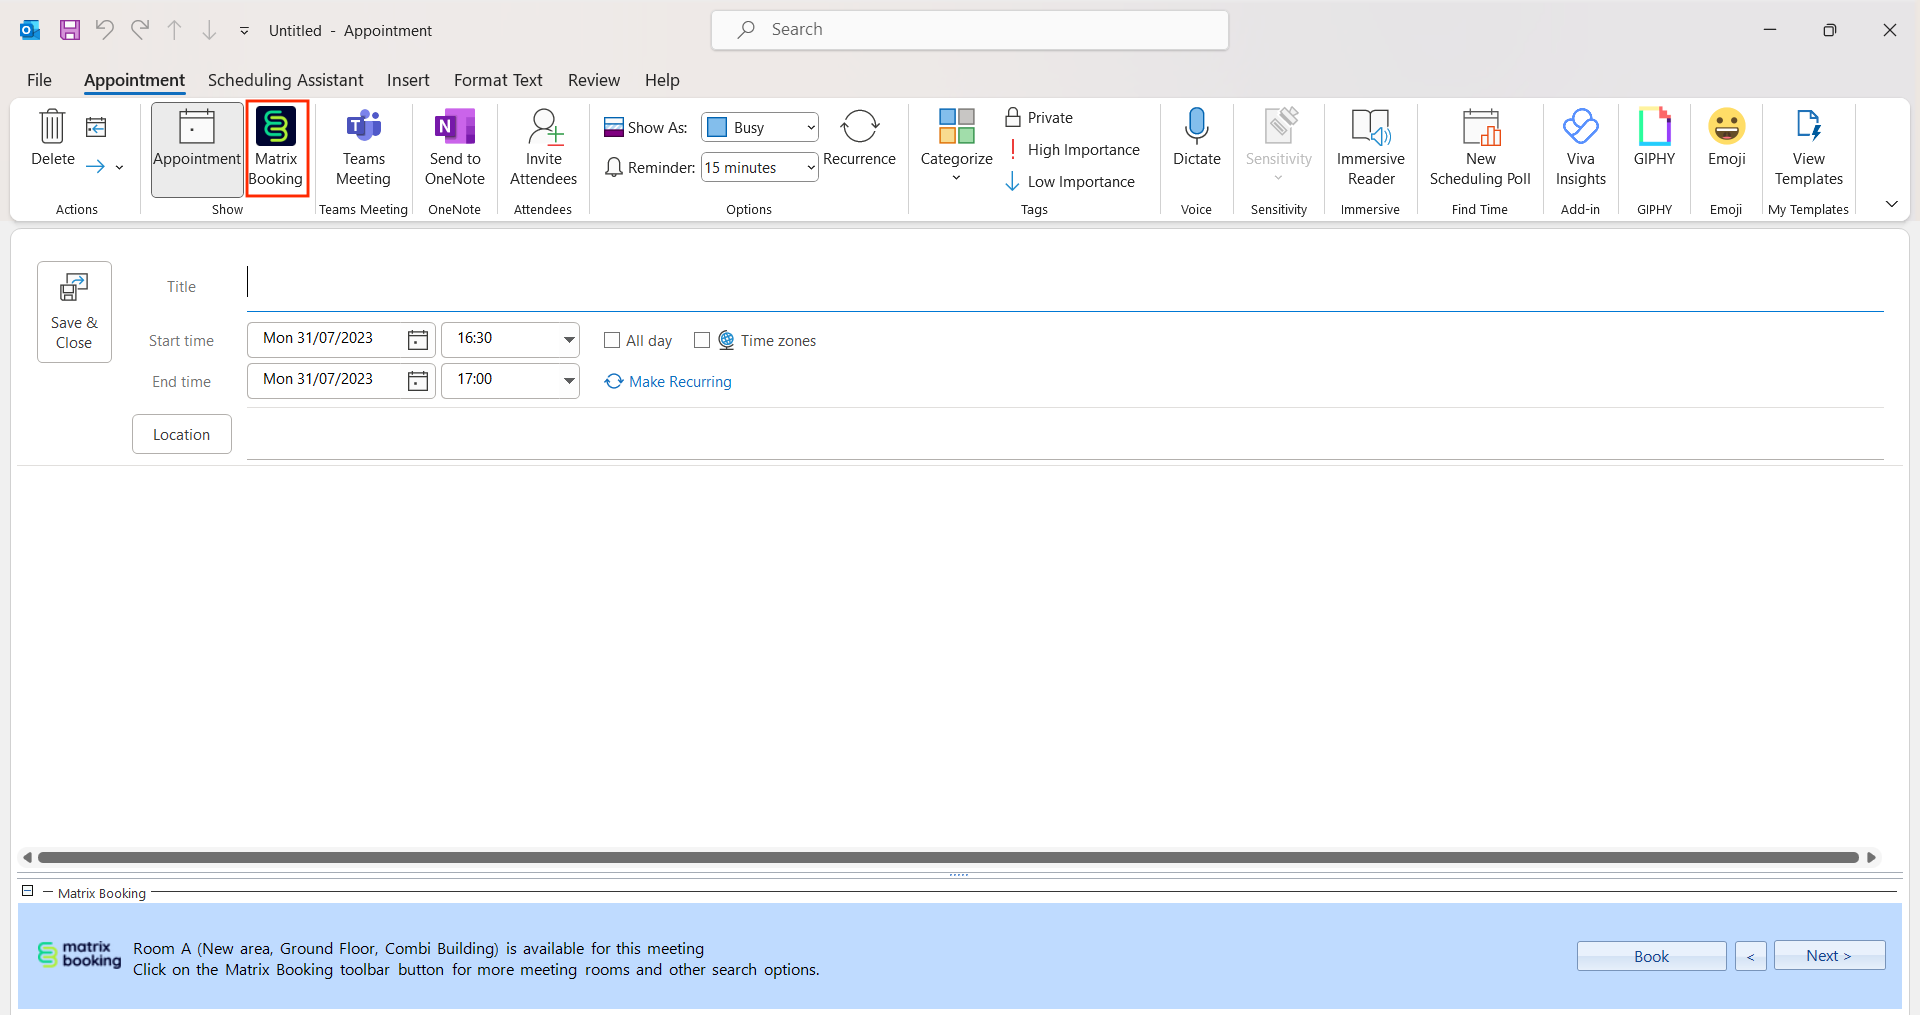
Depending on whether your Matrix Booking implementation is configured to use single sign-on (SSO), you may find that the first time you use the Outlook add-in that you’re prompted to log in. Enter the same e-mail address and password as you would for the Matrix Booking web and mobile apps.